

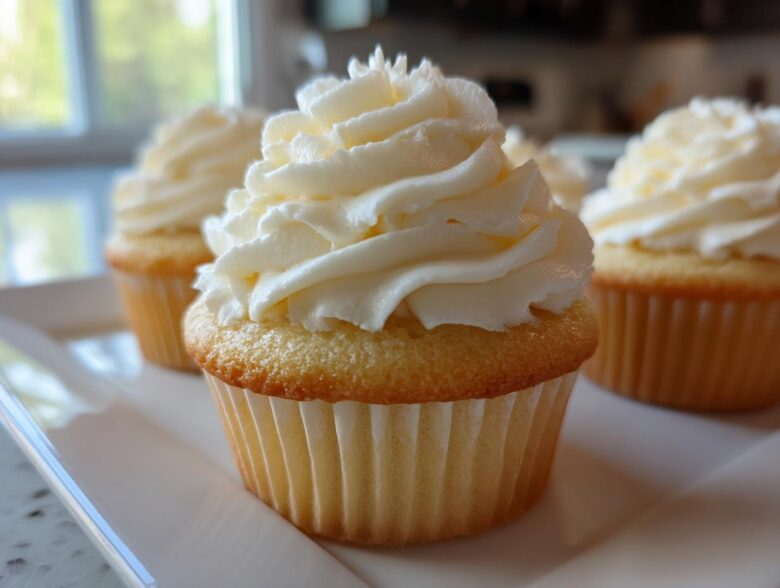
I swear, frosting is where most people lose the battle in the kitchen. You mix it up, and suddenly you have something gritty, greasy, or it’s collapsing faster than a house of cards. But honestly, after all our kitchen experiments, Ethan and I finally cracked the code for the definitive, easy, classic American vanilla buttercream frosting. This no-cook buttercream recipe is the real deal, guaranteed to be smooth, creamy, and fluffy every single time. Maya tested the science of creaming versus Ethan’s gut instinct until we landed on this perfect texture. Trust me, this reliable vanilla buttercream frosting is about to revolutionize how you top your cakes!
Why This Classic American Vanilla Buttercream Frosting is Your New Go-To
I know you’ve got a drawer full of frosting recipes that promise the moon, but this one actually delivers. We spent weeks refining this so you don’t have to worry about lumps or sinking decorations. This is the creamy vanilla frosting recipe you’ll keep coming back to, I promise!
- Speed Demon: Seriously, this is a 10-minute wonder. If you need a dessert topping *now*, you’re covered.
- Perfect Texture: We managed to balance the butter and sugar so it’s intensely creamy but still wonderfully fluffy when whipped up. It’s the ideal texture for spreading or piping!
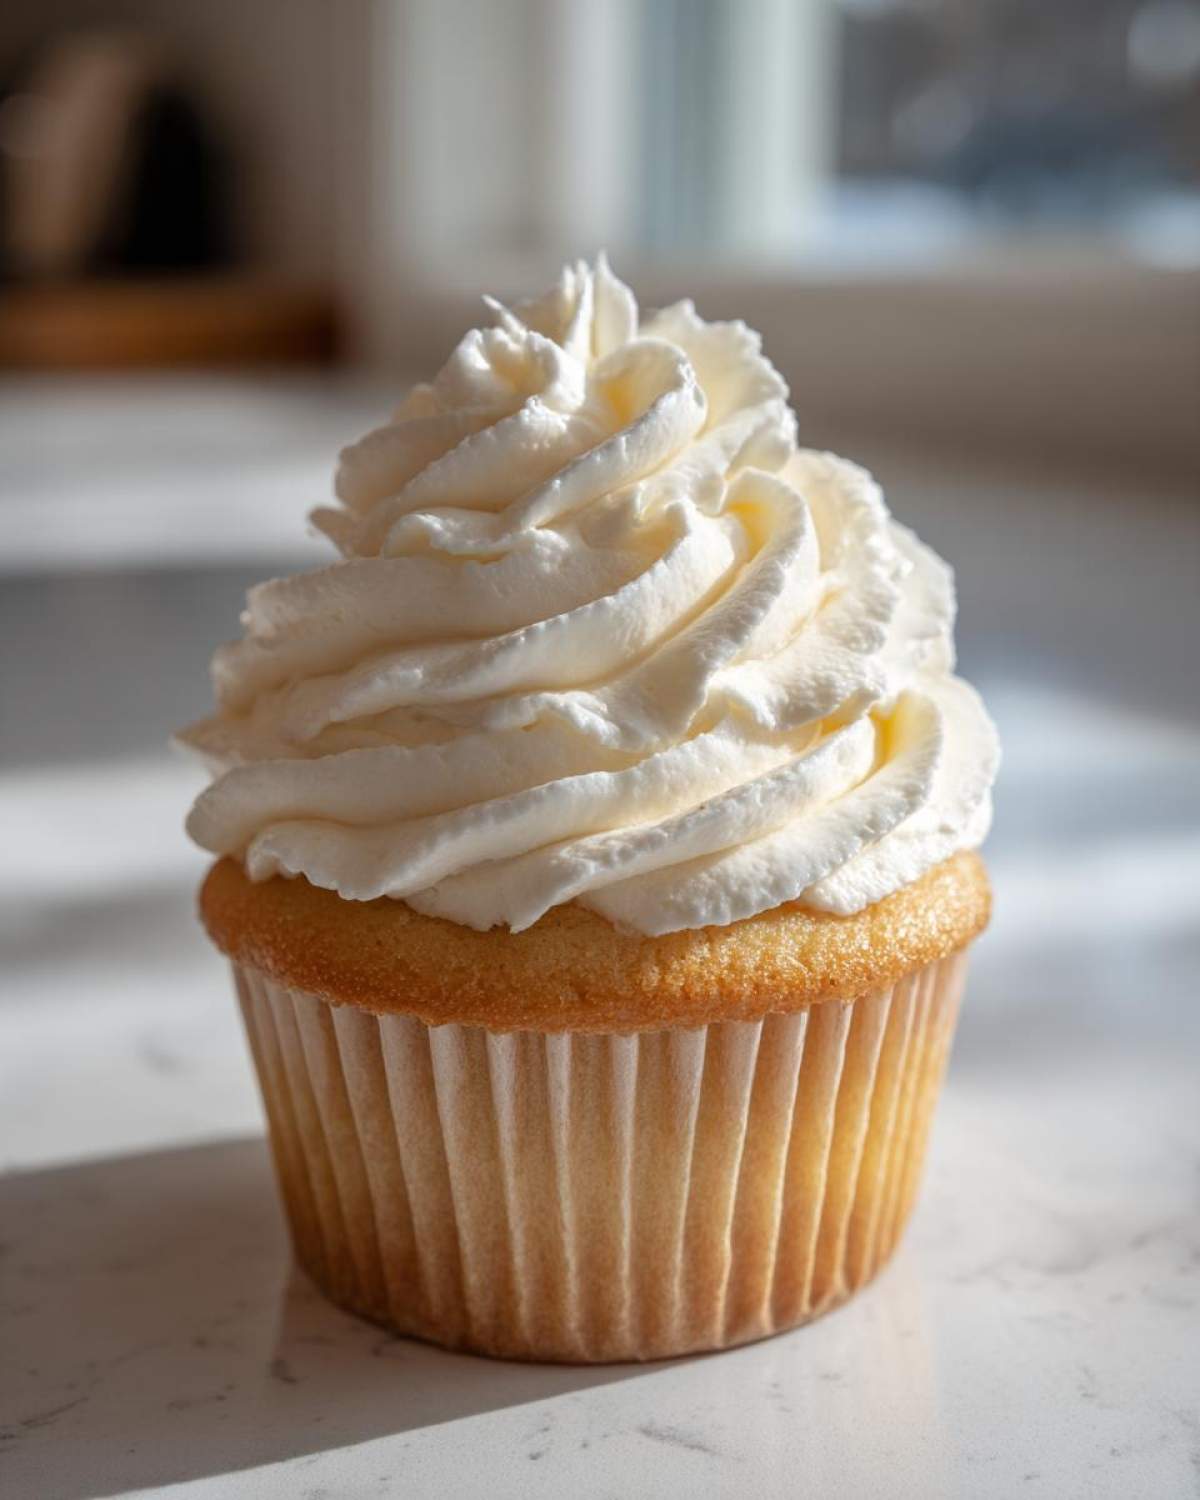
- Piping Powerhouse: This holds its shape beautifully. You can get those sharp edges and beautiful swirls you see online; it’s the best buttercream for cakes decorations.
- Versatility King: Whether you’re topping simple chocolate cupcakes or a three-layer vanilla wonder, this frosting adapts perfectly.
Gathering Ingredients for Perfect Vanilla Buttercream Frosting
Okay, just gathering the supplies is half the battle won with any vanilla buttercream frosting recipe. Since there’s no cooking involved here, the quality of what you put in really shines through. We only need five simple things, but we have to treat them right! We start with a full cup of unsalted butter—and I mean softened to room temperature, not melted, which is vital for structure. Then, we need our powdered sugar, which absolutely must be sifted before it even thinks about meeting the butter.
Don’t skip the tiny pinch of salt, either! Ethan always says it’s like turning up the volume on the sweetness without making it sickly. The vanilla and cream (or milk) bring it all together beautifully.
Ingredient Specifics and Substitutions
When it comes to vanilla, please—reach for the pure extract. The imitation stuff just tastes synthetic next to real high-quality butter and sugar. The biggest non-negotiable here is the butter temperature. If it’s too cold, you get lumps that never blend out. If it’s warm or melty, the fat separates, and you end up with greasy, sad frosting. We need that perfect, pliable room temperature for the creaming science to work its magic! If you want a slightly richer taste for your creamy vanilla frosting recipe, you can swap the heavy cream for half-and-half; just use 1 teaspoon less to start, since it’s slightly thinner.
Step-by-Step Instructions: How to Make Smooth Buttercream
Getting this vanilla buttercream frosting right is ninety percent technique, and believe me, it’s easy once you know the rhythm! We’re using a stand mixer here, but a good hand mixer works just as well. The goal is to incorporate air slowly and carefully so you don’t end up with a gritty, stiff mess. We want light, airy, and ready to spread on your beautiful vanilla cake recipe!
Creaming the Butter for Fluffy Vanilla Icing Tutorial
This is where Ethan and I used to argue! I wanted the science, he wanted the feel. What we learned is you need both. Put that room-temperature butter into your mixer bowl—no clumps allowed! Beat it on medium speed until it’s absolutely, undeniably smooth and creamy. It should look almost wet. Don’t rush this; scrape down the sides after a minute or so, and keep going until you hit about two full minutes of glorious, smooth butter.
Incorporating Sugar and Achieving Buttercream Frosting Piping Consistency
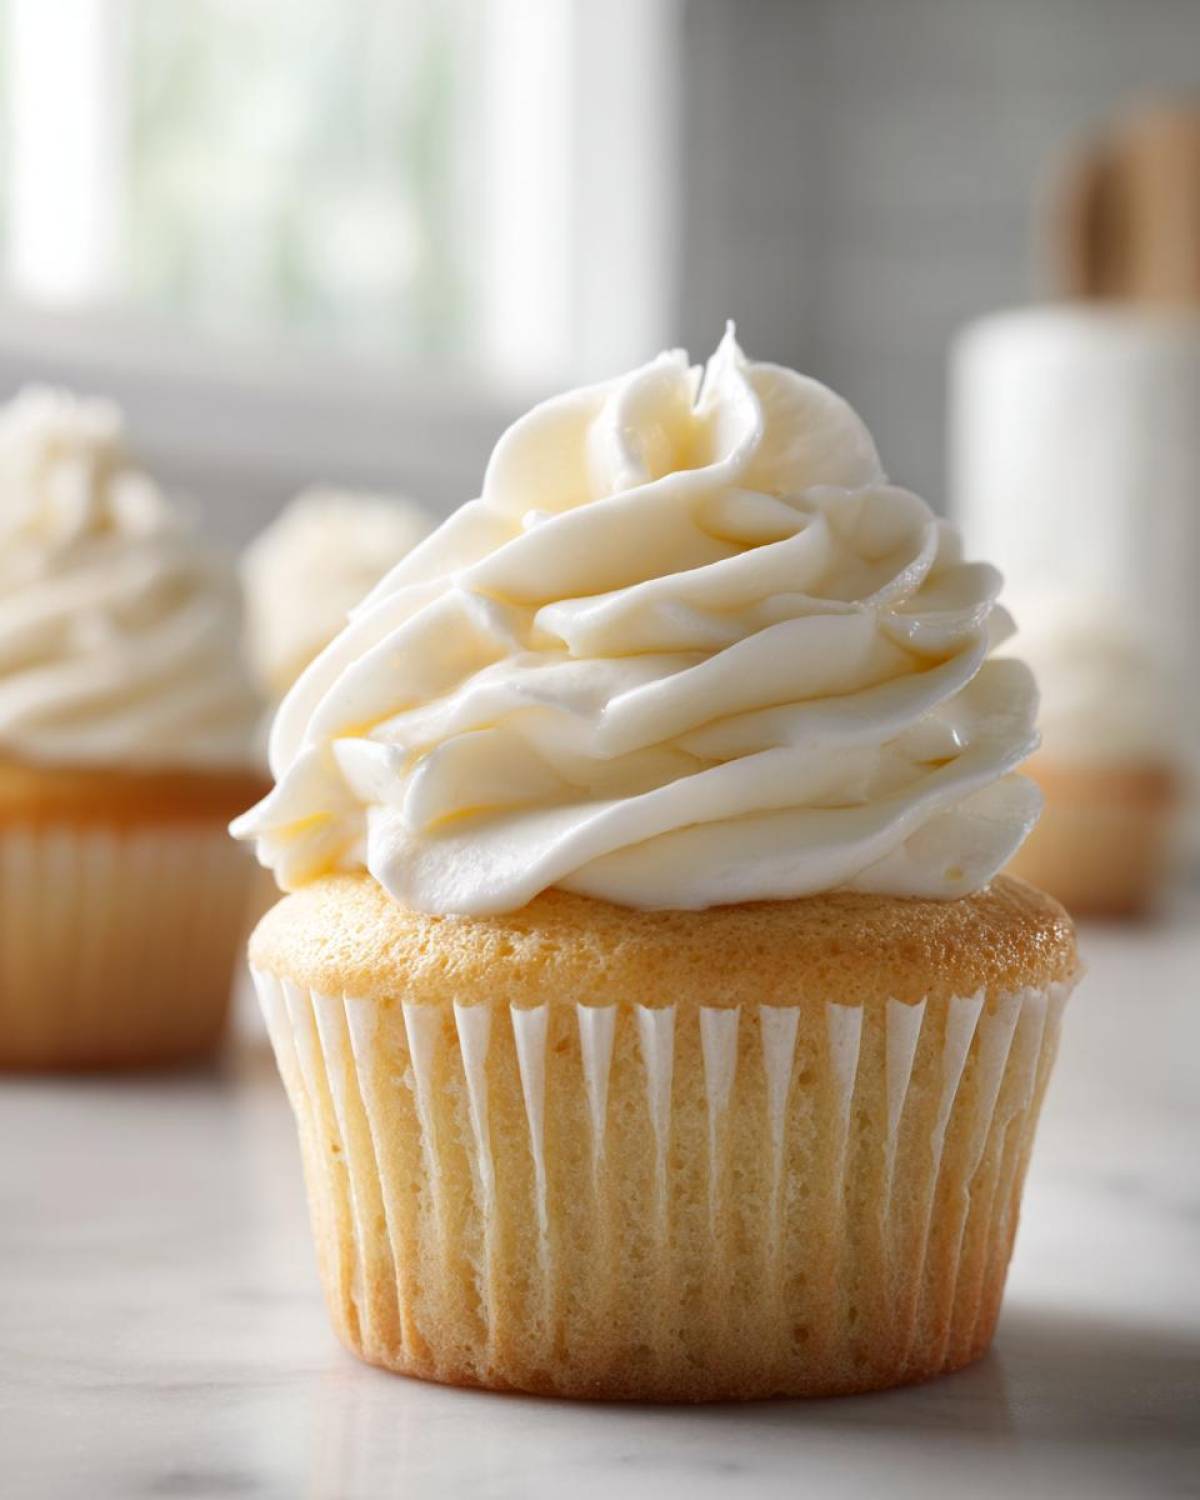
Now comes the cautious part of our fluffy vanilla icing tutorial. Turn the speed way down to low! Add that sifted powdered sugar one cup at a time. If you dump it all in at once, you’ll be wearing your frosting, trust me! Once it’s all mixed in, add your vanilla and salt. Now, hit the high speed—medium-high, really—and let that mixer run for a solid 3 to 5 minutes. This whipping stage is what creates our gorgeous volume and sets up that perfect buttercream frosting piping consistency. You’ll see the color lighten up significantly!
Troubleshooting Common Vanilla Buttercream Frosting Issues
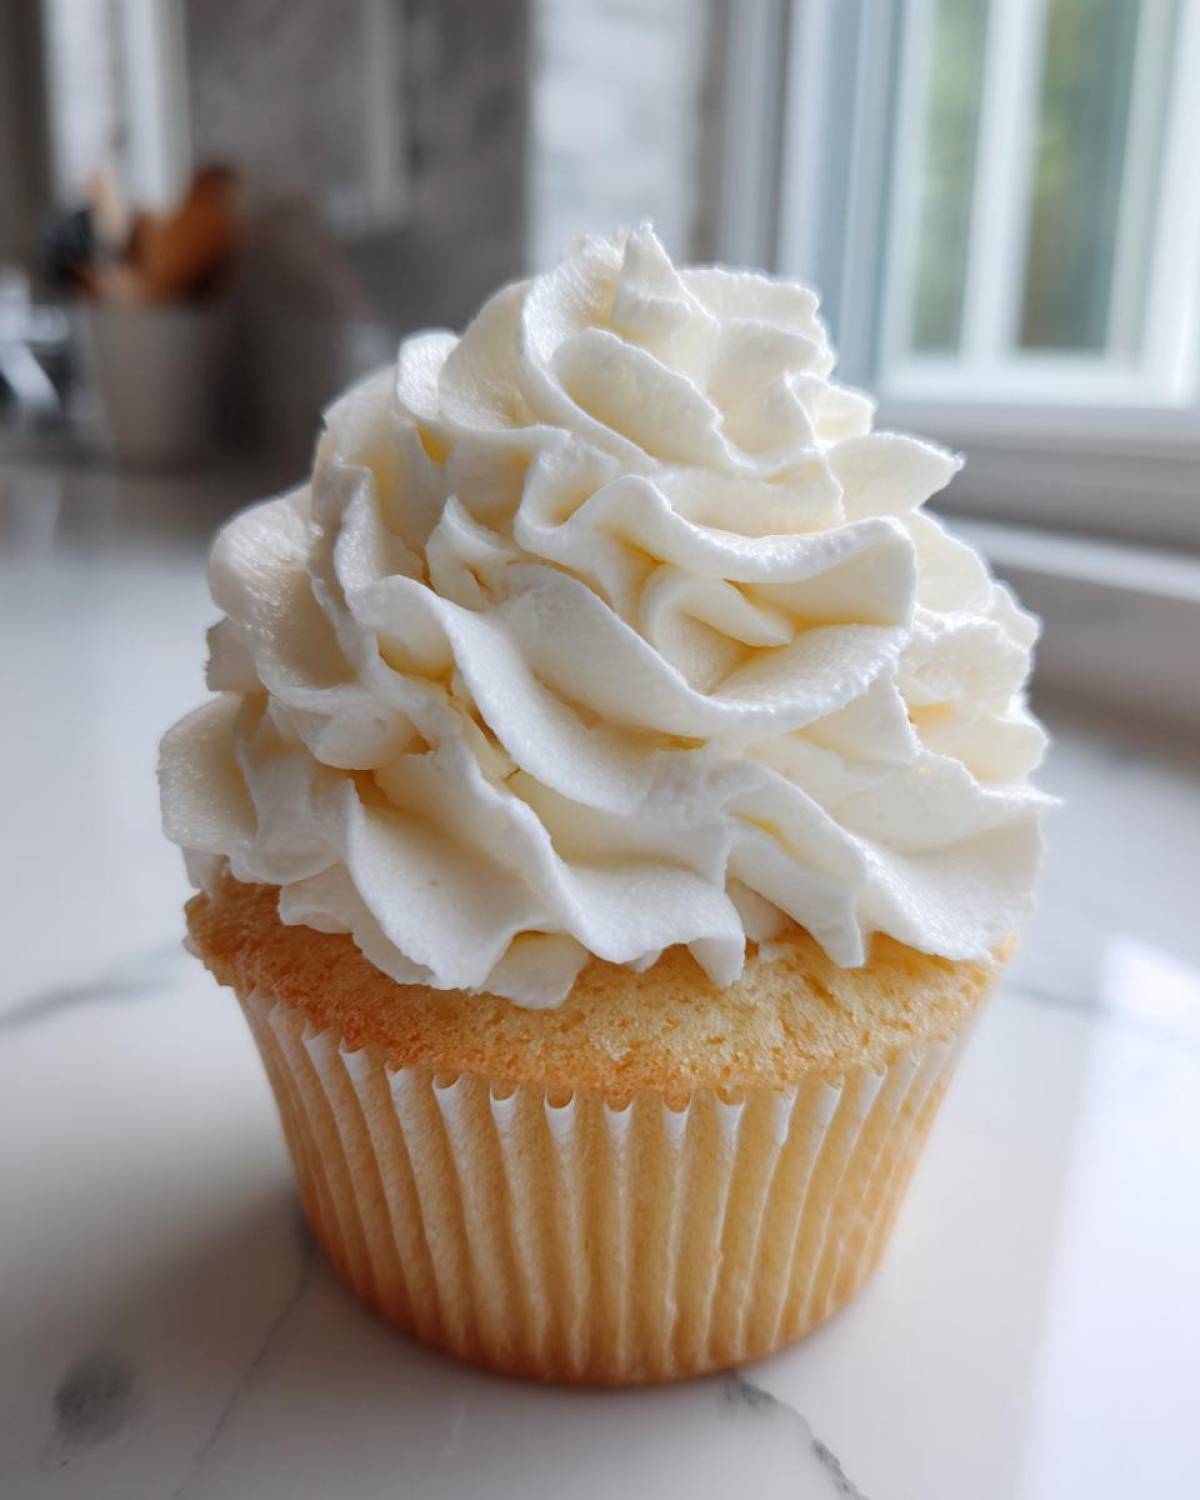
Even when you follow the blueprint perfectly, sometimes the humidity or the butter temperature gods aren’t on your side. Don’t panic if your vanilla buttercream frosting looks a little wonky right after mixing; this is the easiest fix! The problems almost always boil down to consistency, and we fix those by either adding a tiny bit more liquid or a bit more sugar. It’s totally reversible, so you won’t waste any ingredients!
Fixing Runny or Stiff Homemade Frosting
If your frosting is too stiff—maybe it looks like it’s resisting the spatula—just add more liquid. Slowly add your heavy cream or milk, one teaspoon at a time, beating on medium speed until it softens up to the right spreading texture. Now, if you have the opposite problem and your easy homemade frosting looks completely runny and soupy, don’t reach for the milk! You need to add more bulk. Mix in about 1/4 cup of sifted powdered sugar at a time. Beat it well after each addition until you get that perfect, smooth buttercream you’re aiming for. This is exactly how we nail that how to make smooth buttercream goal every time!
Tips for Success with Your Easy Homemade Frosting
I want you to feel totally confident making this frosting, because once you nail the technique, you’ve mastered every other butter and sugar frosting out there! Remember what I said about the butter? Seriously, don’t try to rush softening it in the microwave. Cold butter rips the texture apart, and melted butter makes the whole thing greasy. You need pliable, room-temperature butter for that beautiful lift.
Also, for the flavor profile of this easy homemade frosting, please stick with pure vanilla extract if you can. Ethan’s nose can detect imitation vanilla from across the room, but even without his expert nose, the difference is noticeable in a frosting where vanilla is the star flavor. Keep these things in mind, and your results on that next batch will be fantastic!
Storage and Reheating Instructions for Vanilla Buttercream Frosting
So you made too much glorious frosting—and honestly, who hasn’t? Good news: this vanilla buttercream frosting stores wonderfully, which is great when you’re planning ahead for those next vanilla frosting for cupcakes!
For short-term storage, keep it airtight on the counter for a day if your kitchen isn’t super warm, but refrigeration is best for longer keeping. Pop that buttercream into a completely airtight container (or press a layer of plastic wrap directly onto the surface to block air) and stash it in the fridge for up to two weeks. Don’t freeze it, though; the texture doesn’t love the deep freeze.
When you pull it out, it’ll be rock hard, which is normal. Just let it sit on the counter for an hour or two until it’s pliable again. Then, you *have* to give it a quick whip with the mixer—just 30 seconds on medium speed—to bring all that beautiful air back in. That re-whipping step is the secret to getting the perfect smooth texture back before decorating!
Serving Suggestions for This Simple Desserts Topping
This isn’t just for birthday cakes, folks! Once you have this classic American buttercream perfected, you need to start using it everywhere. Seriously, it’s the ultimate simple desserts topping. Remember how much work we put into that perfectly gooey pecan pie cookie? A little dollop of this fluffy frosting on top makes it dessert royalty.
It’s amazing warmed just slightly and drizzled over dense chocolate brownies—it melts just enough to seep in! And don’t forget about quick treats: frost a simple sugar cookie, or top the squares of a baked coffee cake when it comes out of the oven. A swipe of this over a slice of apple dapple cake is just heavenly. Get creative; this frosting needs to be shown off!
Frequently Asked Questions About Vanilla Buttercream Frosting
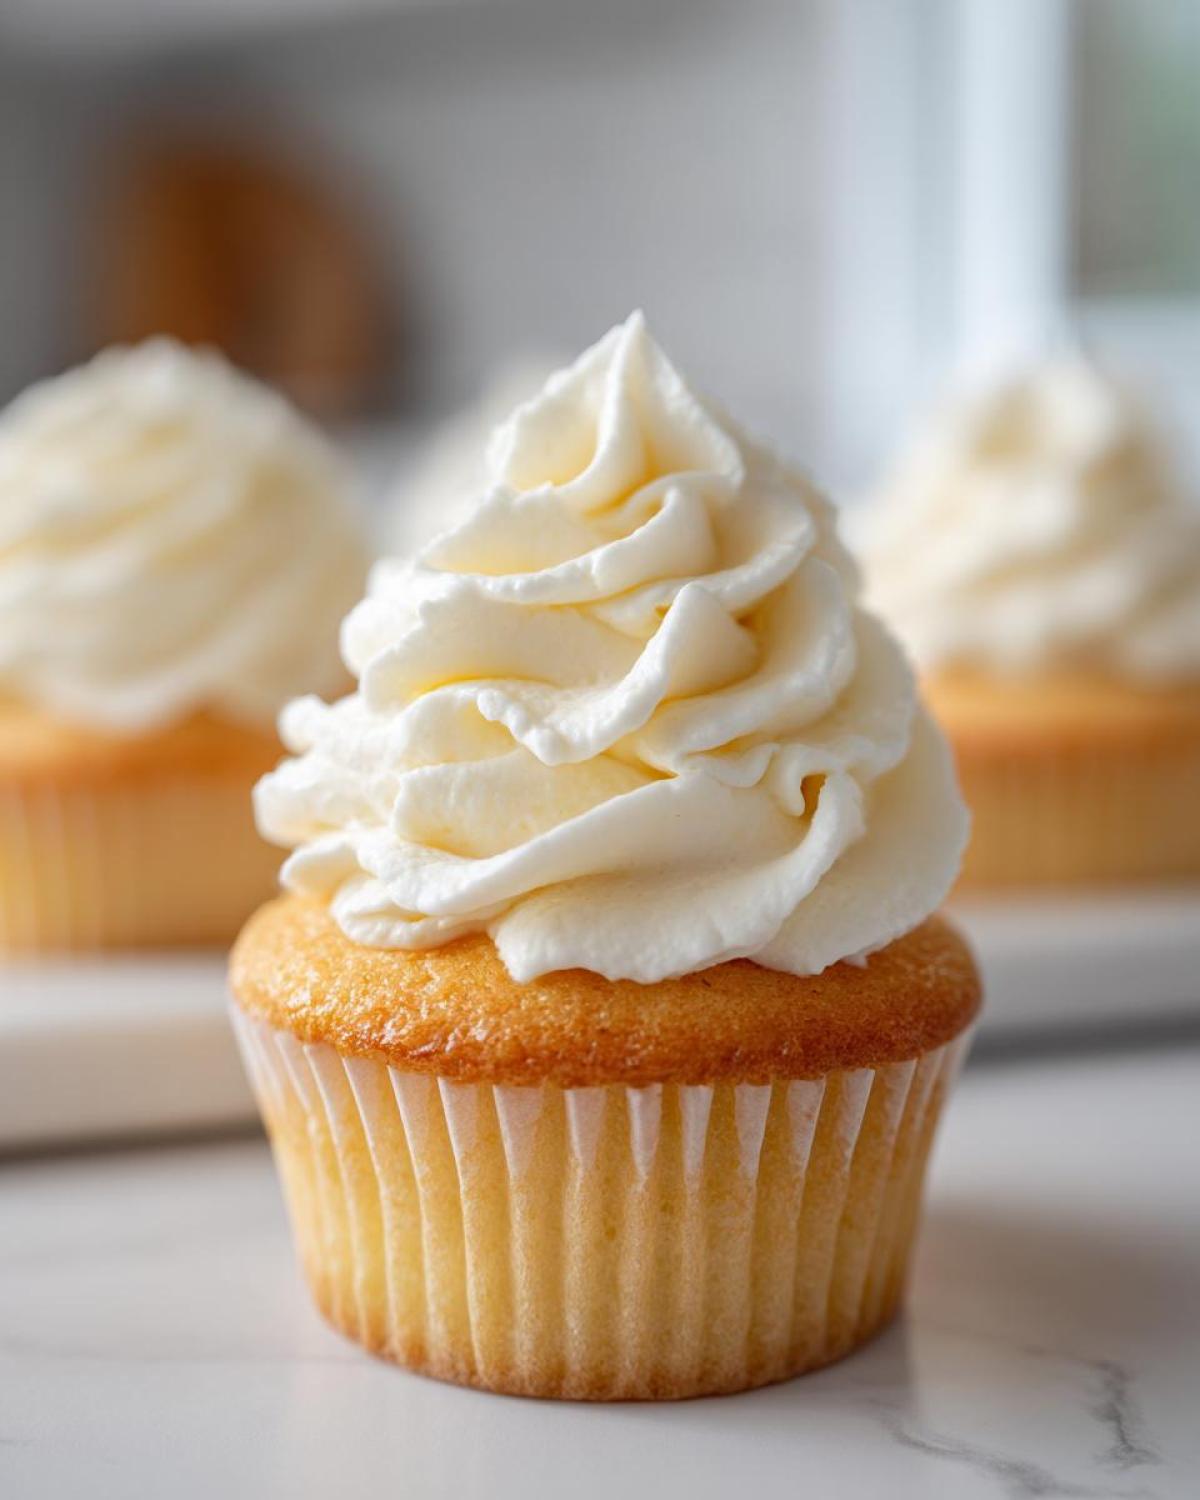
I love getting questions about this recipe because it means you’re getting ready to bake! Nobody wants frosting drama, so let’s clear up anything you might be wondering about before you turn on that mixer. Here are the things Maya and I get asked most often about getting this classic American buttercream just right for cakes and everything else.
Can I make this vanilla buttercream frosting ahead of time?
Yes, you absolutely can! I covered this a bit above, but it’s worth repeating because planning ahead is essential. You can safely store this frosting in an airtight container in the fridge for up to two weeks. Just remember the key step when you pull it out: let it warm up on the counter until it’s just soft enough to manipulate, and then give it a quick 30-second blast with the mixer. That re-whipping brings all the air back so it’s ready to spread beautifully across your moist chocolate cake!
What is the secret to a truly smooth buttercream?
Easy! It comes down to two things: temperature and preparation. First, your butter must be perfectly room temperature—soft, pliable, but definitely not greasy or melted. Second, you absolutely have to sift your powdered sugar! If you don’t, those tiny, hard lumps of sugar won’t dissolve into the fat, and you end up with that gritty texture. Sifting ensures you get the smooth, silky finish necessary for the best buttercream for cakes decorations.
How do I make my frosting whiter for sharp decorations?
That’s a great question if you’re going for a super bright white look, maybe for holiday cookies or specific color themes! The yellow tone comes from the butter and the brown notes in the vanilla. If you want a stark white finish, you can substitute the standard pure vanilla extract—which has those darker compounds—with clear vanilla extract. That small swap makes a huge noticeable difference in the final color palette, though I always prefer the taste of the pure stuff when I can manage it!
Does this recipe hold up well for piping details?
It really does, provided you manage the liquid! Our recipe aims for that perfect middle ground, but if you are focusing heavily on intricate piping, just lean towards adding less cream initially. If the frosting feels slightly too soft after the initial 5-minute whip, resist adding more cream! Instead, let it mix for another minute, or add just a teaspoon of extra sifted powdered sugar. That slight stiffness is what gives you razor-sharp edges on your vanilla frosting for cupcakes.
Nutritional Snapshot of This Butter and Sugar Frosting
I know we’re focused on flavor and fluffy texture here when we make this butter and sugar frosting, but sometimes folks are curious about what they’re consuming! Ethan always reminds me that frosting is not a health food, but it’s good to have a general idea of what you’re including in your celebration treats.
This data is just a quick estimate based on the standard ingredients listed in our recipe for one serving size (about 1/4 cup). Cooking science is complex, and exact values can shift slightly based on the specific brand of butter or sugar you use, so take these as a good baseline!
- Serving Size: 1/4 cup
- Calories: 350
- Sugar: 55g
- Fat: 15g (with 9g saturated)
- Protein: 1g
- Cholesterol: 45mg
As you can see, it’s definitely a treat designed for special occasions, packed with the richness from the butter and the sweetness from the sugar, which is exactly what you want for an indulgent vanilla buttercream frosting!
PrintThe Best Classic American Vanilla Buttercream Frosting

Make this easy homemade frosting for creamy, fluffy vanilla buttercream frosting perfect for cakes and cupcakes. This no-cook buttercream recipe is simple to whip up and holds its shape well for piping consistency.
- Prep Time: 10 min
- Cook Time: 0 min
- Total Time: 10 min
- Yield: About 3 cups
- Category: Dessert Topping
- Method: Mixing
- Cuisine: American
- Diet: Vegetarian
Ingredients
- 1 cup (2 sticks) unsalted butter, softened to room temperature
- 4 cups powdered sugar, sifted
- 1 tablespoon pure vanilla extract
- 3 to 4 tablespoons heavy cream or whole milk
- 1/4 teaspoon salt
Instructions
- Place the softened butter into the bowl of a stand mixer fitted with the paddle attachment (or use a large bowl with a hand mixer). Beat the butter on medium speed until it is completely smooth and creamy, about 2 minutes. Scrape down the sides and bottom of the bowl.
- Gradually add the sifted powdered sugar, one cup at a time, mixing on low speed until just combined after each addition. This prevents a sugar cloud in your kitchen.
- Once all the sugar is incorporated, add the vanilla extract and salt. Mix on low speed until combined.
- Add 3 tablespoons of heavy cream or milk. Increase the mixer speed to medium-high and beat for 3 to 5 minutes. You are whipping air into the frosting to make it light and fluffy. Scrape down the bowl halfway through this whipping time.
- Check the consistency. If the vanilla buttercream frosting is too stiff for spreading or piping, add the remaining 1 tablespoon of cream, one teaspoon at a time, until you reach your desired smooth buttercream texture.
- If the frosting seems too soft or runny, add 1/4 cup more sifted powdered sugar and beat for one minute to firm it up.
- Use immediately to frost your cakes or cupcakes. This classic American buttercream is ready for decorating.
Notes
- Room temperature butter is crucial for smooth buttercream. If your butter is too cold, the frosting will be lumpy. If it is melted, the frosting will be greasy.
- For the best flavor, use pure vanilla extract, not imitation.
- If you need a very stiff vanilla frosting for piping detailed designs, reduce the liquid (cream/milk) slightly and ensure your butter is cool, but still pliable.
- To make this frosting whiter, substitute the vanilla extract with clear vanilla extract.
Nutrition
- Serving Size: 1/4 cup
- Calories: 350
- Sugar: 55
- Sodium: 55
- Fat: 15
- Saturated Fat: 9
- Unsaturated Fat: 6
- Trans Fat: 0
- Carbohydrates: 55
- Fiber: 0
- Protein: 1
- Cholesterol: 45