

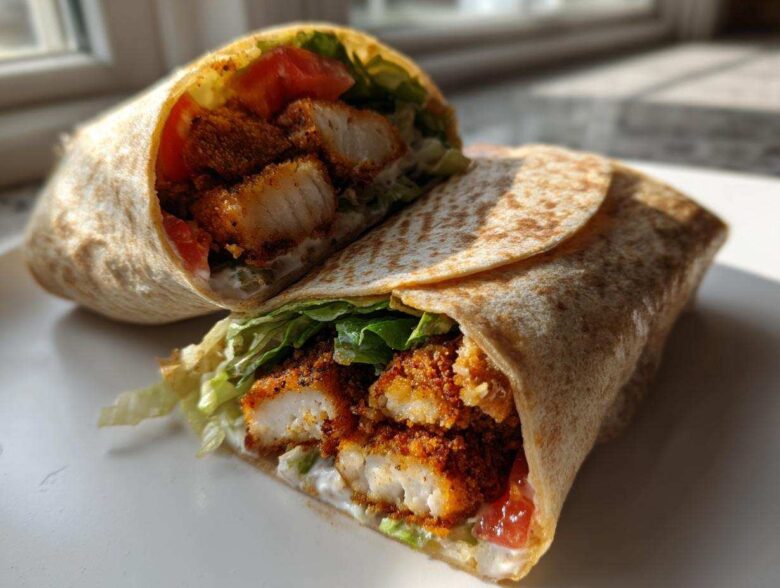
Oh my gosh, do you ever just crave that perfect noise? That sound only happens when you bite into something truly, spectacularly crispy? I spent what felt like years trying to nail the ultimate crunch in something you can eat on the go, and I finally cracked the code. Forget flimsy sandwich fillings; this is the definitive recipe for a Crispy Chicken Wrap with Garlic Yogurt Sauce that will rock your world. Seriously, this sauce is addictive, and the chicken stays shatteringly crisp for ages if you follow my little secret trick!
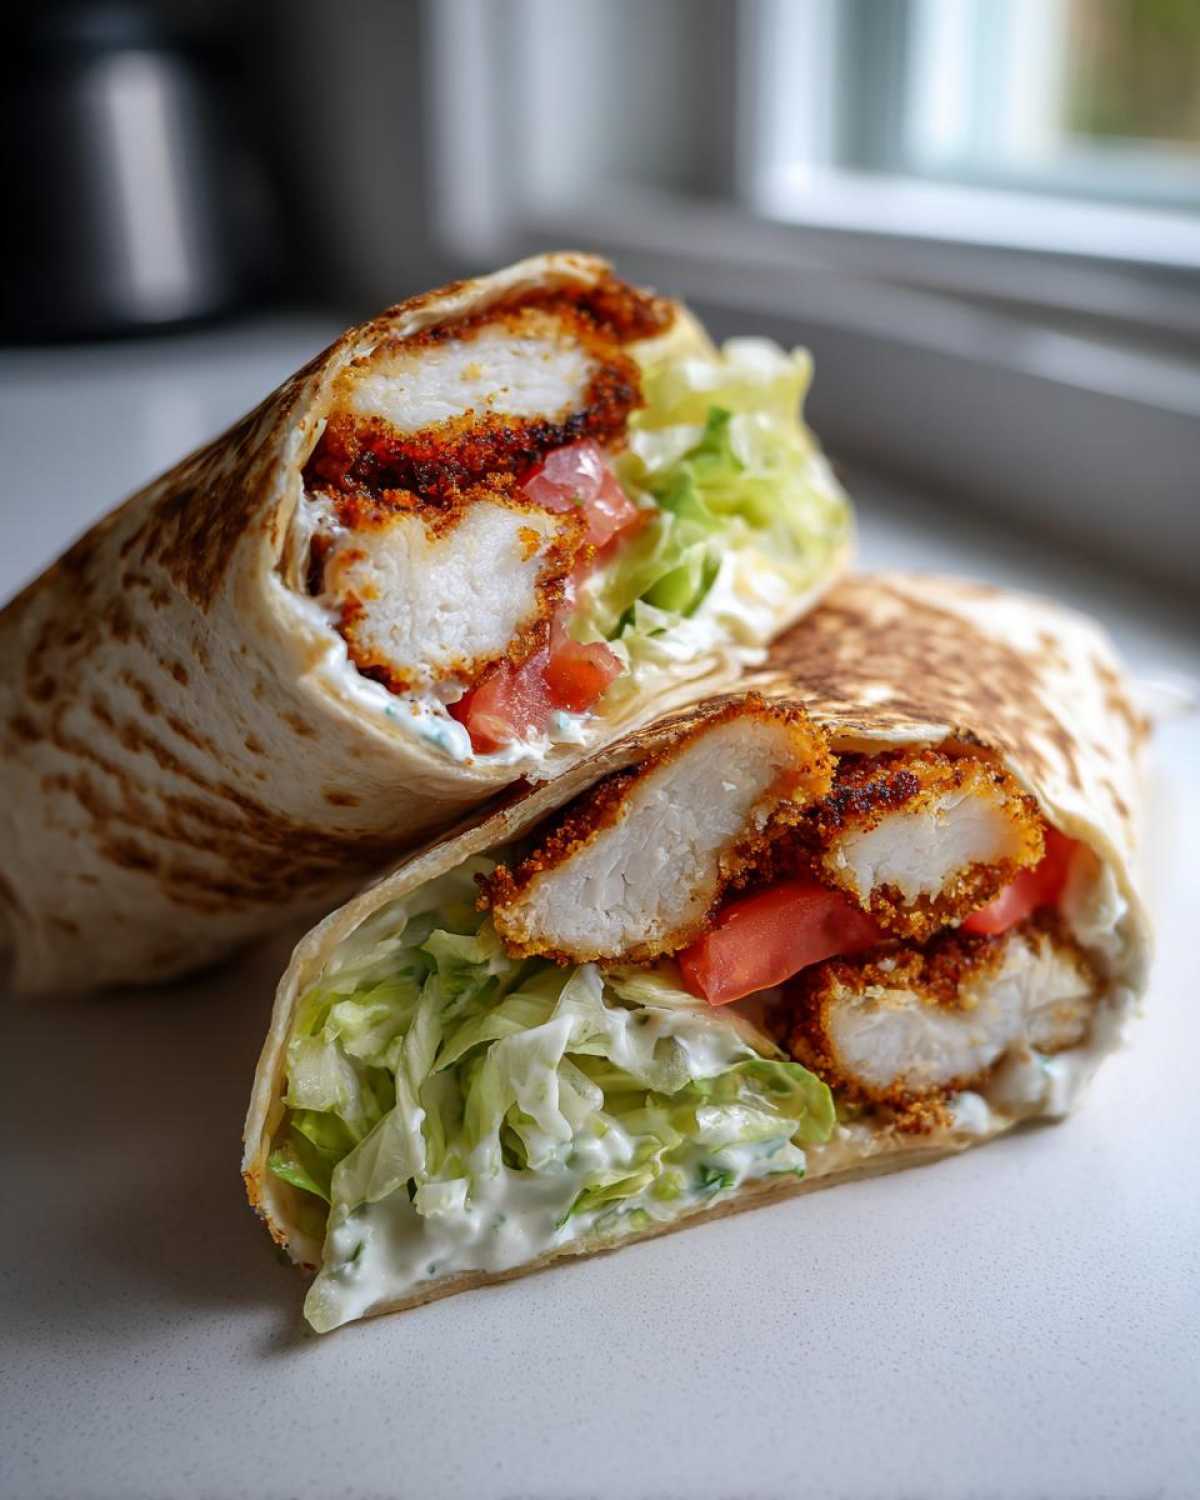
If you’re looking for a super satisfying lunch idea or a fun weeknight dinner that feels gourmet but takes barely any time, you’ve found it. Let’s get cooking!
Why This Crispy Chicken Wrap with Garlic Yogurt Sauce Is Your New Favorite
Listen, there are wraps, and then there are *wraps*. This one hits every single craving:
- The crunch factor on this chicken is non-negotiable—we use panko for a reason!
- Flavor harmony! That tangy, cool garlic yogurt sauce perfectly cuts through the richness of the hot, savory chicken.
- It’s fast enough for a hectic Tuesday night but feels like something special.
- It’s sturdy! It packs well for lunch because these components hold their integrity (unlike soggy messes, bleh).
Gathering Ingredients for Your Crispy Chicken Wrap with Garlic Yogurt Sauce
Okay, before we even think about heating up the oil, we need our cast of characters ready to go. I always organize everything into little bowls right next to my assembly station—it saves me running around later when the chicken is piping hot! Getting these ingredients prepped separates a good wrap from the absolute best.
Don’t skip the Panko breadcrumbs; that’s our secret weapon for crunch, period. If you’re interested in making some killer homemade pickles to go alongside these, check out my recipe for refrigerator pickles to chop up in there!
For the Crispy Chicken Coating and Chicken
This is everything you need to get those chicken strips perfectly golden and crunchy:
- 2 large chicken breasts, cut into strips (about the size of your pointer finger, maybe a tad thicker)
- 1 cup all-purpose flour
- 2 large eggs, beaten well
- 1 1/2 cups panko breadcrumbs (don’t substitute this!)
- 1 teaspoon salt
- 1/2 teaspoon black pepper
- 1/2 teaspoon paprika
- Vegetable oil for frying (or cooking spray if you’re air frying)
For the Garlic Yogurt Sauce for Wraps
This creamy sauce ties everything together. You need that cool, herby punch!
- 1 cup plain Greek yogurt (make sure it’s the thick kind)
- 2 cloves garlic, minced super fine
- 1 tablespoon fresh lemon juice
- 1 tablespoon fresh dill, chopped up small
- 1/4 teaspoon salt
For Assembling the Ultimate Crispy Chicken Wrap
These are your fresh elements—the things that keep the wrap refreshing and not too heavy:
- 4 large flour tortillas
- 1 cup shredded lettuce (iceberg or romaine works best for crunch)
- 1/2 cup sliced tomato
- 1/4 cup thinly sliced red onion
Step-by-Step Instructions for the Crispy Chicken Wrap with Garlic Yogurt Sauce
This part moves fast, so having your little bowls ready is key! We are building the crunch structure first, then we zap the chicken with heat, and finally, we whip up that cool sauce while the chicken rests. I recommend starting your oil heat or preheating the air fryer right before you start dredging so everything lines up perfectly.
Preparing and Coating the Chicken for Maximum Crunch
You need three stations set up for this dredging process. First, lay out your flour, then the beaten eggs, and finally the panko mixture (the seasoned crumbs). Take each chicken strip and gently coat it in the flour first—shake off the powdery excess. Next, dunk it fully in the egg wash, letting the extra drip off, and then press it firmly into the panko. You want that crust to really stick! Here’s my big secret: if you have an extra 15 minutes, just toss the breaded strips onto a rack and chill them. It helps the crust lock on before it hits the heat. Trust me on this one!
Cooking Methods: Frying or Air Frying the Chicken
For frying, you’ll want about an inch of oil in a skillet set over medium-high heat. Once the oil shimmers (around 350°F, if you’re checking), carefully drop in the chicken strips. Fry them for about three to four minutes on each side until they are gorgeously golden brown and cooked through. Always check that internal temp—it needs to hit 165°F for safety! If you’re using the air fryer, set it to 400°F and cook for 12 to 15 minutes, flipping them halfway through. Either way, drain them immediately on a wire rack so they don’t steam and lose their crunch!
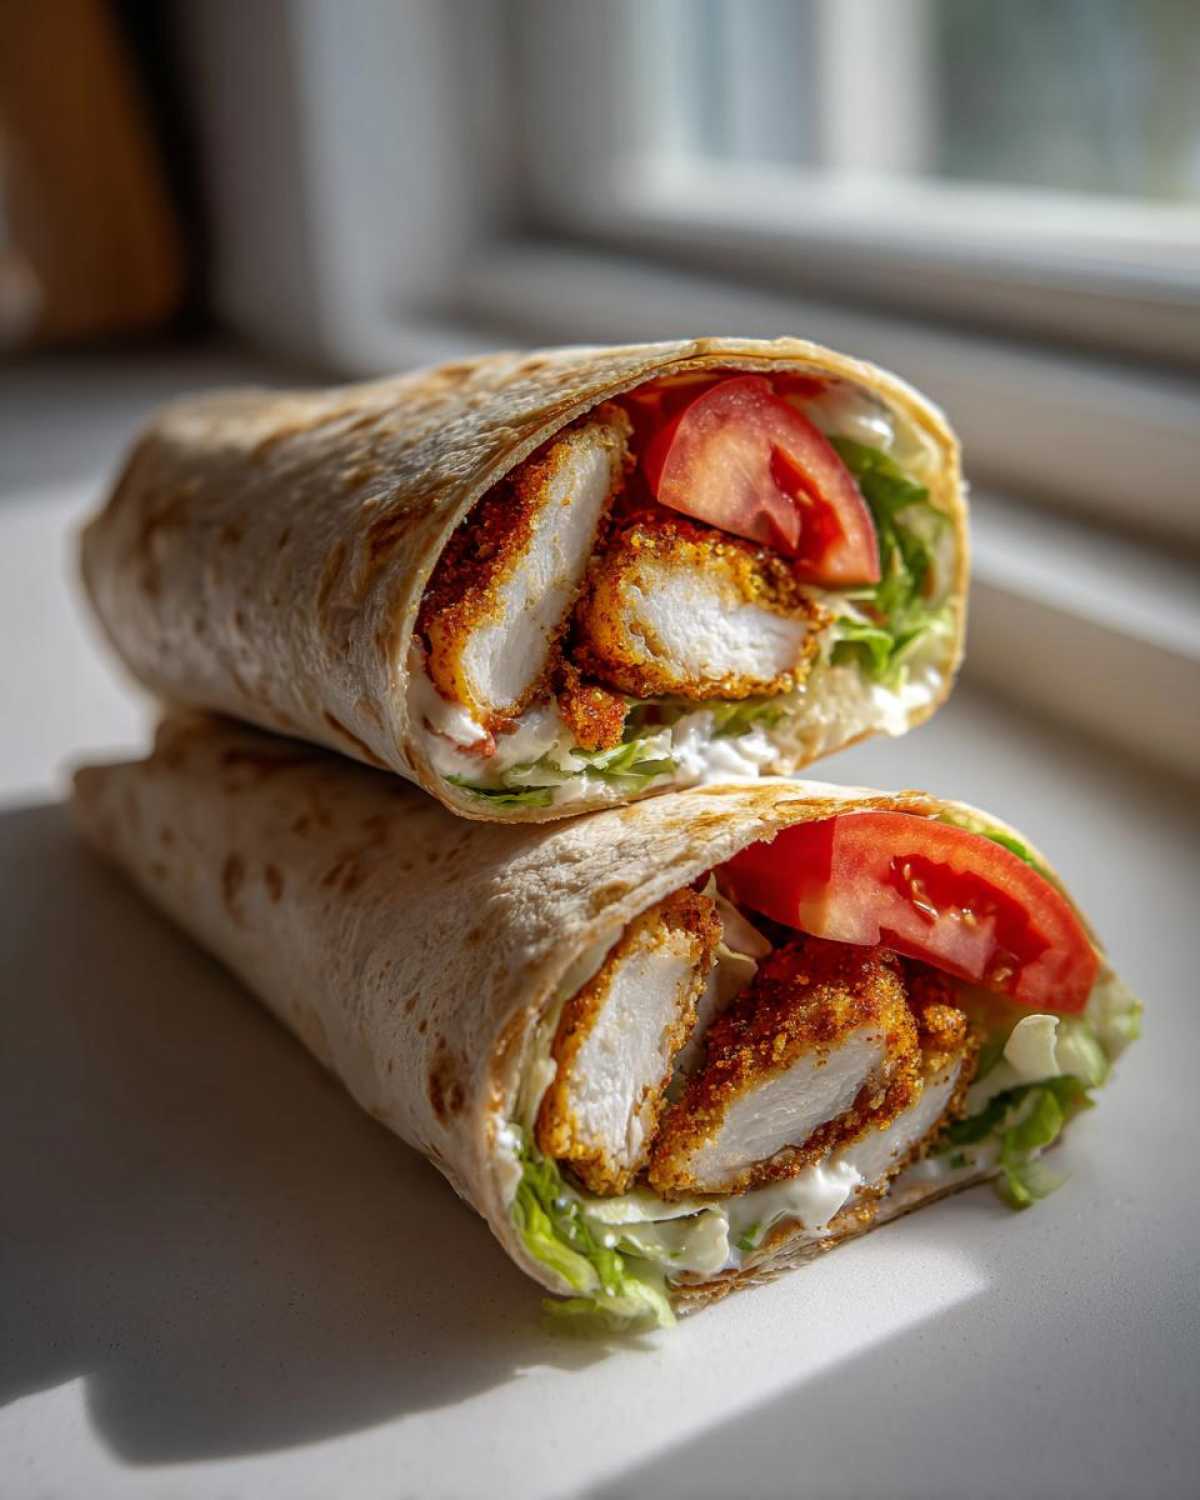
Mixing the Flavorful Garlic Yogurt Sauce Dip for Chicken
While that chicken is draining or resting, hop over to making the sauce. It’s so simple! Grab a small bowl and just stir together that thick Greek yogurt, the finely minced garlic, that punch of lemon juice, the fresh dill, and salt. Mix it until it’s completely smooth. Because we use Greek yogurt, this yogurt sauce dip for chicken stays nice and thick, which is exactly what you want when wrapping!
Assembling Your Perfect Crispy Chicken Wrap
Time for the grand finale! Warm up those tortillas until they are super pliable—a quick 15 seconds per side in a dry skillet works wonders. LAY the tortilla flat. Spread a good spoonful of your garlic yogurt sauce right across the middle. Then, pile on the lettuce, top with the tomato slices and red onion. Finally, layer on 3 or 4 pieces of that amazing crispy chicken. Fold in the sides first, and then roll it up tightly from the bottom edge. Slice it on a diagonal if you’re feeling fancy, but honestly, eating it huge is just as good!
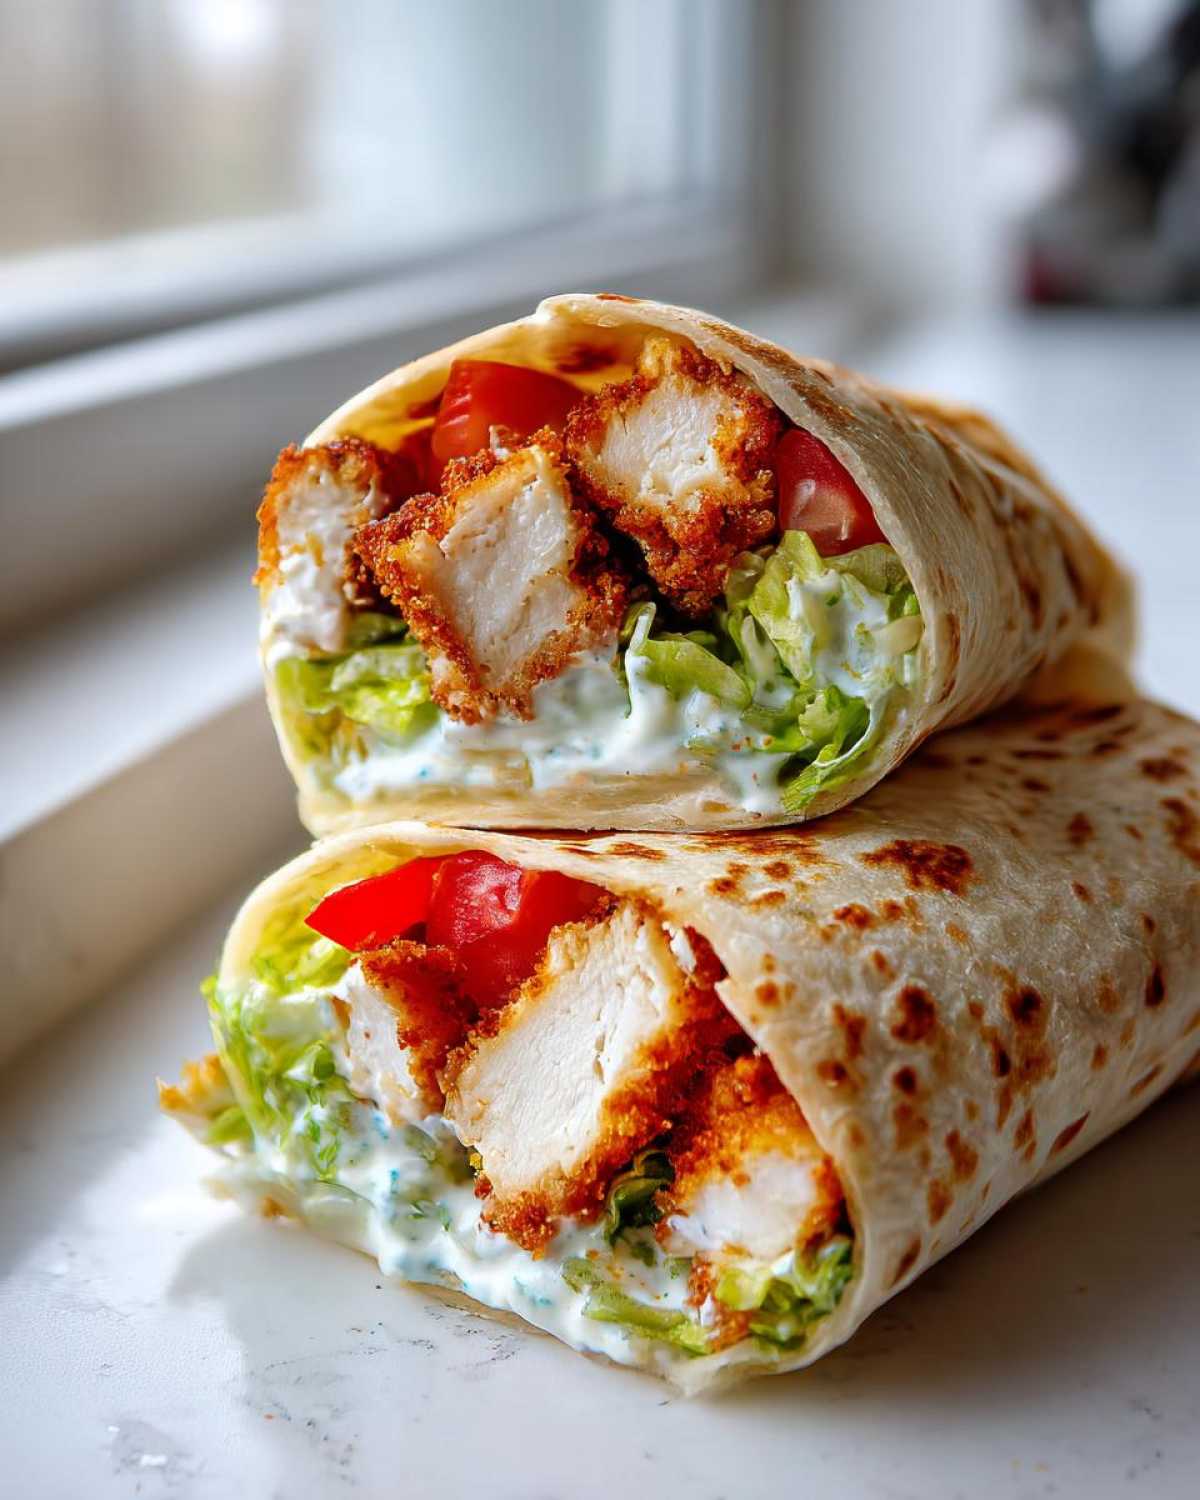
Tips for Success Making the Best Crispy Chicken Wrap
I’ve learned a few tricks over the years to make sure these wraps are never, ever soggy. First, remember that tip about chilling the breaded chicken? Please, please do it if you have time. That 15 minutes in the fridge makes the oil work harder on the crust, not on melting the breading off!
When you’re cooking the chicken, make sure your oil is hot enough. If it’s too cool, the chicken soaks up oil instead of crisping up, and that’s how you get a greasy wrap. Speaking of grease, make sure you drain those strips properly on a wire rack, not just paper towels, because air circulation underneath is crucial.
And finally, warm those tortillas perfectly! If they are cold, they crack when you roll them. My favorite method is heating them quickly in a dry cast-iron pan—it gives them a little bit of texture too, which is just what we need for a perfect chicken wrap dinner. Assemble right before you eat for peak crunch!
Variations on the Crispy Chicken Wrap with Garlic Yogurt Sauce
I totally get it—sometimes you need to shake things up! While the classic combo of savory chicken and that herby garlic yogurt sauce is perfection, this recipe is a fantastic base for getting creative. It’s so easy to turn this into a full-blown Mediterranean vibe or just switch up the spices!
When you’re getting your panko ready, think about swapping out that plain paprika for something with a little more kick. Smoked paprika is incredible here, or maybe a pinch of cayenne if you like things spicy. You could even mix in some onion powder or a tiny bit of dried oregano into the breading mixture for an extra layer of flavor when you’re making your crunchy chicken tortilla recipe.
For the assembly, don’t feel locked into just lettuce and tomato! I love adding crunch with shredded carrots or crisp cucumbers. If you want that Mediterranean Chicken Wrap twist, throw in some crumbled feta cheese and maybe swap the red onion for Kalamata olives. It pairs beautifully with the dill in the yogurt sauce!
And listen, if you don’t have dill for the sauce? No huge deal. Parsley works great, or even a little chopped mint if you’re feeling adventurous. The main thing is making sure that garlic yogurt base is bright and zesty. It’s super adaptable, so go ahead and make it your own!
Storage and Reheating Instructions for Leftover Crispy Chicken
Okay, here’s the hard truth about crispy things: they don’t love being wrapped up for tomorrow. If you have leftover chicken or sauce, you absolutely must store them separately! Keep the garlic yogurt sauce in an airtight container in the fridge; it stays great for about three days. You can totally prep a batch ahead of time for your next quick chicken lunch idea!
For the chicken, put it in a paper bag or a container lined with paper towels—this sucks up any lingering moisture so it doesn’t get soggy overnight. The best way to revive that crunch is NOT the microwave; please don’t torture it! Pop the chicken strips back in a 400°F oven or air fryer for just 5 minutes until they are hot and audibly crunchy again. Then, assemble your fresh wrap!
Frequently Asked Questions About Your Crispy Chicken Wrap Recipe
I know you guys always have the best questions once you get into the cooking flow! When you’re making a recipe like this amazing Crispy Chicken Wrap with Garlic Yogurt Sauce, details matter. Here are the things I get asked most often when people are whipping this up for an easy chicken wrap dinner.
Can I make this an Air Fryer Crispy Chicken Wrap?
Absolutely, yes! I know not everyone wants to deal with deep frying, and honestly, the air fryer does a fantastic job here. When you’re ready to cook, just arrange your breaded chicken strips in a single layer in the basket—you might have to do two batches, don’t overcrowd them! Set your air fryer to 400°F and let them run for about 12 to 15 minutes. Just make sure you flip them halfway through so both sides get golden brown and crunchy.
What is the best way to keep the chicken crispy until serving?
This is the most important question, right? The key here is twofold: first, draining! Make sure those chicken pieces are on a wire rack and not sitting in a pool of oil after you pull them out of the skillet. Second, assembly timing! This isn’t a wrap to make at 8 AM for lunch at noon. If you can, assemble your crunchy chicken tortilla recipe right before you sit down to eat. If you must prep ahead, keep the cooked chicken separate from the sauce and fillings until the absolute last minute.
What if I don’t have fresh dill for the sauce?
Don’t even sweat it if you’re staring at an empty herb drawer! Dill is lovely because it brings a slightly Mediterranean feel, but honestly, dried herbs work in a pinch, or you can easily swap it out. I find that fresh parsley adds a lovely, clean herbaceous note that’s a great substitute. If you want to double down on something bright, use a little extra lemon zest instead, or even throw in some dried oregano for a different kind of flavor profile!
Can I use store-bought crispy chicken instead?
You totally can if you are in a super tight pinch! It saves you about 20 minutes of prep time. However, I really think the magic in this dish is in that specific panko crust we make, plus you get to control the seasoning. If you do use pre-cooked chicken, just make sure you heat it until it’s piping hot in an oven or air fryer first before tossing it into the wrap. Frankly, though, making your own is worth the tiny bit of extra effort!
Estimated Nutritional Profile for the Crispy Chicken Wrap
Now, I have to tell you something important—I’m not a nutritionist, and this is just for fun! Since we’re dealing with frying oil, that number is going to look higher than if you baked everything. These figures are an estimate based on using the four servings listed in the recipe, so keep that in mind!
For one generously filled wrap, you are looking at roughly 550 calories, packing a whopping 40 grams of protein, which is phenomenal for keeping you full!
- Calories: 550
- Fat: 25g (about 5g saturated)
- Carbohydrates: 45g
- Protein: 40g
- Sugar: 8g
This recipe delivers serious staying power, perfect for fueling you through a busy afternoon. If you want to lower the fat content drastically, check out some of my other baked snacks, like these easy 5-ingredient protein bars!
Share Your Experience Making This Chicken Wrap Dinner
Alright, my kitchen buddy, that’s it! You’ve got the ultimate recipe for the Crispy Chicken Wrap with Garlic Yogurt Sauce right here. Seriously, I hope you love the crunch as much as I do. I really want to know how it turned out for you!
Did the dill in the sauce cut through everything perfectly? Did you cheat and use the air fryer, or did you go full-throttle with the frying method? Don’t be shy!
Hop down into the comments below and let me know how you rated this recipe—give it stars so the next person knows what to expect. And if you snapped a picture of your perfect, tightly rolled wrap masterpiece, definitely tag me on social media! I love seeing your kitchen creations, and you can always find me rambling about more quick dinner ideas over there.
Happy wrapping, everyone!
PrintCrispy Chicken Wrap with Garlic Yogurt Sauce

Make a satisfying crispy chicken wrap featuring crunchy breaded chicken and a simple, flavorful garlic yogurt sauce.
- Prep Time: 15 min
- Cook Time: 20 min
- Total Time: 35 min
- Yield: 4 servings
- Category: Lunch
- Method: Frying or Air Frying
- Cuisine: American
- Diet: Vegetarian
Ingredients
- 2 large chicken breasts, cut into strips
- 1 cup all-purpose flour
- 2 large eggs, beaten
- 1 1/2 cups panko breadcrumbs
- 1 teaspoon salt
- 1/2 teaspoon black pepper
- 1/2 teaspoon paprika
- Vegetable oil for frying (or cooking spray for air frying)
- 4 large flour tortillas
- 1 cup shredded lettuce
- 1/2 cup sliced tomato
- 1/4 cup thinly sliced red onion
- For the Garlic Yogurt Sauce:
- 1 cup plain Greek yogurt
- 2 cloves garlic, minced
- 1 tablespoon fresh lemon juice
- 1 tablespoon fresh dill, chopped
- 1/4 teaspoon salt
Instructions
- Prepare the chicken coating: Set up three shallow dishes. Place flour in the first, beaten eggs in the second, and panko breadcrumbs mixed with salt, pepper, and paprika in the third.
- Dredge each chicken strip first in flour, shaking off excess. Dip into the egg, letting excess drip off. Finally, press firmly into the panko mixture to coat completely.
- Cook the chicken: Heat about 1 inch of oil in a large skillet over medium-high heat. Fry the chicken strips for 3-4 minutes per side until golden brown and cooked through (internal temperature reaches 165°F). Alternatively, air fry at 400°F for 12-15 minutes, flipping halfway. Drain cooked chicken on a wire rack or paper towels.
- Make the sauce: In a small bowl, combine the Greek yogurt, minced garlic, lemon juice, chopped dill, and salt. Stir until smooth.
- Warm the tortillas: Heat the flour tortillas briefly in a dry skillet or microwave until pliable.
- Assemble the wraps: Lay a warm tortilla flat. Spread a generous amount of garlic yogurt sauce down the center. Layer with shredded lettuce, tomato slices, red onion, and several pieces of crispy chicken.
- Fold and serve: Fold in the sides of the tortilla, then roll tightly from the bottom up to create the wrap. Slice in half if desired and serve immediately.
Notes
- For extra crispiness, chill the breaded chicken for 15 minutes before frying or air frying.
- You can substitute dill with fresh parsley in the yogurt sauce.
- Use a thicker Greek yogurt for a sauce that holds up better in the wrap.
Nutrition
- Serving Size: 1 wrap
- Calories: 550
- Sugar: 8
- Sodium: 750
- Fat: 25
- Saturated Fat: 5
- Unsaturated Fat: 20
- Trans Fat: 0
- Carbohydrates: 45
- Fiber: 3
- Protein: 40
- Cholesterol: 110