

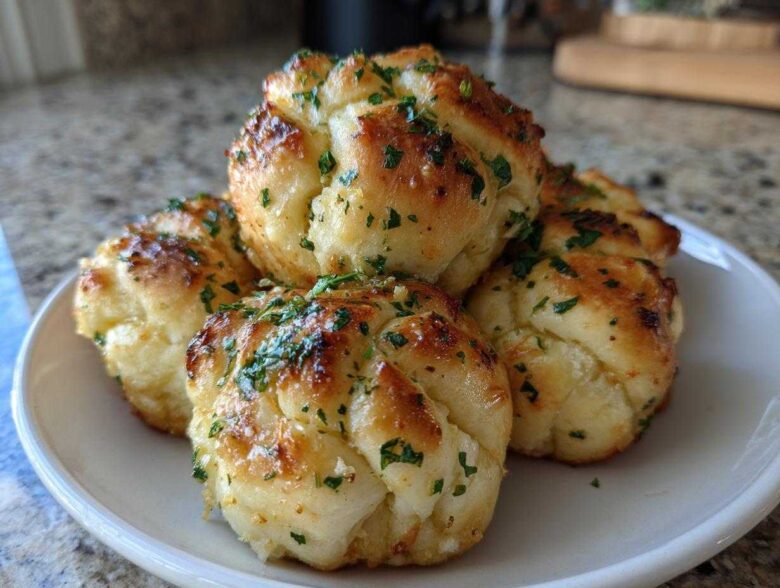
Forget those dry, sad little bundles you get sometimes on the side of your takeout pizza. Seriously, we can do so much better! I’m here today to share my absolute favorite recipe for the Ultimate Soft & Chewy Garlic Knots with Roasted Garlic Butter. Making your own Garlic Knots from scratch changes everything; the texture is just miles ahead of anything quick-frozen.
Trust me, once you smell that roasted garlic melting into the butter and soaking into that fluffy dough, you’ll never go back to the store-bought stuff again. This recipe guarantees those perfect ‘restaurant style’ results every single time. Get ready for the best side dish for pasta night!
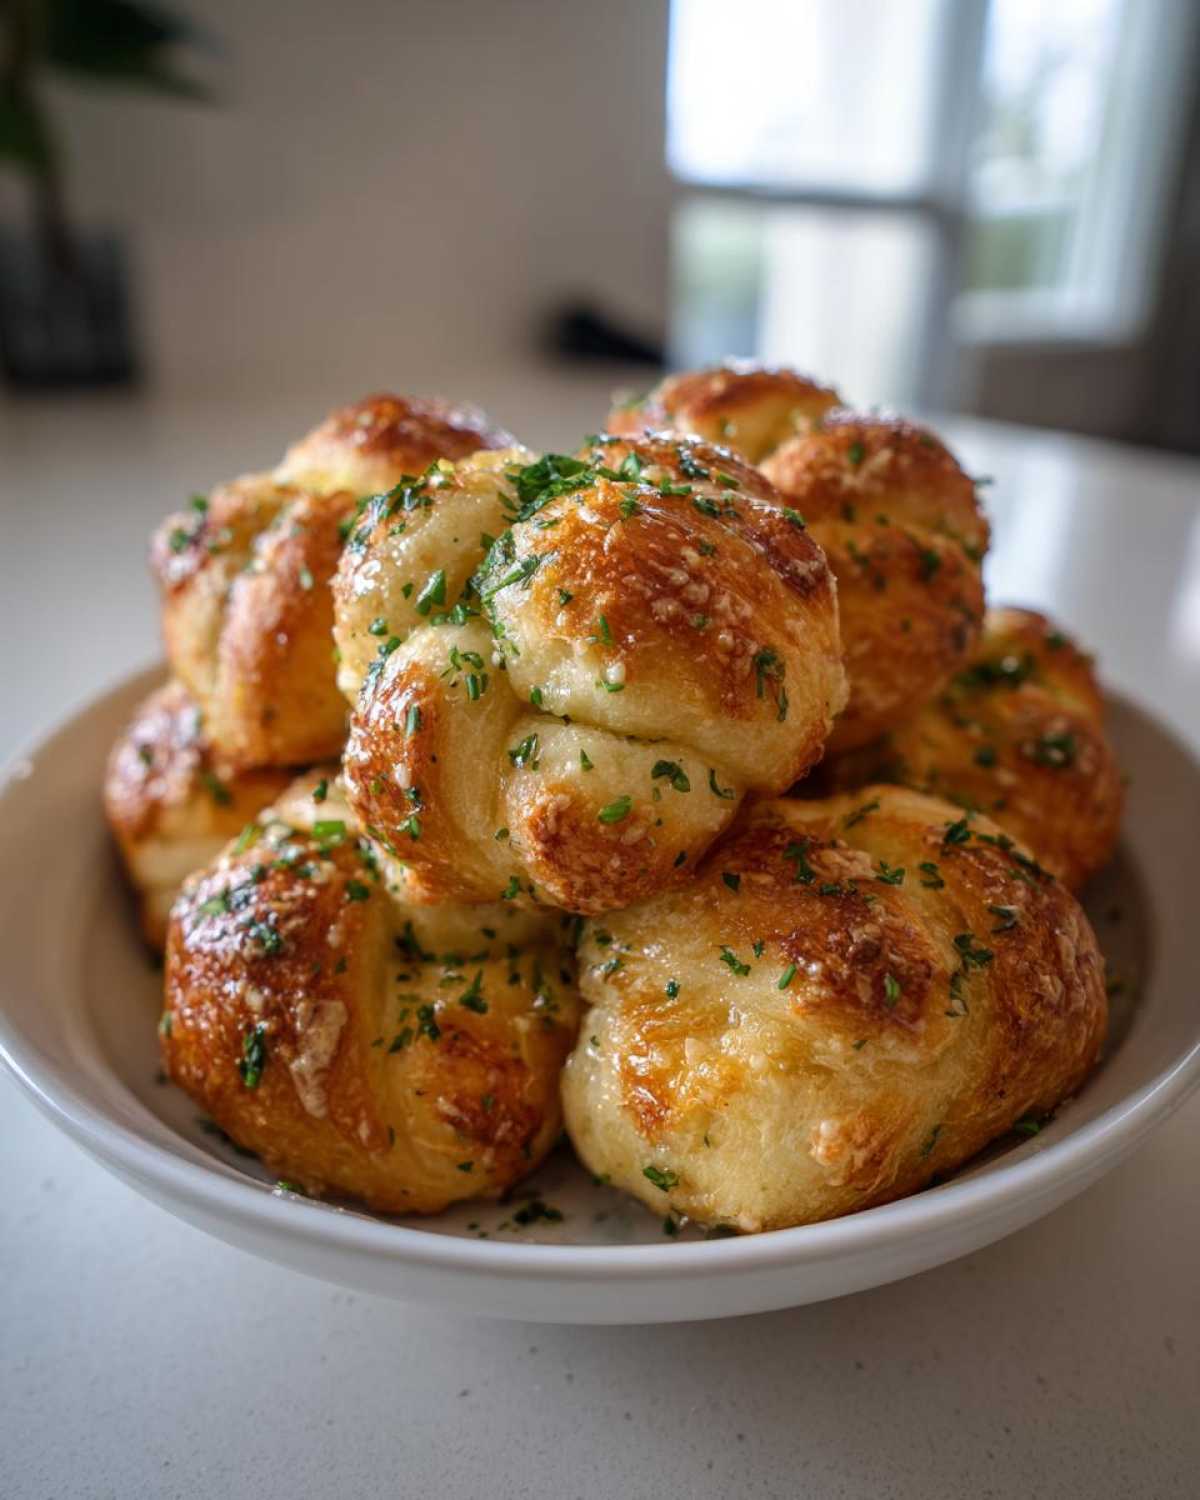
Why You Will Love These Soft & Chewy Garlic Knots
When I say these are the best, I mean it! They hit every single mark you could want in an appetizer. You need these in your life because:
- The texture is spot on: wonderfully soft centers with just the slightest crispness on the outside.
- We’re roasting the garlic first, which gives you an intense, deep, sweet garlic flavor that raw garlic just can’t touch.
- Even though they are from scratch, making the simple yeast dough is surprisingly quick!
- That buttery, Parmesan-packed coating sinks right in while they’re piping hot—pure heaven.
Ingredients for the Best Homemade Garlic Knots Recipe
Okay, so for the Best Homemade Garlic Knots Recipe, we have two main stars: the dough, and that incredible roasted garlic butter topping. Don’t skip the roasting step for the garlic; it’s the secret sauce, literally!
You need to make sure you have everything ready before you start mixing. I always lay everything out first—it prevents that mid-recipe panic when you realize you’re out of salt or something!
For the foundation of your Chewy Dough Appetizer, grab:
- 1 packet of active dry yeast (make sure it’s fresh!)
- 1 teaspoon of sugar (just to wake up that yeast)
- 1 cup of warm water—and this is important: it needs to be between 105–115°F. Too cold, nothing happens. Too hot, you kill the yeast!
- 2 1/2 cups of all-purpose flour, plus obviously more for dusting the counter later.
- 1 teaspoon of salt.
- 2 tablespoons of olive oil, plus a little extra just for greasing the bowl.
Now for the part that makes these Classic Italian Bread Bites taste like they came straight from that great little spot downtown. This is for the Garlic Butter Brush Recipe:
- 1/2 cup (that’s one full stick!) of really good unsalted butter. Don’t skimp here!
- 6 cloves of garlic, ready to be roasted until they are squishy and sweet.
- 1/4 cup of grated Parmesan cheese (the finely grated stuff melts best).
- 2 tablespoons of fresh parsley, chopped up super fine.
- And about 1/2 teaspoon of dried oregano to give it that classic Italian kick.
That’s the whole list! See? Very straightforward, but those specifics—especially the warm water temperature and the roasted garlic—make these Fluffy Bread Appetizer Recipe buddies come out perfectly every time.
How to Prepare Your Soft Bread Knots Recipe Step-by-Step
Alright, let’s get baking! The total time for these beauties is nearly two hours because we let the dough do its magic, but the actual hands-on time during the initial prep is only about 30 minutes. That waiting time is crucial for getting that perfect soft texture you want in your Garlic Knots.
Activating Yeast and Mixing the Simple Yeast Dough Recipe
First thing first, we wake up the yeast. Grab a small bowl, mix your warm water (remember that 105 to 115-degree window!), sugar, and the yeast packet. Give it a gentle stir and just walk away for about five to ten minutes. You’re looking for a nice foamy cap on top. If it looks flat, your yeast is sleepy, and you might need to start that part over.
While that’s happening, whisk your flour and salt together in a big bowl. Once your yeast looks happy, pour that liquid right into the flour mixture along with the two tablespoons of olive oil. Stir it up with a wooden spoon until it looks shaggy—not perfectly smooth yet, that’s okay!
Kneading and Allowing the Chewy Dough Appetizer to Rise
Now for the workout! Turn that shaggy mess onto a counter dusted lightly with flour. You need to knead this dough for a good 6 to 8 minutes. It’s going to feel sticky at first, but keep working it until it’s smooth, soft, and elastic. If you’ve ever tried one of my no-knead recipes, this is the opposite—you actually need the gluten development for that chewy bite!
Lightly oil a clean bowl, pop your dough ball inside, and turn it so the oil coats the outside. Cover it tightly with plastic wrap. Now, find the warmest spot in your kitchen—maybe near the oven if it’s on—and let it sit for about an hour to an hour and a half. You want it completely doubled in size for the best rise.
Crafting the Perfect Garlic Butter Brush Recipe
This is where the flavor payoff happens! While the dough is doing its thing, get your garlic roasting. Once soft, squeeze the pulp right out into a tiny saucepan. Toss in your stick of butter and melt it gently over low heat. Don’t let it brown! Once it’s melted, swirl in that Parmesan, the fresh parsley, and the oregano. Keep this gorgeous Garlic Butter Brush Recipe sauce warm, but off the heat, so it’s ready when those knots come out.
Shaping and Baking the Classic Italian Bread Bites
Punch the air out of your risen dough. Divide it into 12 equal piles because we want 12 uniform knots. Roll each piece by hand into an 8-inch rope—try to keep them about the same thickness! Tie that rope into a nice little knot and tuck the ends underneath so they don’t flop open while baking. Place them on a sheet lined with parchment paper and let them rest for just 20 minutes.
Preheat your oven up to 400°F. Bake those knots for about 12 to 15 minutes. You are looking for a beautiful golden brown color. As soon as they come out, brush them heavily with that warm, garlicky butter. Serve them immediately!
Tips for Restaurant Style Garlic Knots Success
Getting that fluffy interior and that just-right chewy exterior takes a little more than just following the steps. These little tricks are what separate my Homemade Garlic Knots from my first, slightly sad attempts years ago. Trust me, these tips seal the deal!
First, when we talk about achieving that wonderful chewiness, it all comes down to the kneading and the resting times. Don’t rush that 6 to 8 minutes of kneading; that develops the gluten structure needed to hold up under all that butter. Also, ensure you let them have that second 20-minute rest after shaping. It lets the dough relax so they puff up nice and evenly in the oven.
The biggest flavor tip is the garlic, obviously. Make sure you roast it until it is truly soft and jammy. If you try to use raw garlic in the butter, it will burn quickly in the oven and give you a harsh, bitter bite instead of that deep, sweet roasted flavor we are looking for. If you can’t roast it, gently sauté your minced garlic in the butter over *very* low heat, but roasting is king!
To keep them from drying out (especially if you’re making a huge batch), you need to work fast when brushing on the topping near the end. Warm knots soak up warm butter beautifully. If your knots cool down before you brush them, the butter just sits on top instead of melting in. If you have leftovers, check out how I use amazing garlic flavors in my garlic parmesan chicken skillet for a totally different meal!
Variations: Making Garlic Parmesan Knots Recipe
Look, as much as I absolutely adore making these Garlic Knots from scratch—and I really do—sometimes life is just too short, right? If you’re pressed for time, definitely use a pound of store-bought pizza dough. Just make sure you let that dough sit out on the counter till it comes to full room temperature; otherwise, it fights you when you try to roll it out into those 8-inch ropes!
Now, let’s talk about dressing these guys up. This recipe is super versatile, and people constantly ask me about making Garlic Parmesan Knots Recipe variations. That melted butter mixture is your canvas!
The easiest upgrade is adding more salty goodness. Right when you mix those herbs into the melted butter, double the Parmesan, or toss in about a quarter cup of shredded mozzarella. If you want that beautiful cheesy pull, wait until the knots are out of the oven, brush them with the garlic butter, and then sprinkle on the cheese. Pop them under the broiler for just 30 seconds—watch them like a hawk, though, or you’ll burn the cheese!
For those of you who like a little fire, this is the perfect place to sneak in some heat. Add 1/4 teaspoon of red pepper flakes right into the warm garlic butter. It gives you just enough of a tingle on the finish without overpowering the sweet flavor of the roasted garlic. It’s fantastic, especially if you are serving these alongside a spicy tomato sauce or dipping sauce. Speaking of great pairings, I sometimes dunk these in my garlic butter steak bites juices!
The key takeaway is that the dough is the structure, but the topping is where you personalize your Garlic Lovers Bread Recipe.
Serving Suggestions for Your Garlic Knots Side Dish for Pasta Night
So, you’ve got twelve perfect, glistening **Garlic Knots** cooling down slightly, dripping with that roasted garlic goodness. What do you serve them with? Honestly, you could eat them standing over the sink, but they really are the ultimate **Side Dish for Pasta Night**!
They soak up sauce like nobody’s business! My absolute favorite pairing is with something rich in tomato and cheese. They are phenomenal alongside my creamy lemon pasta because the bright, herby flavor of the knots cuts right through the richness of the sauce. It’s a match made in Italian-American heaven.
If you’re making a hearty lasagna or baked ziti, these knots replace boring dinner rolls perfectly. They are sturdy enough to handle the thick sauces, too. Seriously, serving these alongside my creamy spinach pasta means everyone cleans their plate—including the kids who usually leave the bread untouched!
And let’s be real: if you’re making homemade pizza, you *must* have these on the side. They are the perfect little starter while the pizza finishes baking.
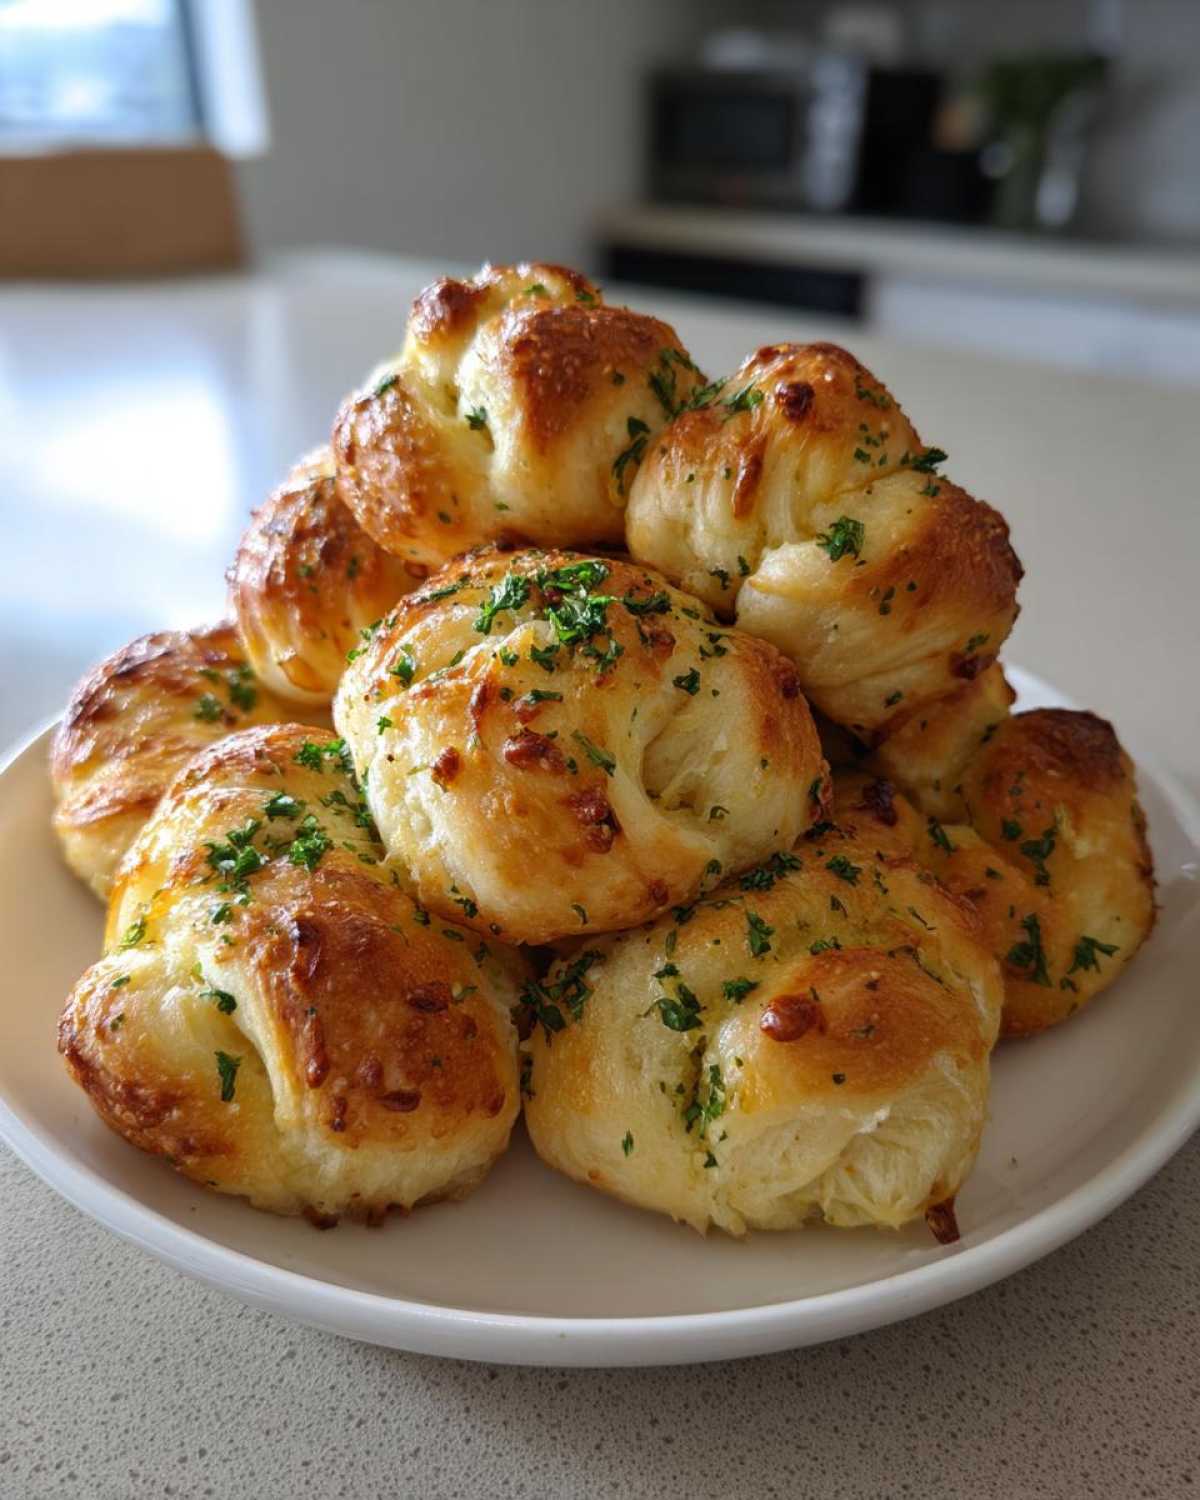
Storage and Reheating Instructions for Leftover Garlic Knots
If you somehow manage to have any of these **Garlic Knots** left over—which, in my house, never happens—you need to store them correctly so they don’t turn into little hockey pucks by morning. The main issue with bread leftovers is moisture loss, and we want to keep them soft!
For short-term storage, just let them cool completely first. Never put warm bread in an airtight container; that traps steam and makes them soggy fast. Once they are room temperature, pop them into a standard airtight container. At room temperature, they stay perfectly fine for about two days. Honestly, three days max if you’re pushing it.
Now, the reheating? This is key. Please, please, please skip the microwave if you can! The microwave makes them rubbery in about ten seconds flat because it heats the water inside too aggressively. We need gentle heat to restore that soft texture.
The best way, hands down, is the oven. Preheat your oven to a nice, low 350°F. Place the knots directly on the baking sheet—you don’t need to cover them unless your oven is one of those super-dry convection monsters. Bake them for about 5 to 7 minutes. They come out looking and tasting almost freshly baked.
If you’re desperate and only have one knot, you can microwave it for about 10 seconds, but immediately press it gently between two paper towels when it comes out to absorb any residual surface moisture. It’s a salvage operation, but sometimes you just need that quick fix!
Frequently Asked Questions About Making Garlic Knots
I get asked the same few things all the time about these Garlic Knots, which makes total sense because baking yeast bread can feel a little intimidating at first! Use this spot as a little extra help to make sure your **Fluffy Bread Appetizer Recipe** turns out perfect.
Can I skip the kneading process for these Garlic Knots?
This is tough, friend. If you want that true chewy texture that makes these the best, you really shouldn’t skip the kneading. Kneading is what develops the gluten strands in the flour, and those strands are what give the baked knot that slight resistance when you bite into it instead of crumbling apart. That time felt long when I was trying to get my homemade bread perfect, but it’s worth the 6 to 8 minutes!
However, if you are truly short on time, you can use store-bought dough. But if you do that, you are skipping the “from scratch” part, and you need to make sure that dough has time to come fully to room temperature before you try to roll it. Cold dough rips!
What is the best way to ensure my knots are fluffy bread appetizer recipe?
Fluffiness comes down to air pockets, and air pockets come from happy yeast and patience! The absolute two most important things here are step one and step four. You must ensure your water temperature is exactly right (105-115°F!) so your yeast foams up nicely—that’s your initial lift.
Secondly, you have to let the dough rise completely both times. The first rise (until doubled) builds the major flavor and structure. The second rise, after you’ve shaped them and before they hit the oven, lets the dough relax just enough so they puff up gently and evenly in the heat, giving you that wonderfully soft interior.
Can I use fresh garlic instead of roasting it for the butter?
Oh, honey, *please* don’t put raw, fresh, minced garlic directly into that melted butter and brush it on before baking. I tried that once when I just couldn’t wait, and it was a disaster. Raw garlic burns so quickly under high heat, and instead of that sweet, mellow flavor we want, you get this sharp, acrid, bitter taste, and the butter burns, too!
If you absolutely cannot roast the full head of garlic—maybe you’re just making a tiny batch—the compromise is this: mince your fresh garlic, put it in the saucepan with the butter, and heat it on the absolute lowest setting on your stove for about 5 to 7 minutes. You want it to soften and turn translucent, almost like it’s gently sautéed, but you do not want it to brown. That takes the harshness right out of the raw clove.
Estimated Nutritional Data for Garlic Lovers Bread Recipe
Okay, so while these amazing Garlic Knots are certainly worth every single bite—especially swimming in that roasted garlic butter—it’s good to have a ballpark idea of what you’re enjoying. Remember, since we are working with a yeast dough and a generous butter topping, these are definitely more of an indulgent appetizer than a simple side salad!
These estimates are based on serving 1 knot, and they don’t account for any extra cheese you might have added during the variation stage. Because baking is chemistry, these numbers are always just estimates, so take them with a grain of salt (and maybe a little extra Parmesan!).
Here is what a single, beautiful knot from this Garlic Lovers Bread Recipe roughly breaks down to:
- Serving Size: 1 knot
- Calories: 210
- Fat: 10g (with about 6g being saturated fat from that gorgeous butter)
- Carbohydrates: 27g
- Protein: 6g
- Sugar: 2g
- Sodium: Around 350mg (Parmesan adds a good bit here!)
I always try to keep track roughly, especially when I’m dipping them into a sauce—that’s where the calories really climb! You can see the full breakdown on my disclaimer page if you want to dig into the details. But seriously, don’t let it stress you out too much; these are meant to be enjoyed!
Share Your Homemade Garlic Knots Experience
Phew! That’s everything you need to know to create truly fantastic, soft, and chewy Garlic Knots right in your own kitchen. Doesn’t that roasting garlic smell just make your mouth water already?
Now, I’m dying to know how they turned out for you! This recipe is my go-to, but every kitchen is a little different, especially when you’re tweaking that final butter brush. Please, please take a moment to leave a rating below—give these knots your honest five stars if you loved them!
More importantly, drop any changes you made or any questions you still have down in the comments section. Did you add extra oregano? Did you try the mozzarella variation? I love hearing how you all put your own spin on my recipes! If you try to reach out with a complex question, you can always use my contact page, but for quick questions, the comments work best!
Happy baking, and I hope these become your new favorite appetizer distraction!
PrintUltimate Soft and Chewy Garlic Knots with Roasted Garlic Butter

Make soft, chewy garlic knots from scratch using a simple yeast dough, finished with a rich roasted garlic butter topping.
- Prep Time: 30 min
- Cook Time: 15 min
- Total Time: 1 hour 50 min
- Yield: 12 knots
- Category: Appetizer
- Method: Baking
- Cuisine: Italian-American
- Diet: Vegetarian
Ingredients
- 1 packet active dry yeast
- 1 teaspoon sugar
- 1 cup warm water (105-115°F)
- 2 1/2 cups all-purpose flour, plus more for dusting
- 1 teaspoon salt
- 2 tablespoons olive oil, plus more for bowl
- 1/2 cup (1 stick) unsalted butter
- 6 cloves garlic, roasted
- 1/4 cup grated Parmesan cheese
- 2 tablespoons fresh parsley, chopped
- 1/2 teaspoon dried oregano
Instructions
- Activate the yeast: In a small bowl, combine the warm water, sugar, and yeast. Let stand for 5 to 10 minutes until foamy.
- Mix the dough: In a large bowl, whisk together the flour and salt. Pour in the yeast mixture and 2 tablespoons of olive oil. Mix until a shaggy dough forms.
- Knead: Turn the dough onto a lightly floured surface and knead for 6 to 8 minutes until smooth and elastic.
- First rise: Lightly oil a clean bowl. Place the dough in the bowl, turning to coat. Cover with plastic wrap and let rise in a warm place for 1 to 1.5 hours, or until doubled in size.
- Prepare the topping: While the dough rises, roast 6 cloves of garlic until soft. Squeeze the roasted garlic pulp into a small saucepan. Add the butter and melt over low heat. Stir in the Parmesan cheese, parsley, and oregano. Keep warm.
- Shape the knots: Punch down the risen dough. Divide the dough into 12 equal pieces. Roll each piece into an 8-inch rope. Tie each rope into a simple knot and tuck the ends underneath.
- Second rise: Place the knots on a parchment-lined baking sheet. Cover loosely and let rest for 20 minutes.
- Bake: Preheat your oven to 400°F (200°C). Bake the knots for 12 to 15 minutes, until golden brown.
- Finish: Immediately brush the warm knots generously with the roasted garlic butter mixture. Serve warm.
Notes
- For a spicy kick, add 1/4 teaspoon of red pepper flakes to the melted butter mixture.
- If you prefer a quicker method, substitute the scratch dough with one pound of store-bought pizza dough. Allow the dough to come to room temperature before shaping.
- To roast garlic, wrap the whole head in foil with a drizzle of olive oil and bake at 400°F for 30-40 minutes until soft.
Nutrition
- Serving Size: 1 knot
- Calories: 210
- Sugar: 2
- Sodium: 350
- Fat: 10
- Saturated Fat: 6
- Unsaturated Fat: 4
- Trans Fat: 0
- Carbohydrates: 27
- Fiber: 1
- Protein: 6
- Cholesterol: 25