

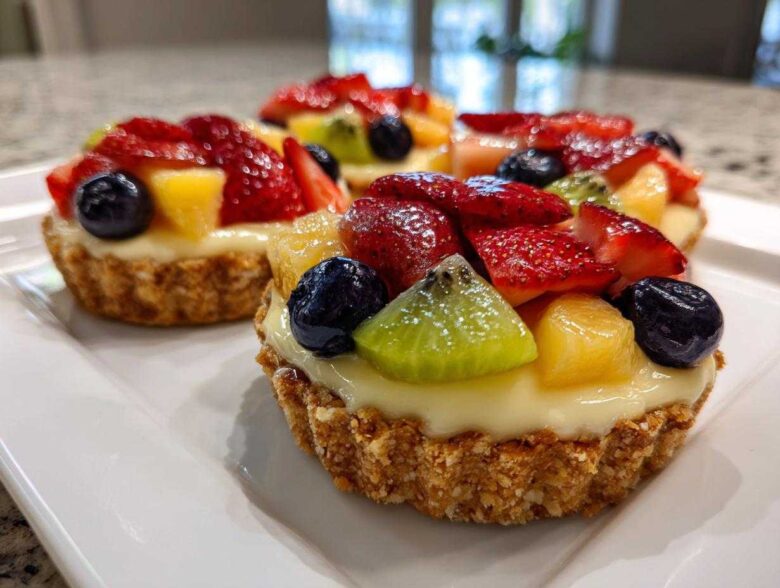
Okay, so you want desserts that look like they came straight out of a fancy pastry shop but don’t take up your entire afternoon? I totally get it. There’s nothing quite as satisfying as pulling out a tray of perfect little desserts, and trust me, these Mini Fruit Tarts are the ultimate showstoppers. I remember the first time I made them for a big family barbecue—everyone thought I bought them! The secret isn’t just the fresh fruit; it’s the marriage of the buttery, crisp shortbread crust and that silky-smooth vanilla pastry cream.
Forget wrestling with a giant pie! These individual portions are foolproof, elegant, and honestly, way easier to manage. We’re going to conquer the crust and nail that pastry cream so your Mini Fruit Tarts are the talk of the party.
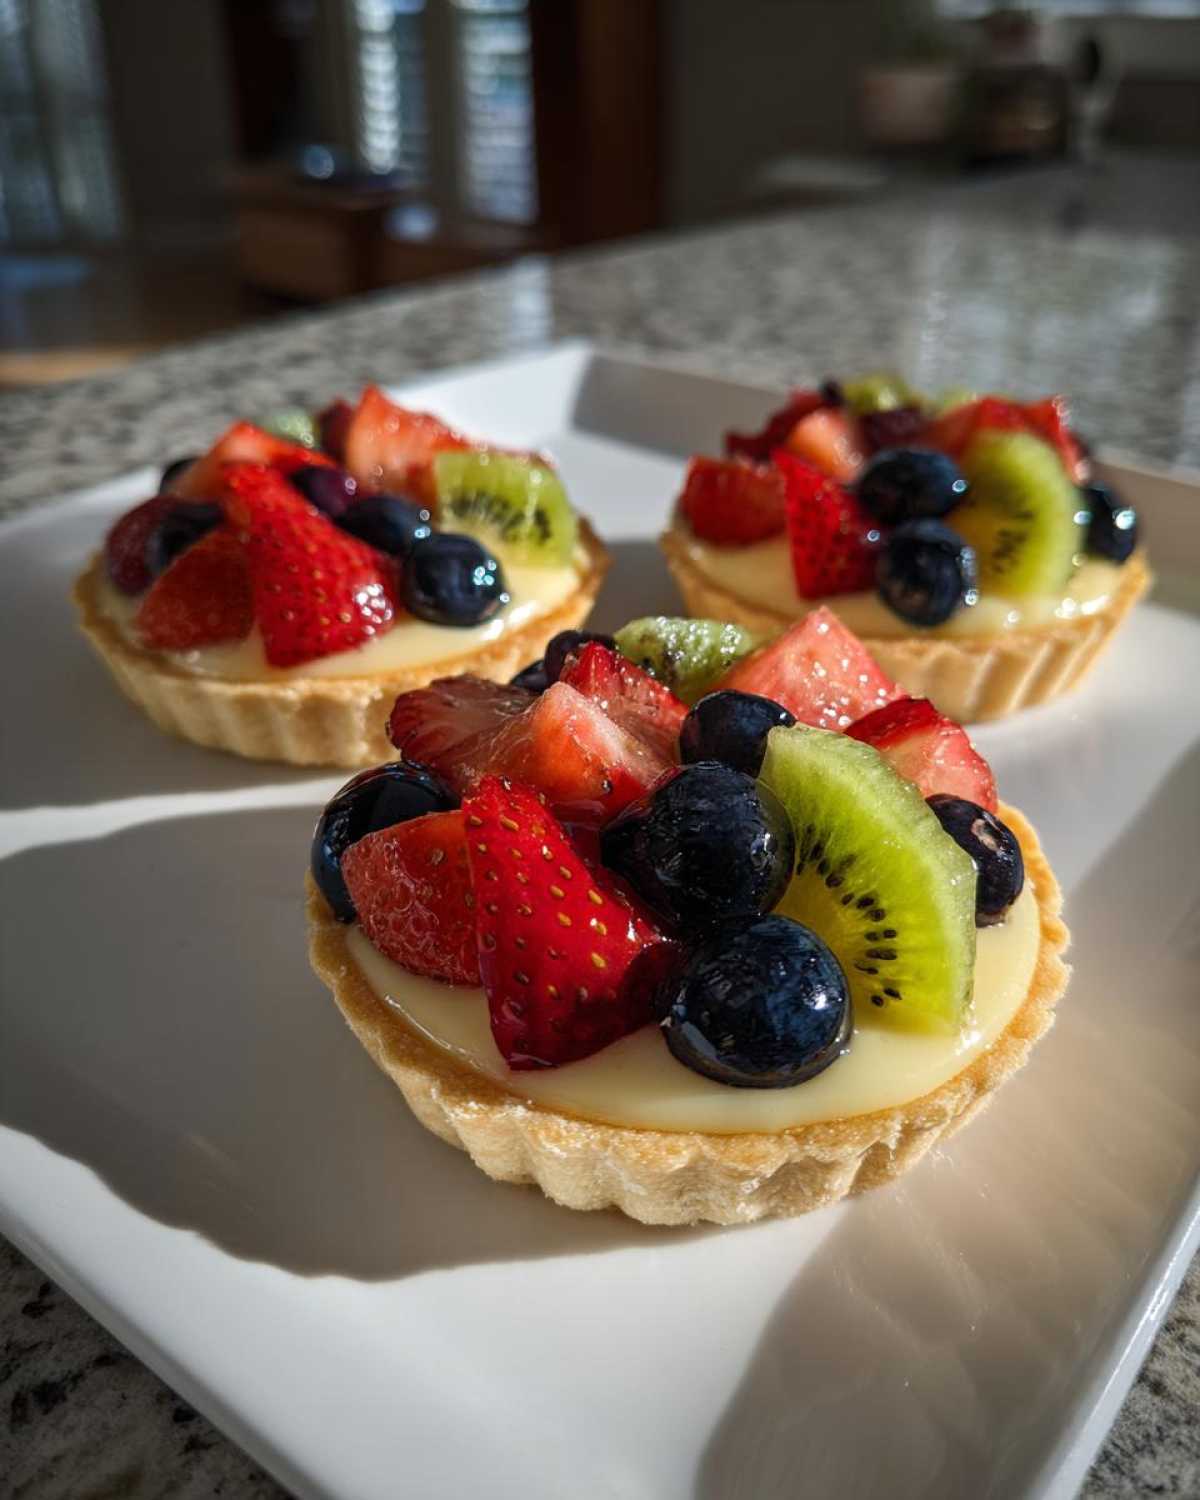
Why You Will Love These Mini Fruit Tarts
These little gems are winners for so many reasons. Seriously, they check every box!
- They look incredibly elegant, perfect for making your dessert spread look next-level amazing.
- Portion control is built right in—no messy serving required!
- The crust is exactly what it should be: crisp, buttery, and slightly sweet.
- The vanilla pastry cream is worth making these tarts for all by itself.
Plus, if you need to know more about how we run things here, you can check out my philosophy over at our little corner of the internet!
Essential Components for Perfect Mini Fruit Tarts
You can’t just throw things together and expect magic! To make truly stunning small individual dessert tarts, we need to focus on three main elements working together. First, the crust—it has to snap, not crumble into dust. Second, the silky filling. And finally, the gorgeous, shimmering fruit on top. Let’s check what you need for each stage!
Ingredients for the Sweet Crust Pastry Recipe
The crust is all about keeping things cold! You’ll want:
- 1 1/2 cups all-purpose flour
- 1/2 cup powdered sugar
- 1/4 teaspoon salt
- 1/2 cup (1 stick) cold unsalted butter, cubed (This is key for flakiness!)
- 1 large egg yolk
- 2 tablespoons ice water
If you get this right, you’ll have the best sweet crust pastry recipe ever. Don’t substitute that cold butter!
Ingredients for the Pastry Cream for Mini Tarts
This filling keeps these mini fruit tarts luxurious. Make sure your measurements are spot on for that perfect set:
- 2 cups whole milk
- 1/2 cup granulated sugar
- 1/4 cup cornstarch (Don’t skip this—it’s the thickener!)
- 4 large egg yolks
- 1 teaspoon vanilla extract
This is the base for every great pastry cream for mini tarts; it needs to be smooth and thick once it cools down.
Ingredients for the Fresh Fruit Topping and Glaze
Time for the color splashes! You’ll need:
- 2 cups mixed fresh fruit (think strawberries, blueberries, kiwi—whatever looks great!)
- 1/4 cup apricot jam or clear glaze (This is our secret shine maker!)
I always slice my strawberries on a slight bias so they lay down beautifully on the cream. That glaze is what takes them from homemade to professional looking.
Step-by-Step Guide to Making Your Mini Fruit Tarts
Alright, deep breath! This is where all the prep pays off. We’re going to take those ingredients and turn them into gorgeous, bite-sized wonders. We start with the foundation, the shells, and move right up to that beautiful top layer of fruit. Don’t rush the cooling steps—that’s the secret weapon for beautiful Mini Fruit Tarts that hold their shape!
It’s a three-part performance: baking the shells, cooking the cream, and then, the fun part, assembly. I sometimes rush the chilling, but trust me, letting that dough rest makes rolling out the easy fruit tart shells so much simpler. If you need tips on making sure your cookie dough handles beautifully, check out my secrets for sugar cookies—it uses similar principles!
Preparing the Easy Fruit Tart Shells
Grab that chilled dough! You’re going to roll it out on a lightly floured surface until it’s just a hair thicker than a quarter. Then, use a cookie cutter slightly larger than your mini tart pans (mine are 3-inch). Gently press the cut dough into the bottom and up the sides of those little pans. Here is the crucial part for easy fruit tart shells: Take a fork and prick the bottom of every single shell all over the place. This stops them from puffing up like tiny balloons when they bake! If you’re making a huge batch, keep the scraps together and chill them again before re-rolling.
Baking the Sweet Crust Pastry Recipe
Turn your oven up to 375°F (190°C). Pop those docked shells in for about 12 to 15 minutes. You want them to look just lightly golden around the edges. As soon as they come out, carefully ease them out of the pans onto a wire rack. They *must* cool completely—and I mean stone cold—before we even think about filling them. If they are warm, the cold cream will melt instantly, and we’ll end up with a sad, soupy mess. This cooling step is non-negotiable for a perfect sweet crust pastry recipe!
Creating the Rich Pastry Cream for Mini Tarts
This is where we make magic on the stovetop! Heat your milk until it starts to bubble gently. While that’s on, whisk your sugar, cornstarch, and egg yolks until they look pale and creamy—this is called ribbon stage when you lift the whisk. Now, the tempering: SLOWLY pour about a cup of the hot milk into the egg mixture while whisking like mad! This gently warms the yolks so they don’t scramble. Once incorporated, pour the whole thing back into the saucepan and cook over medium heat, whisking non-stop, until it really thickens and boils for a solid minute. That boiling sets the cornstarch. Stir in your vanilla, pour it into a dish, press plastic wrap right on top—so it doesn’t form a skin—and chill it for a couple of hours. A thick, chilled pastry cream for mini tarts is what you are aiming for.
Assembling and Glazing Your Glazed Miniature Fruit Tarts
Okay, we have cold shells and cold cream—perfect time to assemble these beautiful Mini Fruit Tarts! You can use a small spoon or, if you want that super professional look, pipe the cream into the shells until they are nicely mounded. Now, arrange your beautiful fruit! Get creative here; make patterns, or just pile them high. Once they look gorgeous, gently warm up your apricot jam or clear glaze. Use a pastry brush to lightly paint the glaze over all the fruit. This seals in the freshness and gives you those stunning, shiny glazed miniature fruit tarts. Pop them back in the fridge until serving time! If you want to see how that dough technique works for firmer cookies, take a peek at my recipe for sugar cookies that hold their shape.
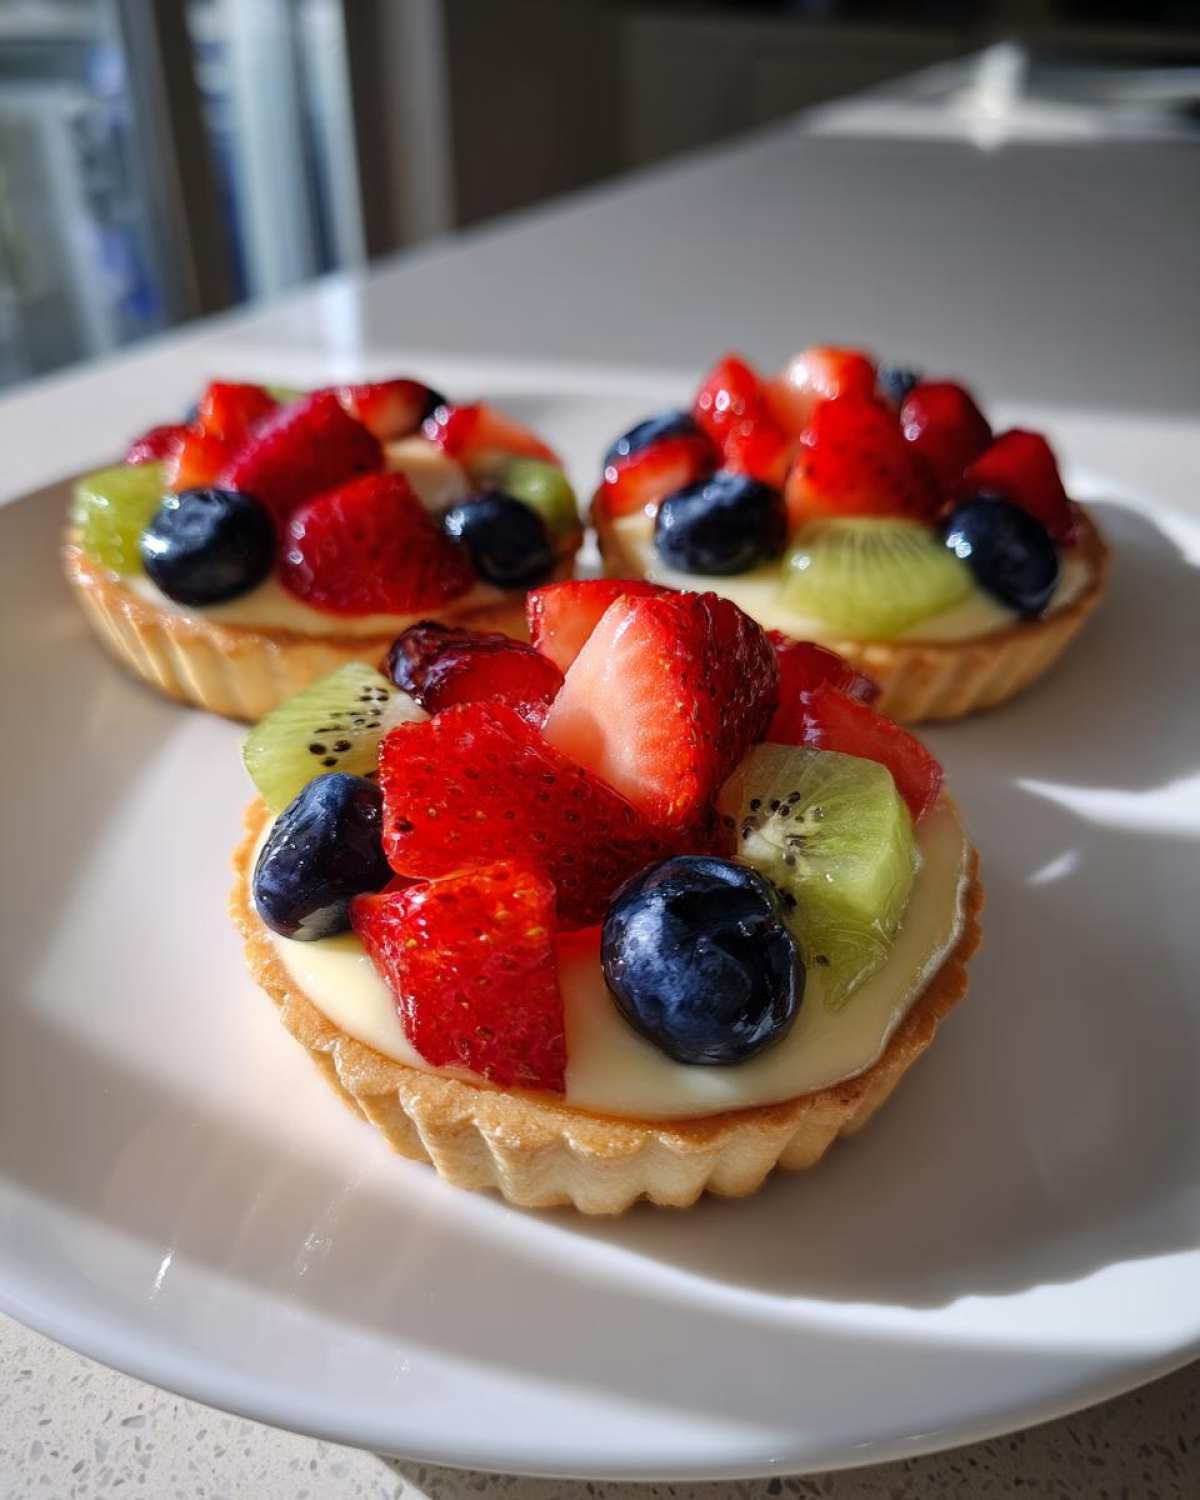
Tips for Success with Miniature Fruit Tart Recipe
Baking these gorgeous miniature fruit tart recipe treats involves a few key moments where things can go wrong, but I’ve learned how to dodge those pitfalls! The number one complaint I hear is soggy bottoms. To combat that, make sure your shells are fully blind-baked and cooled, and when you fill them, make sure the pastry cream is ice cold. A hot filling meeting a room-temp shell is a recipe for disaster!
For my personal touch, I always pick fruits that hold up well—avoid things too watery unless you are serving them within an hour. Berries and kiwi are fantastic anchors. If your pastry cream feels a little too soft once chilled, don’t panic; just give it a really good whisk right before you fill the shells. A fresh post over on my blog covers more general troubleshooting, too!
Variations for Your Individual Dessert Recipes for Parties
While the classic pastry cream is divine, these little tarts are just begging for you to play around! If you’re making these for individual dessert recipes for parties, switching up the filling keeps things exciting. Maybe you skip the cooked cream altogether and fill the shells with tart lemon curd instead—so bright and zesty! You can find my favorite tangy version if you want to try it.
Or, try a rich chocolate ganache! Just pour it in while it’s slightly warm and let it set. For seasonal fun, switch out the berries for halved figs in the fall or maybe some tiny sliced peaches in the summer. They look amazing no matter what fruit you pick!
Storage and Serving Suggestions for Mini Fruit Tarts
These beautiful Mini Fruit Tarts really are best on the day you make them, mostly because the crust stays super crisp then. If you have leftovers, keep them covered in the fridge, but know the pastry cream can soften the crust a bit overnight. They hold up best for about two days max.
They are gorgeous served alongside a fresh pot of coffee or as the star attraction on your dessert bar miniature sweets spread. If you are making a big chocolate mousse for a different night, that recipe is great for making ahead because you can find the instructions right here, but these tarts need assembly right before the party!
Frequently Asked Questions About Mini Fruit Tarts
It seems like everyone has a few little questions once they decide to tackle these beauties. That’s totally normal! I’ve rounded up the things I get asked most often about making these picture-perfect desserts. If you’ve got more, feel free to send me a note over on the contact page!
Can I make the tart shells ahead of time?
Oh yes, that’s one of my favorite time-saving tricks! You can definitely bake all of your easy fruit tart shells and store them airtight at room temperature for up to three days. If you want to keep them longer, pop them in the freezer! Just make sure they are completely cool before bagging them up. When you’re ready to use them, treat them like they just came out of the oven—don’t fill them warm!
What is the best way to prevent the fruit from browning on my Mini Fruit Tarts?
That’s where that little bit of apricot jam or clear glaze comes in handy! Once you arrange your fruit, brushing that thin layer over the top acts like a barrier, sealing the moisture in and keeping those cut surfaces from reacting with the air. It gives you that gorgeous shine, too! For apples or bananas (though I usually skip those in favor of berries), a quick dip in a bowl of lemon water first helps immensely.
Are there options for ‘No Bake Mini Fruit Tarts’?
Great question if you are short on oven space! If you want true no bake mini fruit tarts, you just skip the pastry dough steps entirely. Instead, crush up about 1 1/2 cups of graham crackers or vanilla wafer cookies until they are fine crumbs. Mix that with about 1/3 cup of melted butter and a couple of tablespoons of sugar. Press that mixture firmly into your mini tart pans and chill them in the fridge until they are totally firm—usually about an hour. Then, you fill them with that lovely, chilled pastry cream or even a sturdy cream cheese filling!
Nutritional Estimates for These Bite Sized Fruit Desserts
Look, these are special occasion treats, so we aren’t going for zero calories, right? These estimates are for one of our lovely bite sized fruit desserts based on the recipe as written, but keep in mind these are just ballpark figures—ingredients change everything!
- Calories: About 250
- Fat: Around 13g
- Sugar: Roughly 18g
Because we put so much love (and butter!) into the crust and cream, the numbers can swing a bit. If you want the full scoop on how I handle ingredient transparency, you can read my official statement over at the disclaimer page. Enjoy them guilt-free!
PrintMini Fruit Tarts with Pastry Cream

A recipe for making small, individual fruit tarts using a sweet shortbread crust, vanilla pastry cream, and fresh fruit topping.
- Prep Time: 45 min
- Cook Time: 15 min
- Total Time: 60 min
- Yield: 12 tarts
- Category: Dessert
- Method: Baking
- Cuisine: French
- Diet: Vegetarian
Ingredients
- 1 1/2 cups all-purpose flour
- 1/2 cup powdered sugar
- 1/4 teaspoon salt
- 1/2 cup (1 stick) cold unsalted butter, cubed
- 1 large egg yolk
- 2 tablespoons ice water
- 2 cups whole milk
- 1/2 cup granulated sugar
- 1/4 cup cornstarch
- 4 large egg yolks
- 1 teaspoon vanilla extract
- 2 cups mixed fresh fruit (strawberries, blueberries, kiwi)
- 1/4 cup apricot jam or clear glaze
Instructions
- Prepare the crust: In a food processor, pulse flour, powdered sugar, and salt. Add cold butter and pulse until mixture resembles coarse crumbs. Add egg yolk and ice water; pulse until dough just comes together. Do not overmix.
- Form the dough into a disk, wrap it, and chill for at least 30 minutes.
- Preheat your oven to 375°F (190°C). Roll out the dough and cut circles to fit 3-inch mini tart pans. Press dough into pans and prick the bottoms with a fork.
- Bake the shells for 12-15 minutes, or until lightly golden. Cool completely on a wire rack.
- Make the pastry cream: Heat milk in a saucepan until simmering. In a separate bowl, whisk together granulated sugar, cornstarch, and 4 egg yolks until pale.
- Slowly temper the hot milk into the egg mixture, whisking constantly. Return the mixture to the saucepan.
- Cook over medium heat, whisking constantly, until the cream thickens significantly and boils for one minute. Remove from heat and stir in vanilla extract.
- Pour the pastry cream into a shallow dish, cover the surface directly with plastic wrap to prevent a skin from forming, and chill for at least 2 hours.
- Assemble the tarts: Once the shells and cream are cold, spoon or pipe the pastry cream evenly into each tart shell.
- Arrange your mixed fresh fruit decoratively on top of the cream.
- Warm the apricot jam or glaze slightly. Brush a thin layer over the fruit to give it shine and help preserve it. Chill the finished tarts before serving.
Notes
- For quicker assembly, you can use pre-baked mini shortbread shells.
- If you do not have mini tart pans, you can use a standard muffin tin, but the shape will be different.
- To make the pastry cream smoother, strain it through a fine-mesh sieve after cooking.
Nutrition
- Serving Size: 1 tart
- Calories: 250
- Sugar: 18
- Sodium: 90
- Fat: 13
- Saturated Fat: 7
- Unsaturated Fat: 6
- Trans Fat: 0
- Carbohydrates: 30
- Fiber: 1
- Protein: 5
- Cholesterol: 95