

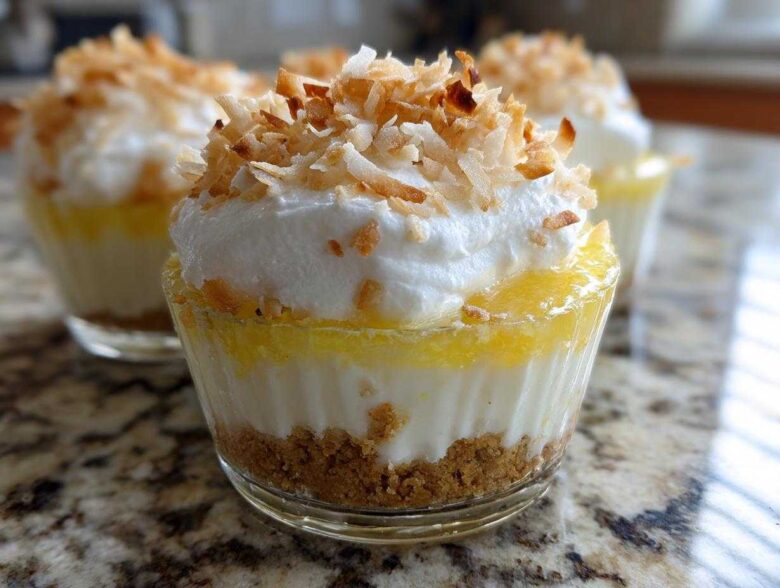
Oh my gosh, are you desperate for a dessert that tastes like sunshine but doesn’t require you to turn on that sweltering oven? I’ve got you covered! Seriously, when the heat hits, the last thing I want is to bake, so I whip up these incredible No-Bake Lemon Coconut Cream Pie Cups instead. They are perfect—bright, zesty lemon meeting sweet, chewy coconut, all tucked into a crunchy little base, and served in individual cups. I first made these for my cousin’s backyard wedding shower last year, and people were obsessed with how easy they were and how refreshing they tasted. They look fancy, but trust me, they are so simple you’ll wonder why you didn’t make them sooner. Head over to my main recipe index to see what else I’ve been messing around with in the kitchen!
Why You Will Love These No-Bake Lemon Coconut Cream Pie Cups
Honestly, these little cups hit every single sweet spot a busy home cook needs when summer rolls around. They are my absolute go-to when I need something impressive without the stress. You just can’t beat them for flavor and convenience!
- No Oven Required! Keep the kitchen cool and save energy with this fully refrigerated dessert.
- Perfectly Portioned: Serving them in cups means no messy slicing, and every guest gets the perfect crust-to-filling ratio.
- That Bright Citrus Kick: We use fresh lemon juice and zest, so the flavor is vibrant, tangy, and exactly what you crave in the summer.
- Creamy Dream Filling: The filling is light yet rich—it sets up beautifully thanks to the cream cheese and whipped cream combo.
- Make-Ahead Magic: You can mix these up totally in advance, which is a lifesaver when hosting parties!
- Tropical Delight: The toasted coconut in the crust and on top adds that extra layer of texture and tropical vacation flavor.
They are just so fuss-free, and that’s why I think you’re going to love them just as much as our family does now!
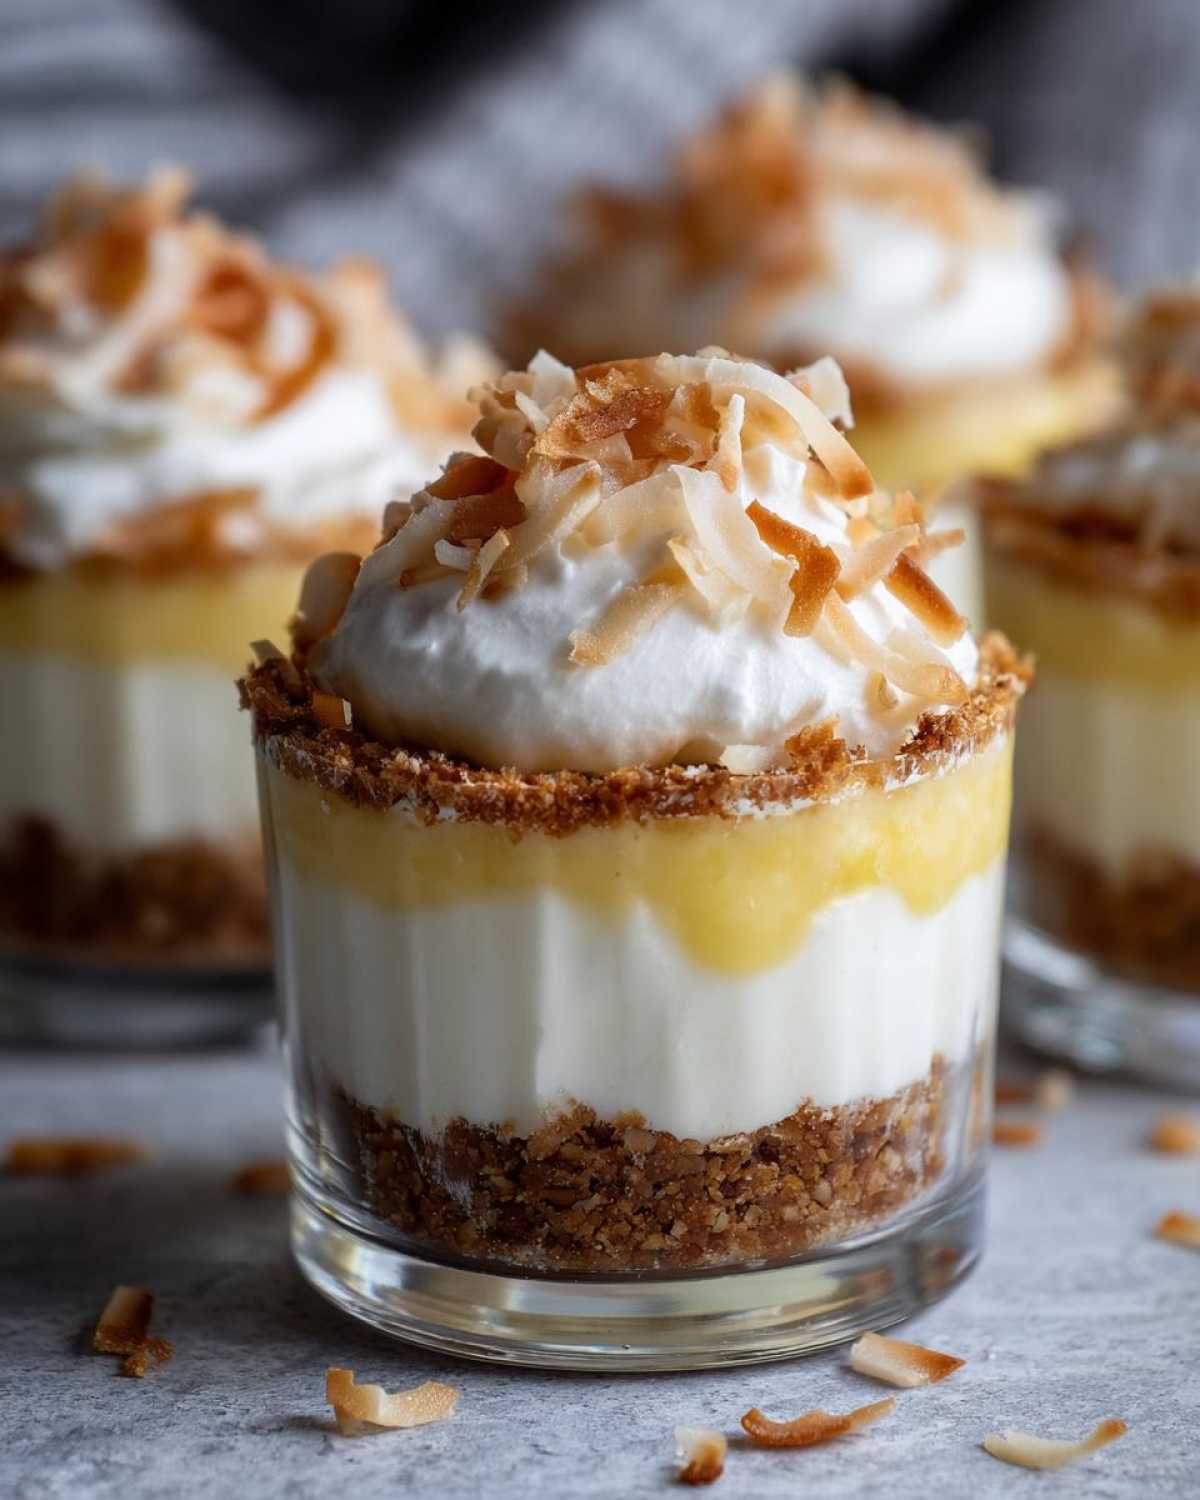
Gathering Ingredients for Your No-Bake Lemon Coconut Cream Pie Cups
Okay, before we even touch a mixer, let’s talk about what you need! Since this is a no-bake recipe, the quality of your ingredients really shines through. You absolutely need fresh lemon juice and zest—no fake stuff here, or you lose that bright punch we are going for. I always grab lemons that feel heavy, they usually mean more juice!
For the base, we’re using classic graham cracker crumbs alongside some unsweetened shredded coconut that you’ll want to toast up yourself for the best flavor. That toasting step is non-negotiable, trust me! For the filling, make sure your cream cheese has been out on the counter for a good hour so it’s completely soft; lumpy cream cheese is the enemy of smooth fillings.
You’ll need:
- 1 1/2 cups graham cracker crumbs
- 1/4 cup unsweetened shredded coconut, toasted until golden
- 6 tablespoons melted unsalted butter
- 1 (14 ounce) can sweetened condensed milk
- 1/2 cup fresh lemon juice (and don’t forget that zest!)
- 1 teaspoon vanilla extract
- 1 (8 ounce) package cream cheese, fully softened to room temperature
- 1 cup heavy whipping cream
- 1/4 cup powdered sugar
- Extra toasted coconut for sprinkling on top when they’re done
If you want to explore what I use for my zesty lemon cake sometime, check out my moist lemon cake recipe—it uses similar citrus principles!
Essential Equipment for Perfect No-Bake Lemon Coconut Cream Pie Cups
Okay, the ingredients list is looking good, but you need the right gear to make these individual desserts happen! The beauty of these Lemon Dessert Cups Recipe additions is that you probably have most of this stuff lying around already. We aren’t breaking out the stand mixer for this, but you will need something to whip that cream!
The most important item here is what you’re serving them in. I usually grab six small mason jars or simple glass ramekins. You want something that shows off those pretty layers we’re about to build. Don’t stress if you don’t have matching ones; part of the fun is the mismatched, cute look!
Here’s the short list of what I always pull out:
- Six small serving cups, ramekins, or glasses (about 6-8 oz size works perfectly).
- A large mixing bowl for the crust and another large bowl for the filling base.
- A separate, chilled medium bowl—this is crucial for whipping the heavy cream!
- An electric hand mixer (or a whisk and serious arm strength!) for the cream cheese and the whipped cream.
- Rubber spatula for folding the lighter components in gently so we don’t deflate all that air.
- Measuring cups and spoons, of course, for accuracy, especially with the lemon juice!
That’s really it! No springform pans, no baking sheets—just simple tools for quick assembly.
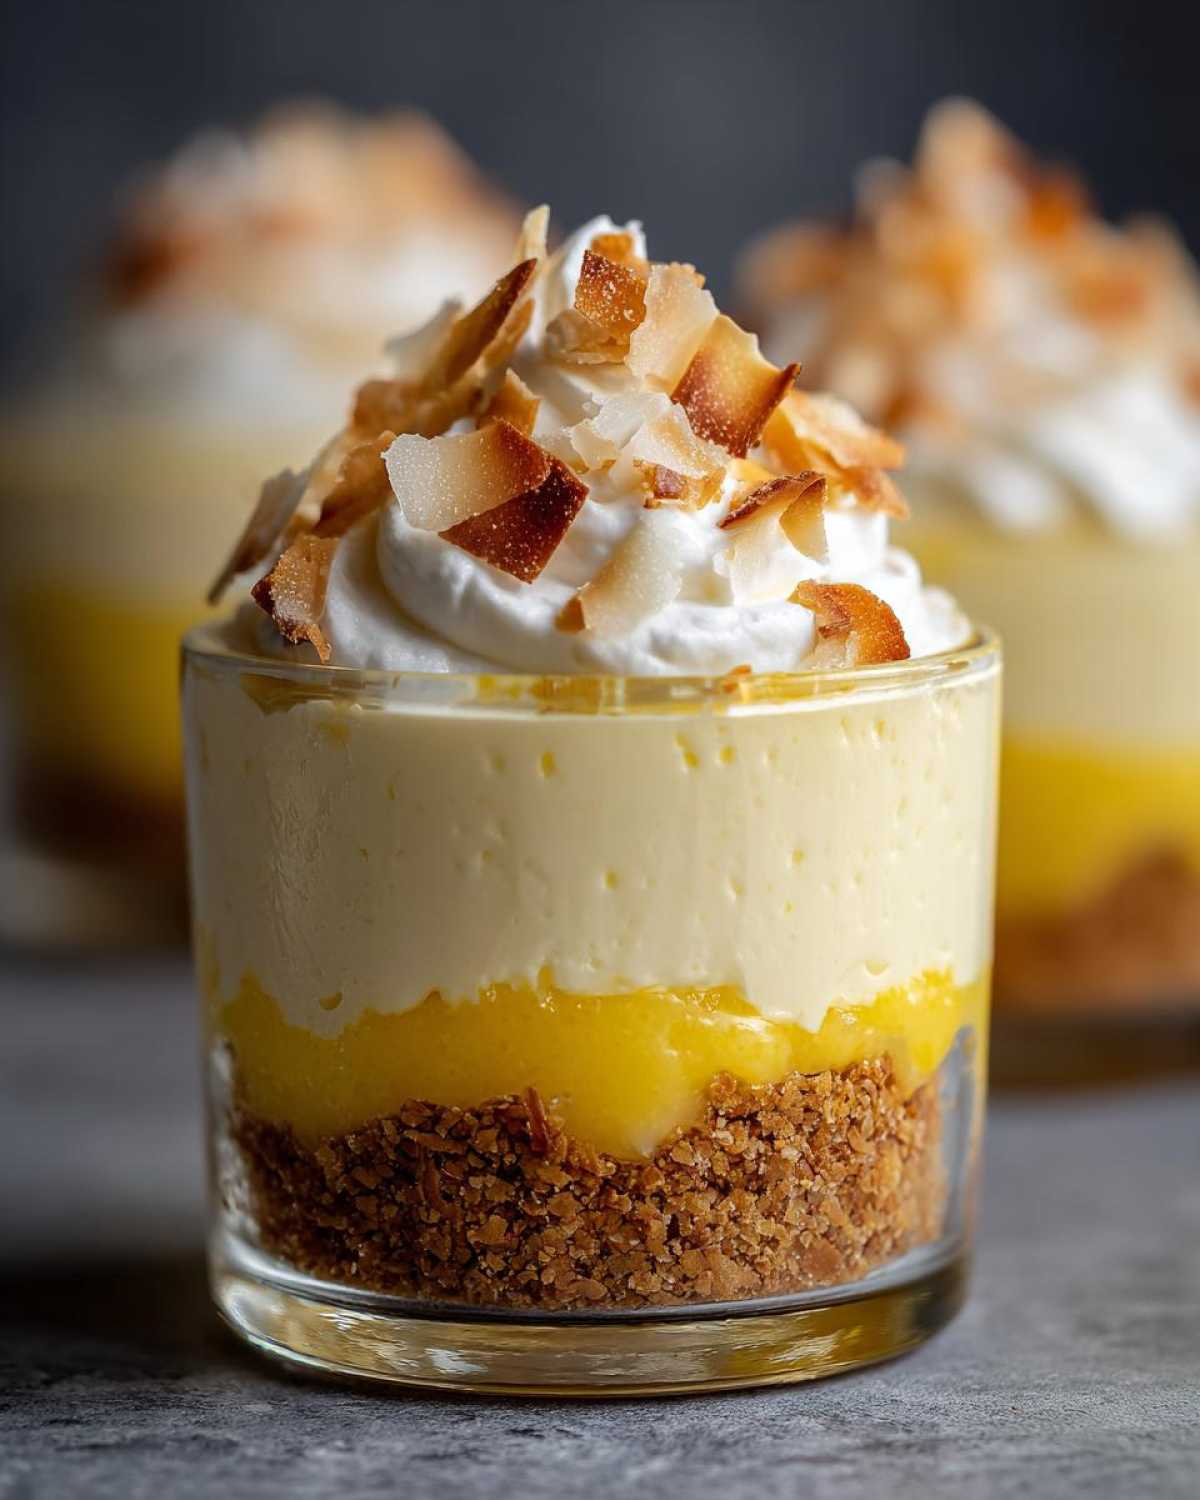
Step-by-Step Instructions for No-Bake Lemon Coconut Cream Pie Cups
Now for the fun part! This is where everything comes together so quickly, and because it’s all no-bake, you can actually focus on getting every layer looking perfect. Remember, these are Creamy Lemon Parfaits in disguise, so gentle handling is key when we start folding that whipped cream in later. Get all your setup ready—a few bowls, your cups chilling in the freezer—and let’s make this happen!
Preparing the Toasted Coconut Graham Cracker Crust
First up is the base for our Individual Coconut Cream Pies! In a medium bowl, toss together your graham cracker crumbs and that toasted coconut. Make sure that coconut is completely cool first, or it will melt the butter! Pour in the melted butter and stir it all up until the mixture looks like wet sand. You need that moisture to help it hold together!
Take your chilled cups out of the freezer. Drop about two tablespoons of that crumb mixture into the bottom of each cup. Now, press it down really firmly with the back of a spoon or even the bottom of a small glass. We want a solid layer here! Pop these pressed crusts right back into the freezer while you make that luscious lemon filling.
Creating the Creamy Lemon Filling for No-Bake Lemon Coconut Cream Pie Cups
This filling is sunshine in a bowl, but we build it in two parts! In a big bowl, beat that completely softened cream cheese until it’s totally smooth—no lumps, please! Then, slowly pour in the sweetened condensed milk while the mixer runs. Once that’s combined, whip in your fresh lemon juice, zest, and vanilla. It should thicken up quite a bit thanks to the citrus reacting with the milk.
Separately, in a clean, chilled bowl, whip your heavy cream and powdered sugar until stiff peaks form. This is where the lightness comes from! For the best texture, you must gently fold the whipped cream into the lemon base using a rubber spatula. Don’t use the mixer here! Fold just until you see no white streaks left. This creates that heavenly, airy texture like the filling in the chocolate mousse recipe I shared last winter!
Assembling and Chilling Your Miniature Lemon Dessert
Time to layer! Pull those crusts out of the freezer—they should be nice and firm now. Carefully spoon that gorgeous lemon coconut filling over the crusts in each cup. Try to keep the sides of the cup clean so you can see the layers later when you serve these amazing Lemon Dessert Cups Recipe wonders.
Cover each cup loosely with plastic wrap—make sure the wrap isn’t touching the filling, or it will stick! Now, these need a serious nap in the fridge. You must let them chill for a minimum of 4 hours. I usually make them the night before! Chilling is crucial because it lets that cream cheese mixture firm up perfectly for cutting into that creamy texture.
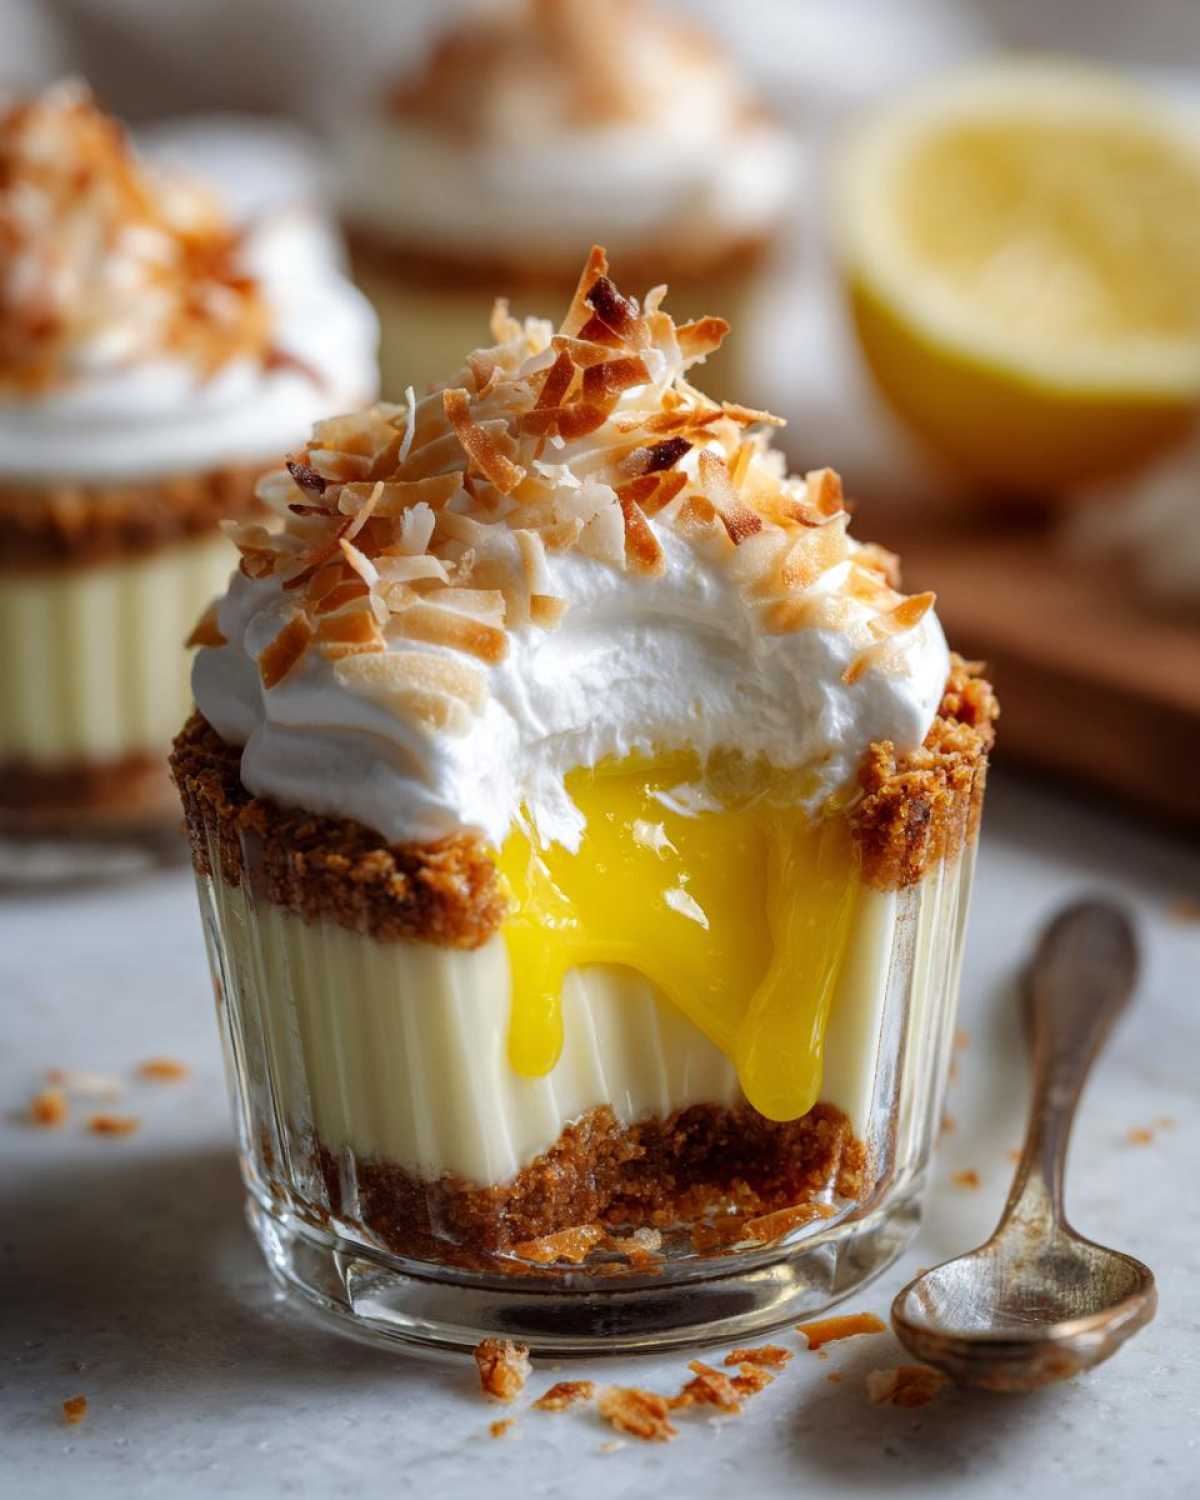
Tips for Perfect No-Bake Lemon Coconut Cream Pie Cups
Even though these are super easy, there are a few little tricks I’ve learned over making batches and batches of these No Bake Lemon Desserts that can take them from ‘good’ to ‘absolutely sensational.’ You really want that filling to be cloud-like and smooth, right? It’s all in the details!
First and foremost, let’s talk temperature for the cream cheese. Please, please, please do not try to rush this step by microwaving your cream cheese! If it’s cold when you mix it, you’ll spend forever beating out lumps. I pull mine out early enough so that when I press it, my finger sinks in easily without resistance—that’s the perfect creamy texture we need before adding the condensed milk.
Next up: the coconut! I know you *could* buy pre-toasted coconut, but honestly, the difference is night and day. Toasting it yourself in a dry skillet over medium heat is so fast, and that nutty aroma instantly adds depth to our Quick Coconut Desserts. Just watch it like a hawk! Coconut burns faster than almost anything else—it goes from golden to black in about three seconds flat.
For that amazing flavor balance, taste your lemon juice before you pour it all in. Sometimes one lemon is sweeter than another, and we are aiming for that perfect, almost-too-tart-but-not-quite zing that cuts through the richness of the cream. If your lemons seem a little weak, add a teeny tiny bit more zest right at the end. You can always add more tartness, but you can’t take it away!
Finally, when you’re folding the whipped cream into the lemon base, treat it like you’re tucking a baby into bed. Be gentle! You worked hard whipping air into that cream, and if you stir too vigorously, you’ll knock all the air out, and suddenly your airy pie cup turns into a dense lemon pudding. Slow, deliberate folds are your friend here. Check out my recipe for creamy lemon pasta—it taught me a lot about achieving smooth, stable citrus creams!
Ingredient Notes and Substitutions for Your Lemon Dessert Cups Recipe
I get so many questions about swapping ingredients, especially when people are staring down a recipe right before they go shopping! Since these No Bake Lemon Desserts rely on specific textures, some swaps work better than others. I want to make sure you have the best shot at success, even if your pantry is looking a little sparse!
Let’s tackle the big one first: the lemon situation. PLEASE use fresh lemon juice if you can. Bottled juice is often pasteurized and just doesn’t have the same bright, floral tartness that cuts through the fat of the cream cheese and heavy cream. If you absolutely must use bottled lemon juice—maybe you’re in a pinch for these Miniature Lemon Dessert cups—use about 20% less than the recipe calls for, and add a little extra zest to boost the fragrance.
What about that crust? Graham crackers are classic for a reason, but sometimes those are missing! My absolute favorite alternative for these cups is vanilla wafers or even shortbread cookies, crushed up just the same way. Crumble them finely, mix with the melted butter and coconut, and press it down. It gives you a slightly sweeter, buttery base, which is lovely.
Thinking about making these dairy-free? That’s tricky because the cream cheese and condensed milk are structural! However, you can use a good quality, firm vegan cream cheese alternative and substitute the heavy whipping cream with a chilled, full-fat coconut cream (the solid part from a can of full-fat coconut milk placed in the fridge overnight). The coconut flavor will intensify, leaning even more into the tropical side of these Tropical Cream Cups, which is usually a win!
And remember that shredded coconut we toast for the crust? If you find you only have sweetened coconut on hand, skip adding any extra sugar to the crust mixture, as the sweetened variety is already loaded with sugar. Just make sure you toast it carefully; it burns faster!
Storage and Make Ahead Dessert Cups Instructions
One of the absolute best things about these No Bake Lemon Desserts is that they are designed to be made early! Seriously, I often make them the entire day before I plan on serving them. That extended chill time is wonderful because it lets the lemon flavor really meld with the creamy texture, and it ensures that crust is rock solid and ready for the toppings.
Stored properly in the refrigerator, these Make Ahead Dessert Cups will stay wonderfully fresh for up to three days. After day three, the graham cracker crust might start to get a tiny bit soft where it meets the filling, but honestly, they rarely last that long in my house!
You’ll want to keep them covered loosely with plastic wrap while they chill. I mentioned it before, but make sure the wrap isn’t touching the filling surface, or you’ll end up peeling off some of your beautiful creamy layer when you uncover them later. A little piece of parchment paper loosely laid over the top before putting the plastic wrap on works wonders to prevent sticking!
Now, can you freeze them? That’s a question I get a lot! I usually advise against freezing the *finished* cup if you’ve already made the filling and assembled everything. Heavy cream and dairy fillings, when frozen and thawed, can sometimes separate and turn a little grainy, losing that perfect airy texture we worked so hard to achieve.
However, you absolutely can freeze components ahead of time! If you have extra crust mixture leftover, press it into an extra ramekin or a small Ziploc bag and freeze that unbaked crust. You can thaw it in the fridge overnight and then press it into your cups the day you plan on serving them. Or, if you want to prep the lime filling base (before you fold in the whipped cream), that mixture freezes reasonably well—just thaw it slowly in the fridge and then whip up a fresh batch of heavy cream to fold in when it’s time to assemble.
For quick storage tips on other chilled treats, I have a whole section on how to keep my refrigerator cake looking fantastic too!
Frequently Asked Questions About No Bake Lemon Desserts
I know you might have a few lingering questions when you’re making what feels like a fancy, individual dessert at home! That’s totally normal, whether you’re making these No Bake Lemon Desserts for the first time or you’re a seasoned pro looking for tips. Here are the things I hear most often when folks try out my Lemon Dessert Cups Recipe.
Can I use pre-toasted coconut instead of toasting it myself?
Oh, sure, you *can*, but be warned: it won’t be nearly as good! Pre-toasted coconut often has added sweeteners or oils, and it can have a stale taste compared to the fresh, nutty flavor you get from lightly toasting it right before you mix your crust. If you’re in a total rush and have to use store-bought toasted coconut, just make sure to taste it first—it might change how sweet your crust ends up being!
What should I use if I don’t have those little ramekins or cups for the individual servings?
Don’t sweat the container! These taste just as good, even if they aren’t served in adorable glass jars. If you don’t have ramekins for these Miniature Lemon Dessert creations, you can use small silicone muffin liners—they usually pop right out once they are set! If you use those, you won’t even need to grease them, and you can serve them right in the liner cups. Alternatively, you could make one big pie using a regular 9-inch pie dish, but you’ll need to adjust your setting time way up, usually overnight.
How can I make the lemon flavor even brighter and more intense?
The secret to that stunning, bright citrus flavor in my Summer Cream Pies isn’t just the juice, it’s the zest! The zest holds all the aromatic oils. If you really want a powerful punch, add a tiny splash (like half a teaspoon) of pure lemon extract right at the end of mixing the filling base, *before* you fold in the whipped cream. Just be careful—extract is strong, so a little goes a very long way! It really shines in those Bright Citrus Desserts.
Can I make these ahead of time and keep them refrigerated for several days?
Yes, you definitely can make these ahead! They are fantastic Make Ahead Dessert Cups. They hold up really well for two days in the fridge. By day three, that graham cracker crust starts to absorb a little too much moisture from the filling, and the texture isn’t quite as crisp. For best results, top them with that final sprinkle of toasted coconut right before you serve them, no matter when you made them!
If you are looking for more ideas on the easiest ways to put together a spectacular dessert without touching the stove or oven, you absolutely have to browse my favorites in the easy no-bake pies section!
Serving Suggestions for Your Tropical Cream Cups
Okay, we’ve made these gorgeous No-Bake Lemon Coconut Cream Pie Cups, and they are perfectly chilled—but how do we make them look as amazing as they taste? Presentation truly matters when you’re serving individual portions, and thankfully, dressing these up is ridiculously easy. We already put toasted coconut on top, which is mandatory, but let’s get creative with the final flourish!
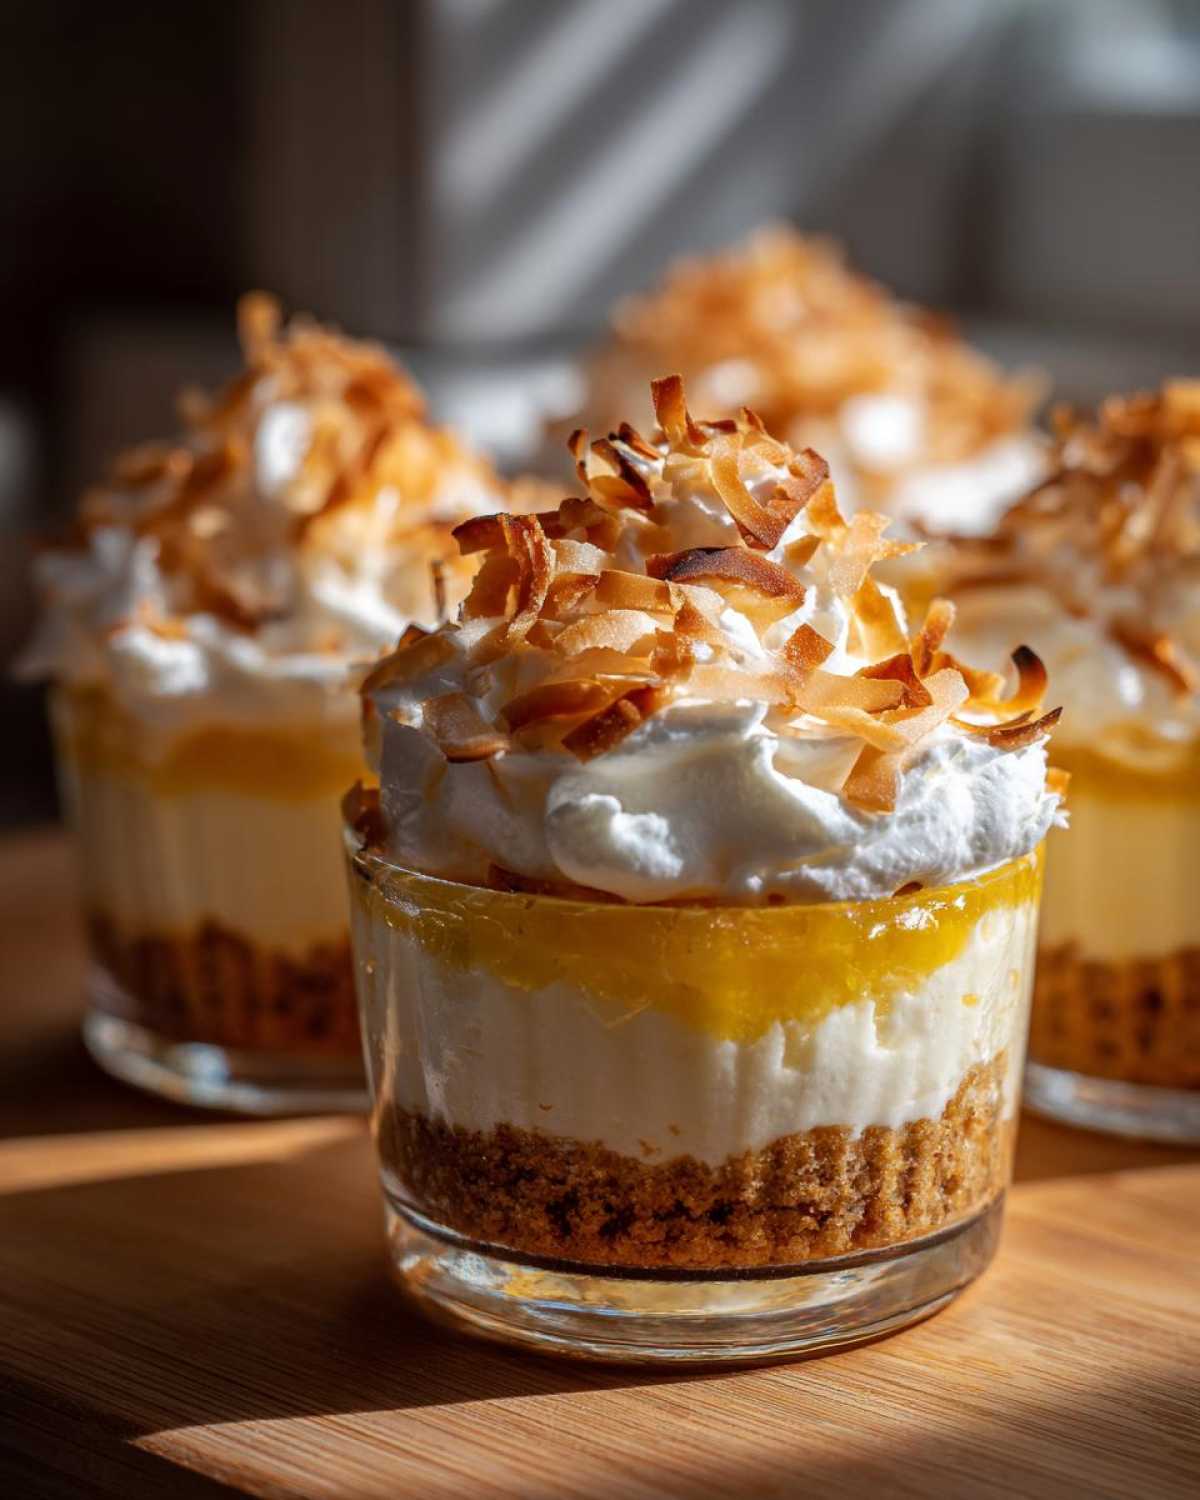
To really lean into that bright, sunny vibe, I love adding a tiny sliver of fresh, candied lemon peel right on top of the coconut mound. It looks so elegant, and it gives you a tiny burst of intense lemon oil right before you dig in. If you want something warm and crunchy to go alongside these cool cups, try making some crispy little cookies or even some candied nuts—I have an amazing recipe for candied pecans that you can sprinkle on the side of the plate, or mix a few into the bottom crust layer for an extra crunch!
For a simple, cozy moment, these cups are fantastic with a steaming cup of black tea—the bitterness balances the sweetness perfectly. If you’re serving them after dinner, they pair beautifully with a small, strong espresso or a delicate digestif. Honestly, though, once you get that bright lemon scent wafting up from the cup, nothing else is really needed because the dessert speaks so loudly for itself!
PrintNo-Bake Lemon Coconut Cream Pie Cups

Prepare individual servings of a bright, creamy lemon and coconut pie without using your oven. This dessert sets in the refrigerator.
- Prep Time: 25 min
- Cook Time: 0 min
- Total Time: 4 hr 25 min
- Yield: 6 servings
- Category: Dessert
- Method: Refrigeration
- Cuisine: American
- Diet: Vegetarian
Ingredients
- 1 1/2 cups graham cracker crumbs
- 1/4 cup unsweetened shredded coconut, toasted
- 6 tablespoons melted unsalted butter
- 1 (14 ounce) can sweetened condensed milk
- 1/2 cup fresh lemon juice
- 1 tablespoon lemon zest
- 1 teaspoon vanilla extract
- 1 (8 ounce) package cream cheese, softened
- 1 cup heavy whipping cream
- 1/4 cup powdered sugar
- Extra toasted coconut for topping
Instructions
- Combine graham cracker crumbs, toasted coconut, and melted butter in a bowl. Mix until the crumbs are evenly moistened.
- Press about 2 tablespoons of the crust mixture firmly into the bottom of six small serving cups or ramekins. Place the cups in the freezer while you prepare the filling.
- In a large bowl, beat the softened cream cheese until smooth. Gradually beat in the sweetened condensed milk, lemon juice, lemon zest, and vanilla extract until fully combined and smooth.
- In a separate bowl, whip the heavy cream and powdered sugar until stiff peaks form.
- Gently fold the whipped cream into the lemon mixture until no streaks remain. This creates the creamy filling.
- Spoon or pipe the lemon coconut filling evenly over the chilled crusts in the cups.
- Cover the cups loosely with plastic wrap and refrigerate for at least 4 hours, or until the filling is firm.
- Before serving, top each cup with extra toasted coconut.
Notes
- Toast the shredded coconut in a dry skillet over medium heat, stirring constantly, until golden brown. Let it cool completely before using.
- For a smoother filling, ensure your cream cheese is fully softened to room temperature.
- You can substitute vanilla wafers for graham crackers in the crust mixture if desired.
Nutrition
- Serving Size: 1 cup
- Calories: 450
- Sugar: 45
- Sodium: 180
- Fat: 25
- Saturated Fat: 15
- Unsaturated Fat: 10
- Trans Fat: 0
- Carbohydrates: 55
- Fiber: 2
- Protein: 7
- Cholesterol: 75