

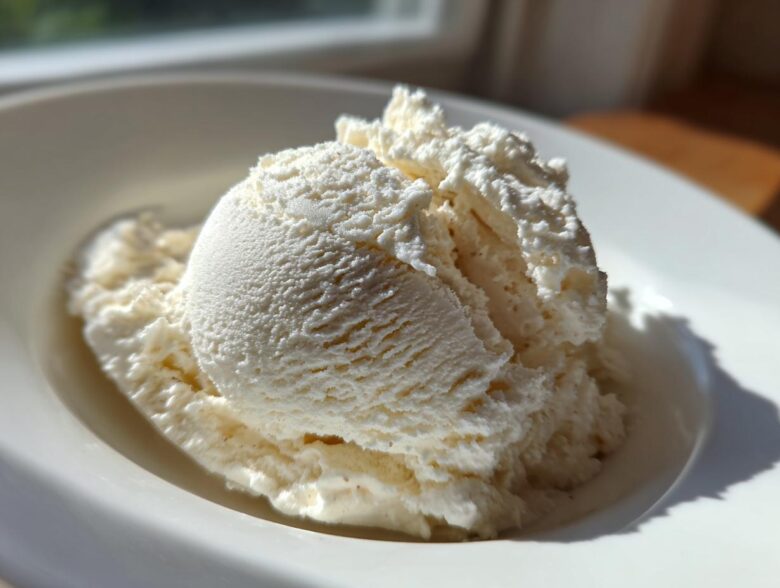
Oh my gosh, are you tired of staring longingly at the freezer, wishing you could enjoy a giant scoop of ice cream without completely blowing your fitness goals? Trust me, I have been there! That’s why Ethan and I are so excited to share our absolute favorite solution: the simplest, no-churn **protein ice cream** recipe you will ever make. This isn’t some icy, sad protein shake in solid form—this is genuinely creamy and perfect for anyone watching their macros. Maya did the heavy research to nail the science, but Ethan insisted on tweaking the blend until it tasted like a real indulgence. This recipe is the perfect example of a ‘Tasty Tipster’ conversation in a bowl, and I know you’re going to love making it! If you want to read more about how Maya and I blend our styles in the kitchen, check out our About Us page!
Why This No-Churn Protein Ice Cream is Your New Favorite Healthy Homemade Ice Cream
Listen, when you’re craving **protein ice cream**, you want it now, not after you’ve paid $400 for a specialized machine! That’s the beauty of this **healthy homemade ice cream**. It checks every box: it’s sky-high in protein, it’s incredibly simple, and you don’t need anything fancier than a bowl and a whisk. Forget those gritty, icy failures you’ve tried before. This is one of the best **macro friendly desserts** we’ve ever developed, and it comes together faster than you can decide what movie to watch.
We’ve played around with dozens of bases, but this method truly delivers on the promise of a **guilt free frozen treat** that tastes decadent.
Achieving Creamy Protein Ice Cream Texture Without Churning
The secret weapon here, honestly, is ditching the cream and leaning into Greek yogurt. Yogurt is naturally thick, which scares off the dreaded ice crystals that ruin so many **no churn protein ice cream** recipes. Ethan always says that the protein powder needs a solid base to hide in, or it ends up tasting chalky, and the yogurt gives it that body.
My big research note, which Ethan totally backs up, is that you *have* to beat the mixture hard right out of the gate. Seriously, whisk it like you mean it until it looks like thick, smooth paint. That initial vigorous mixing incorporates air and breaks down the powder, which means you get that amazing **creamy protein frozen yogurt** texture without ever having to turn on a machine. If you haven’t tried making simple easy protein snacks before, this is the gateway! That initial smooth mix is what saves your **protein ice cream** from turning into a brick overnight.
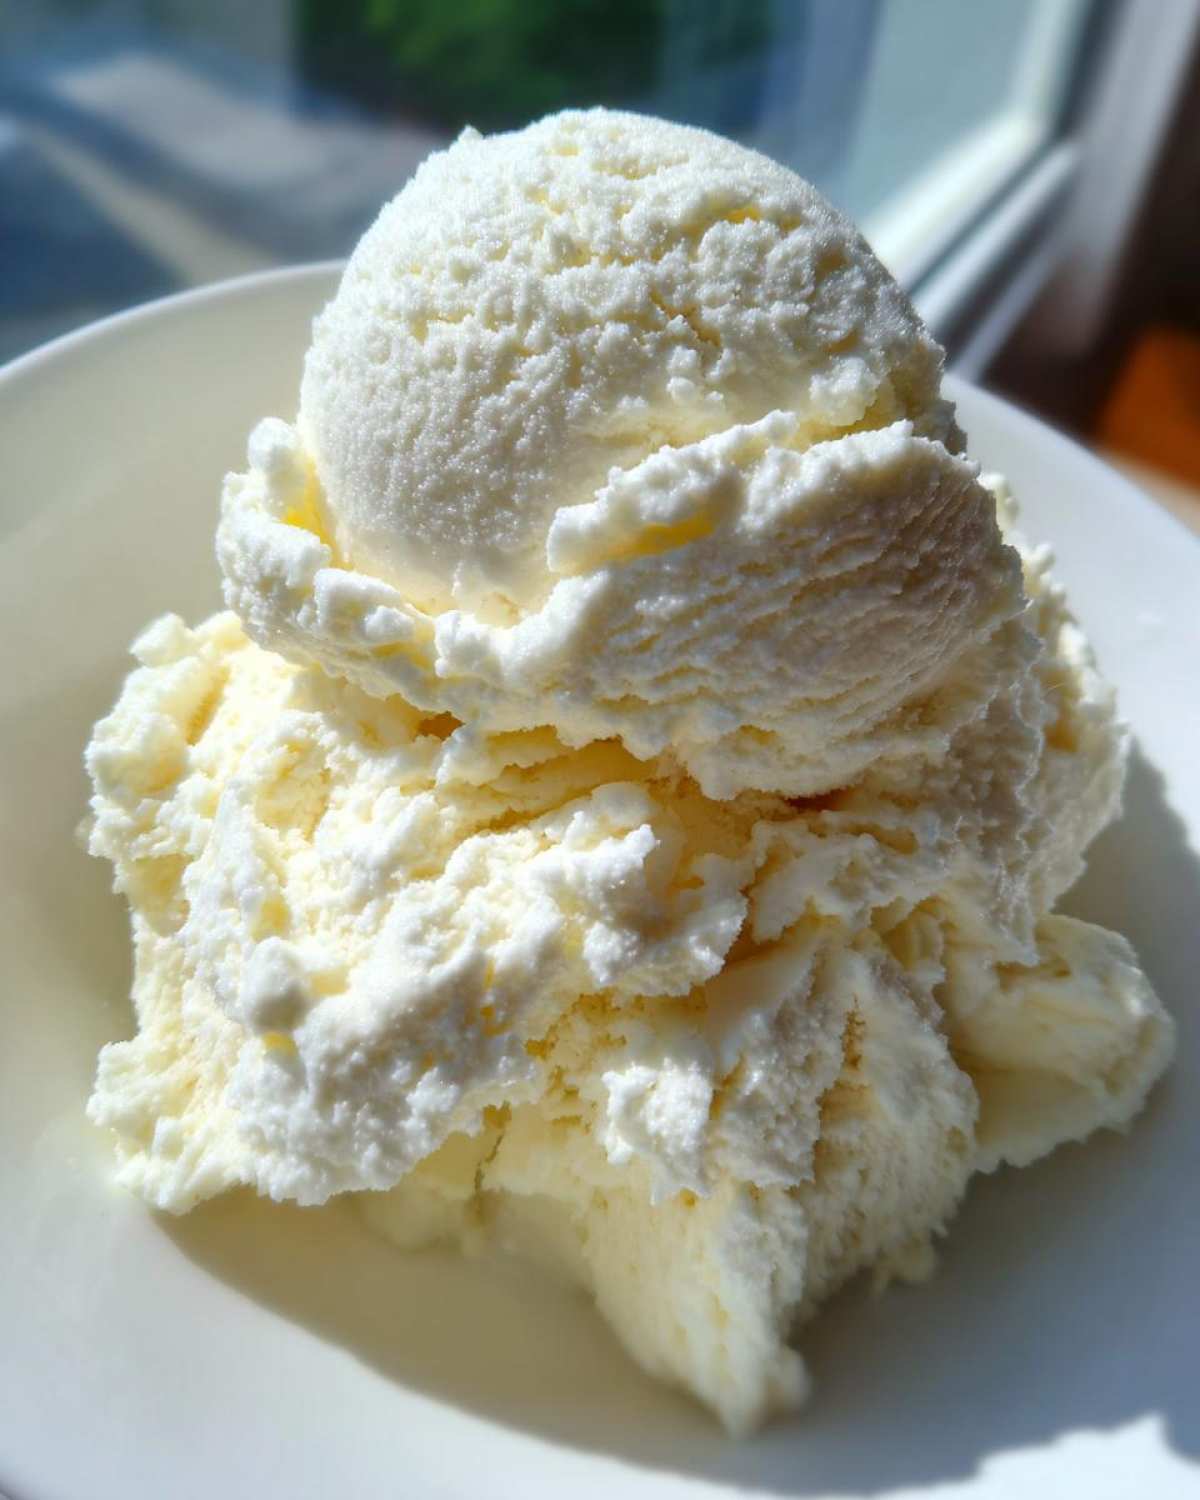
Ingredients for Simple No-Churn Vanilla Protein Ice Cream
Okay, Maya always insists on transparency, which I fully support when it comes to ingredients! She says the clearer the list, the better your science experiment—I mean, your **protein ice cream**—turns out. The best thing about this recipe is how minimal it is. You probably have most of this stuff hanging around already, which makes it a fantastic choice when you need a quick **sweet fitness treat**.
For the creamiest results, we use 2% Greek yogurt. Full-fat yogurt works too, but going to 2% keeps the macros perfectly sensible for those of us counting! Here’s what you need for four delicious scoops:
- 1 cup plain Greek yogurt (We seriously recommend 2% or full fat for the best texture)
- 1/2 cup unsweetened almond milk (Or whatever milk you keep on hand)
- 1 scoop vanilla protein powder (Whey or casein blend works really well)
- 2 tablespoons erythritol or your favorite zero-calorie sweetener
- 1 teaspoon pure vanilla extract
- Pinch of salt (Don’t skip this! It wakes up all the other flavors.)
Ingredient Notes and Substitutions for Your Protein Ice Cream
This is where we talk shortcuts and making sure this recipe fits *your* needs. If you’re feeling adventurous or just don’t keep Greek yogurt stocked, you can absolutely blend in some cottage cheese. Just make sure you blend that cottage cheese until it’s completely velvety smooth first—you don’t want any curds hiding in your **protein ice cream**! Blend about 1/2 cup of cottage cheese with 1/2 cup of yogurt for a swap.
Another thing people always ask about is banana; we are skipping it completely here! This is a perfect **High Protein Dessert Recipe No Banana** base. We rely on the yogurt for moisture, not fruit.
Now, about the powder: If you are making this ahead of time, I swear by using a casein or a whey/casein blend. Casein hydrates really well and basically acts like a thickening agent, giving you a denser payoff when you pull it from the freezer. Whey works, but you might need to nudge the almond milk down by a tablespoon or so if you notice it looks too thin when mixing. It’s all about finding that perfect ratio for your specific brand!
How to Prepare Your Guilt Free Frozen Treats: Protein Ice Cream Instructions
Alright, let’s get down to business! This is where we turn that lovely, smooth base into a scoopable, amazing **protein ice cream**. Honestly, this is probably the easiest part, but you need to follow Maya’s timing rules exactly if you want that perfect texture. We’re aiming for **easy protein snacks** that feel like a million bucks when you eat them, not a chore to make.
Step one is beating everything together until it’s impossibly smooth. We went over that in the ingredients section, right? When you think it’s smooth enough, keep going for another 30 seconds. We don’t want tiny hard pockets of unincorporated protein powder hiding in there later!
- In a medium bowl, combine the Greek yogurt, almond milk, vanilla protein powder, sweetener, vanilla extract, and that tiny pinch of salt.
- Grab your whisk—or better yet, an electric hand mixer if you’re feeling fancy—and beat the mixture until it’s totally uniform. I mean it, zero streaks and absolutely no powder lumps floating around.
- Pour the mixture into a freezer-safe container. We love a standard loaf pan, or any freezer-safe container with a lid, really.
- This is important: cover the surface directly with plastic wrap *before* putting the lid on. This plastic touching the surface prevents those nasty ice crystals from forming on top of your **protein ice cream**.
- Now, the waiting game. You need a minimum of six hours in the deep freeze, but seriously, overnight is best. These **low calorie ice cream ideas** need time to firm up properly!
- Once firm, use this next step—it’s my favorite tip for enjoying **healthy homemade ice cream** without breaking a tooth. Take it out of the freezer and let it sit on the counter for about 5 to 10 minutes before trying to scoop.
That resting time is the magic that makes it creamy instead of concrete!
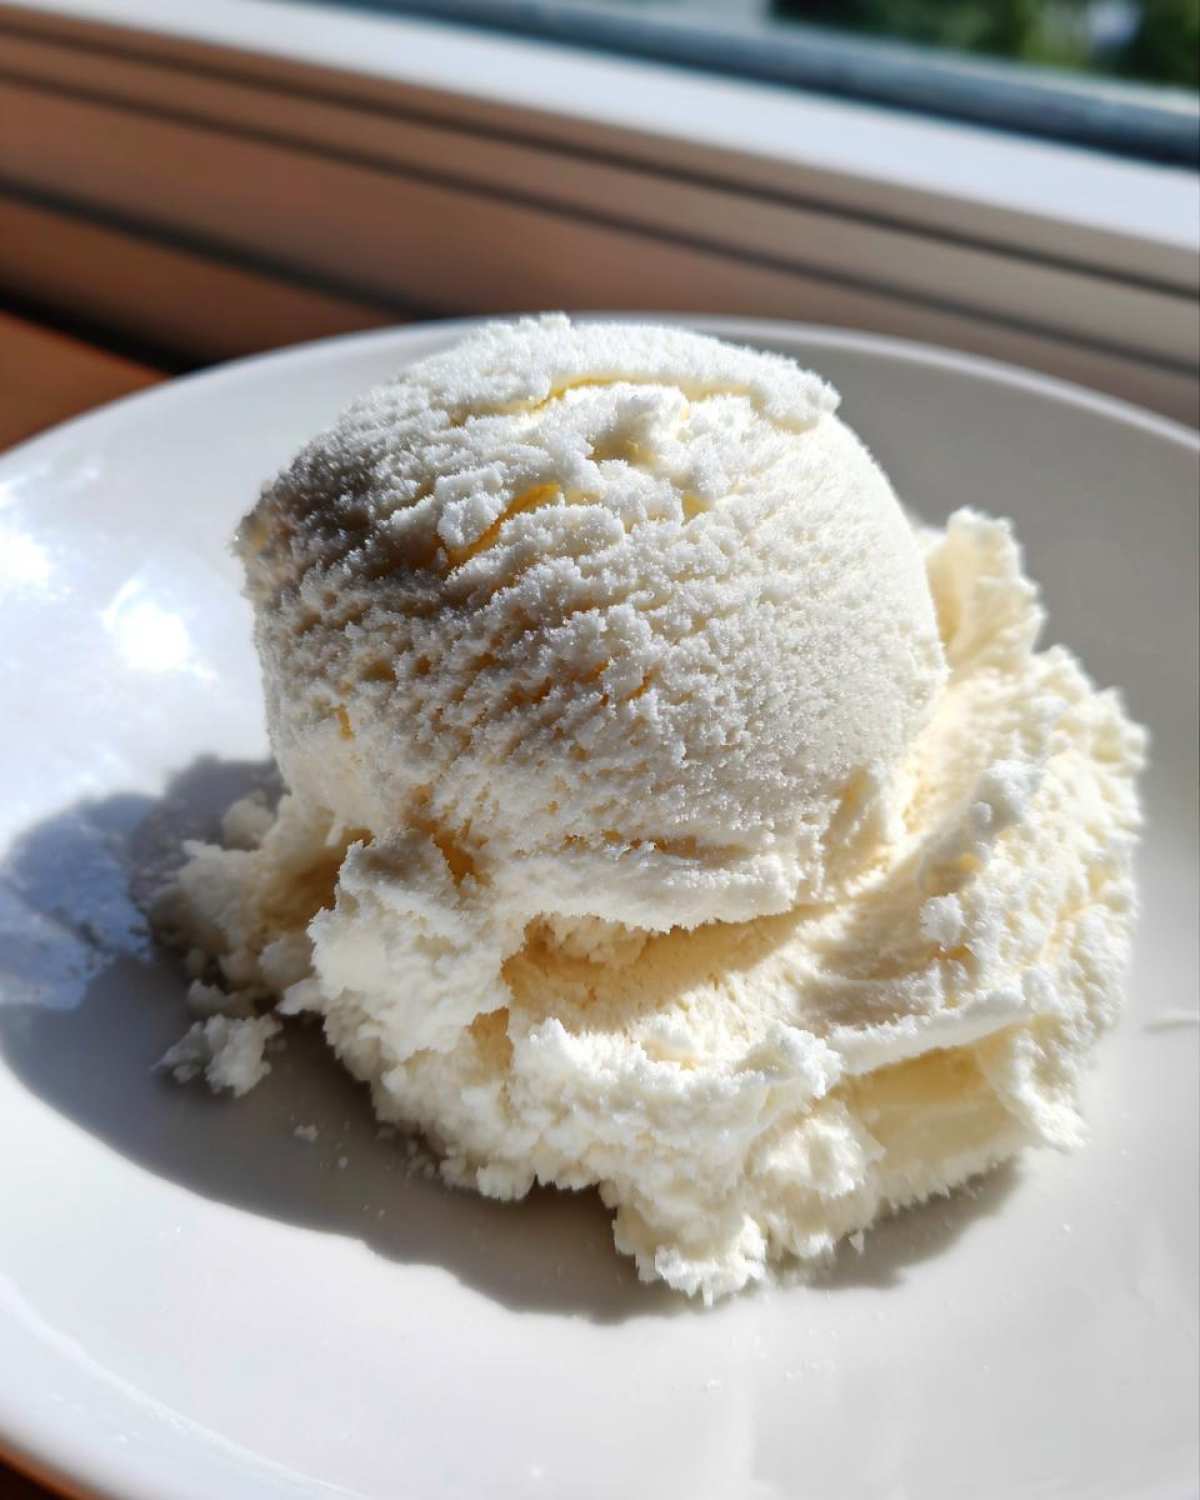
The Crucial Step: Softening Your Homemade Ice Cream
I nearly always forget this step when I’m making this **protein ice cream** late at night, and then I end up wrestling with the pan! When you take the container out of the freezer, don’t rush it. Letting it sit on the counter for those 5 to 10 minutes actually allows the edges and the very top layer to soften just slightly. This isn’t about melting; it’s about making it scoopable, promoting that beautiful, creamy texture we worked so hard for.
If you are really pressed for time, I’ve been known to microwave the whole empty container for exactly three seconds—no more!—but honestly, sitting on the counter works the best and maintains the structure longer. It instantly elevates this from a ‘healthy snack’ to a truly ‘indulgent healthy dessert.’ Don’t skip the wait time; it’s the secret handshake for perfect no-churn results!
Need some super quick bases to mix things up next time? Check out our tips on making easy protein snacks that freeze well!
Flavor Variations for Your Creamy Protein Frozen Yogurt
Now that you’ve mastered the base vanilla **protein ice cream**, which is honestly good enough to eat every single night, it’s time to get creative! If you’re like me, once you have a reliable **healthy homemade ice cream** recipe, you start thinking about all the different ways you can switch it up.
Since this vanilla recipe is so neutral and creamy, it’s the perfect canvas for almost any flavor you can dream up. Here are a couple of ideas that our readers (and Ethan!) absolutely love when they crave something beyond basic vanilla.
For a deep, rich chocolate fix—because sometimes you just need that classic flavor—simply add about 2 tablespoons of high-quality, unsweetened cocoa powder right in with your dry ingredients during step one. Make sure you whisk it in extra well! It transforms instantly into a fantastic chocolate **protein ice cream**. We actually have a whole separate recipe that delves deep into chocolate magic, but for a quick switch, this works perfectly!
If you are looking for that trendy salted caramel vibe, save yourself the hassle of making complex caramel sauces. Instead, grab a bottle of sugar-free salted caramel syrup. Once your base is smooth and ready—right before you pour it into the pan—drizzle about 1 or 2 tablespoons of that syrup in. Don’t mix it completely! Gently swirl it with a knife exactly two or three times. You want ribbons of caramel throughout your **creamy protein frozen yogurt**, not a uniform color. That way, every scoop gives you a little burst of salty sweetness. It’s such an easy way to make these **indulgent healthy desserts** feel fancy.
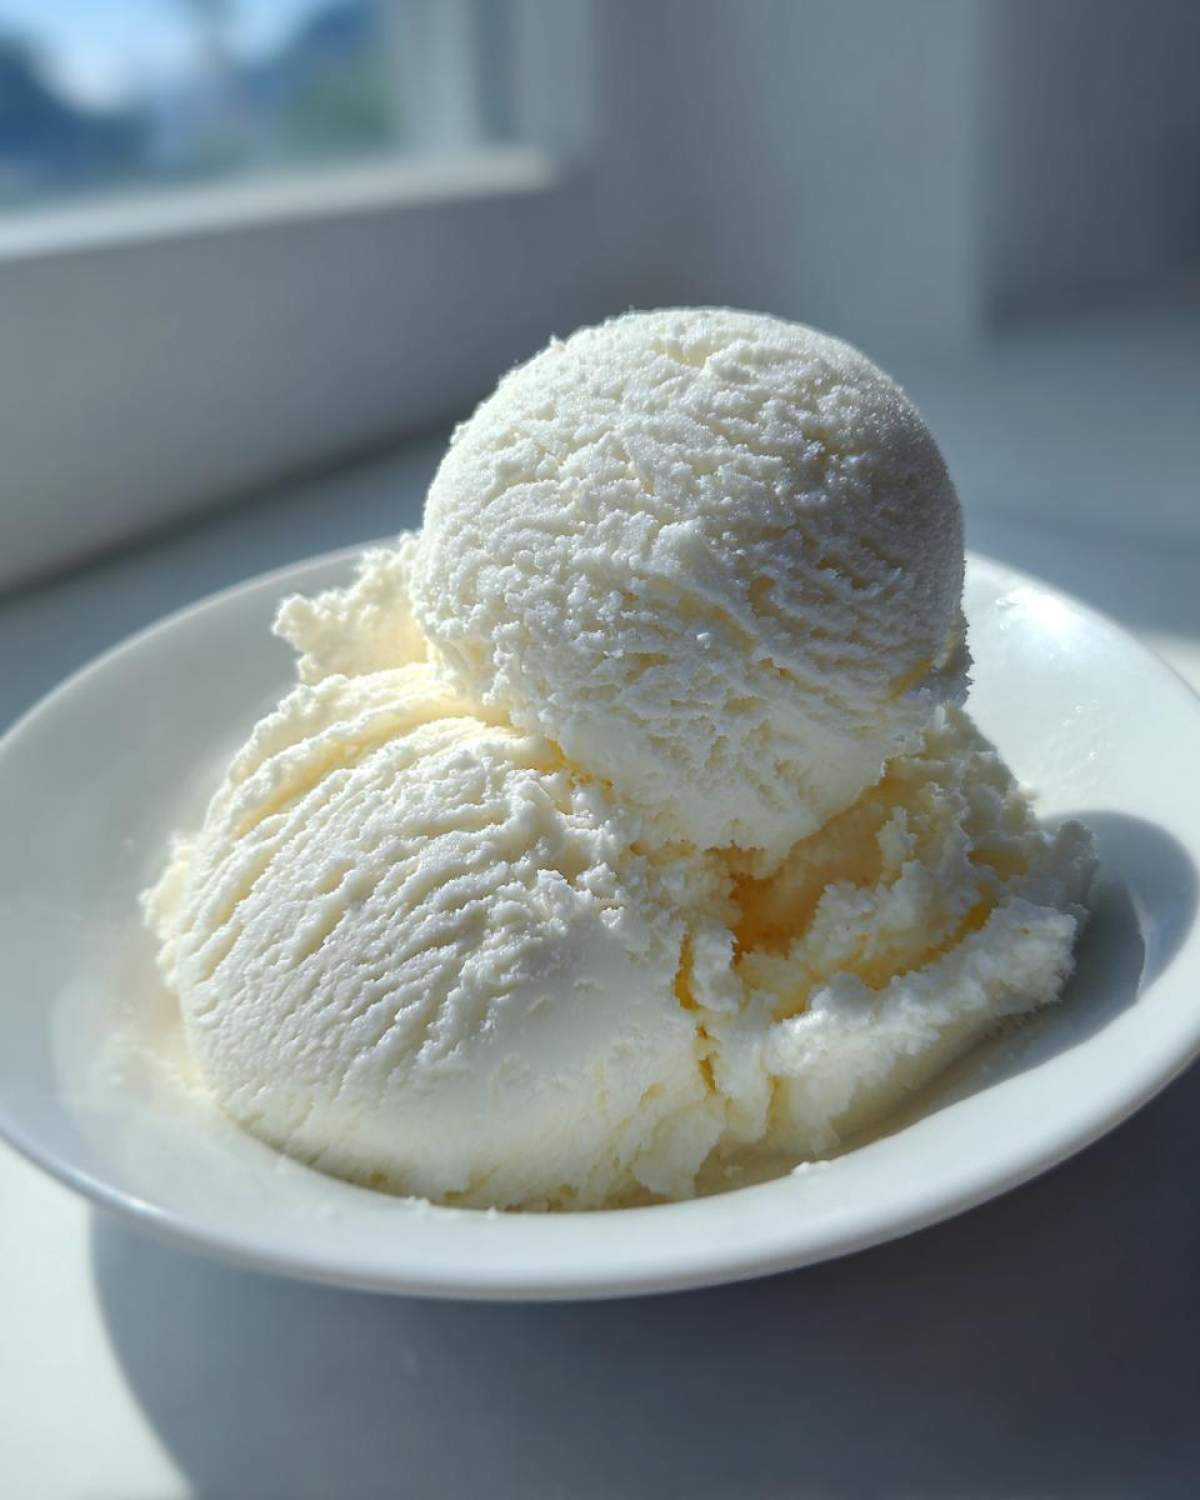
If you want to explore more pure chocolate goodness inspired by these easy bases, you might enjoy checking out our recipe for easy chocolate mousse recipe! Sometimes you just need that deep cocoa flavor!
Tips for Success with No Churn Protein Ice Cream
Even though this **protein ice cream** is designed to be super easy—no machine needed, remember?—there are a few little tricks Maya and I use to make sure we get that perfectly scoopable, dense texture every single time. When you’re dealing with high protein, low fat, freezing is always a little bit tricky, but these tips make achieving that smooth, **healthy homemade ice cream** totally doable.
First off, let’s talk about your freezing vessel. I know people love those tall, skinny containers, but honestly, they make the freezing process go so slow, and slow freezing equals big ice crystals. For the best results for your **no churn protein ice cream**, use a wider, shallower container—like a standard 9×5 loaf pan, which we recommend in the instructions. The wider surface area lets the cold hit the mixture faster, helping it set up quickly before water molecules can organize into giant ice chunks. It sounds scientific, but it just means creamier ice cream, trust me!
My second tip addresses flavor longevity. If you are planning on storing your **macro friendly desserts** for more than a couple of days, you MUST double up on the plastic wrap seal like we talked about. Air is the enemy of frozen desserts; it draws moisture out of the surface, creating that hardened, flavorless layer on top. Pressing plastic wrap directly onto the surface stops that right in its tracks.
Finally, don’t be scared of too much sweetener initially. Because this base is naturally lower in sugar than traditional ice cream—which is what makes it low calorie!—it has a tendency to freeze rock hard. If you want to ensure you don’t have to wait an hour on the counter every time you want a scoop, try adding just a tiny bit more zero-calorie sweetener than you think you need, or even a teaspoon of liquid monk fruit. It lowers the freezing point just enough so you can actually enjoy your **easy protein snacks** straight from the freezer.
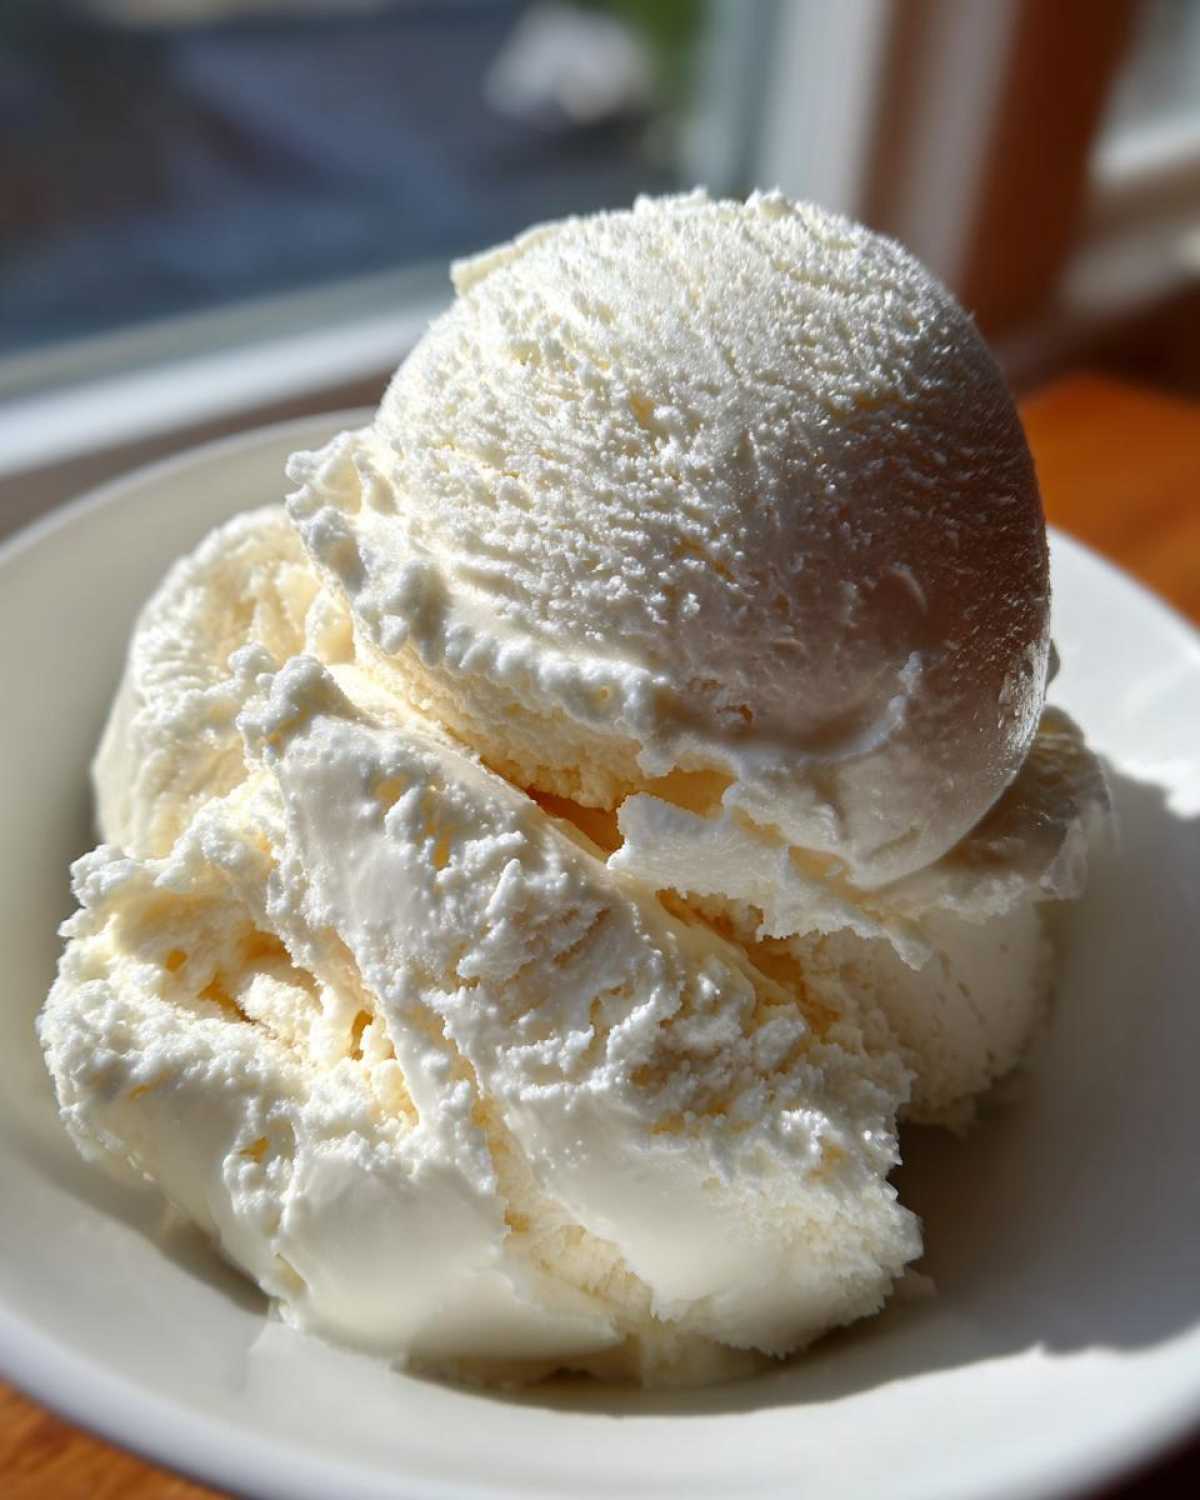
If you want to dive deeper into all the other helpful hints we’ve gathered over the years for keeping things delicious in the kitchen, you can check out the trenches of our experimentation over on the main blog page!
Storage and Reheating Instructions for Protein Ice Cream
Okay, so you’ve made the perfect batch of **protein ice cream**—it’s smooth, it’s creamy, and it tastes like cheating! Now we need to make sure it stays that way. Because this is a **no churn protein ice cream**, we treat it a little differently than the stuff you buy at the store. We don’t have all those stabilizers!
The most important thing is keeping the air out. When you store your container, make sure you’re using an airtight lid. But here’s the trick Maya insists on: press a sheet of plastic wrap directly onto the entire surface of the ice cream *before* you seal the container with the lid. This physically blocks any air from touching the surface and creating those terrible, flavorless ice shards on top. This is crucial for keeping your **macro friendly desserts** tasting fresh for days.
Now, let’s talk about rescuing it. If you ever pull your **protein ice cream** out and it got *way* too frozen—maybe it slipped into the back of the freezer where it got super cold—do not stick it in the microwave hoping for a miracle! We absolutely cannot “reheat” this goodness. That will just give you melted protein soup.
Instead, you have two options for rescue. The first is the patience plan: just let it sit on the counter for about 15 minutes. It usually softens right up to that perfect, manageable texture.
If you’re being greedy and need a scoop *now*, take that container and give it three quick, one-second blasts in the microwave on low power. Seriously, that’s all you need! It just gently encourages the smallest amount of air back into the mix, making it scoopable again while preserving the overall quality of your fantastic **protein ice cream** base. Happy scooping!
Frequently Asked Questions About Making Protein Ice Cream
I knew you’d have questions as soon as you saw how easy this **protein ice cream** was! We’ve answered a few of the top ones here, covering things like powder types and how this simple method stacks up against the big machines. Feel free to drop your own questions below if we missed anything!
Can I use whey protein instead of casein in my protein ice cream?
Oh, absolutely you can! Whey is super popular, and it works great here for making a delicious **high protein dessert**. The only thing Maya and I noted in our testing is that casein seems to blend up a tiny bit thicker because it absorbs liquid differently. So, if you use all whey, you might find your finished **protein ice cream** is just a touch icier, especially if you let it sit for a while. If you go the whey route, try reducing your almond milk in the recipe by about one extra tablespoon just to make absolutely sure that base isn’t too thin before freezing.
Is this recipe considered a Macro Friendly Dessert?
That’s the best part! Yes, this is the definition of **macro friendly desserts**. Look at those numbers: we’re looking at about 22 grams of protein for only 140 calories, with barely any sugar and very little fat. It’s designed specifically so you can hit your protein goals while still enjoying a genuinely satisfying, decadent-tasting scoop. It’s a perfect **post workout frozen dessert**!
How does this compare to Ninja Creami Protein Recipes?
I totally get the hype around those Ninja Creami machines; they churn out incredible texture! But honestly, that’s what we designed this recipe to skip. If you don’t own a Creami—and let’s be real, they take up a ton of counter space—this no-churn version is your ultimate answer for **making ice cream without machine**. It takes longer, sure, but it’s nearly zero effort, and the final result is still wonderfully creamy thanks to the yogurt base. It’s the ultimate low-effort **healthy homemade ice cream**!
Estimated Nutritional Data for This Protein Ice Cream
Maya, being the resident researcher and the one who loves knowing the “why” behind everything we eat, insisted we include the nutritional breakdown for this **protein ice cream**. We want you to enjoy this guilt-free, and knowing the facts helps! This is exactly the kind of data that makes this a fantastic part of any **macro friendly desserts** plan.
Remember, these are just guidelines based on the ingredients listed, and your actual numbers will vary depending on the brand of protein powder or yogurt you choose. Always check your labels, but this gives you a fantastic starting point for these **sweet fitness treats**!
Here is the estimated breakdown per serving (which we calculated as 1/2 cup):
- Calories: 140
- Protein: 22g
- Fat: 2g
- Carbohydrates: 8g
- Sugar: 3g
See? Twenty-two grams of protein! That’s huge for just 140 calories. This is why this **no churn protein ice cream** has won us over every single time—it delivers big results without weighing you down.
A little disclaimer from me, Ethan: Because we are using natural ingredients like yogurt and protein powder instead of industrial stabilizers, the texture might differ slightly from store-bought **low calorie ice cream ideas**. If it freezes a bit hard, just let it sit on the counter for those 10 minutes we talked about. That’s the trade-off for using real food, and frankly, it’s a trade I’ll make every time for a **high protein dessert recipe** this good!
Share Your Sweet Fitness Treats Creations
We have shared all our secrets on how to make truly excellent **protein ice cream** right in your own kitchen, without any fancy churning equipment! Now it’s your turn to join the Tasty Tipster family and let us know how it went. We live for this part!
Did you try turning it into chocolate? Did you swirl in some sugar-free peanut butter? I am super curious to see what sort of **sweet fitness treats** you end up dreaming up with this vanilla base. It’s always such a thrill seeing recipes take on a life of their own once they leave our kitchen and head to yours.
Please, please, please leave us a rating below this recipe—even five stars for something that tastes this good helps other people find their new favorite healthy indulgence! And if you snap a picture of your perfectly scooped, creamy **protein ice cream**, tag us on social media! We always share our favorites on our stories; Ethan loves getting to shout out someone who nailed the texture.
If you have any burning questions about blending protein types or storage issues, definitely drop them in the comments section too. We monitor those closely and love jumping in to troubleshoot. You can also reach out to us directly anytime through our contact page if you need something specific!
Thanks for trusting us with your dessert cravings. Happy scooping!
PrintSimple No-Churn Vanilla Protein Ice Cream
Make a creamy, high-protein frozen treat without needing an ice cream maker. This recipe uses simple ingredients for a guilt-free dessert.
- Prep Time: 5 min
- Cook Time: 0 min
- Total Time: 6 hr 5 min
- Yield: 4 servings
- Category: Dessert
- Method: No-Churn Freezing
- Cuisine: American
- Diet: Low Fat
Ingredients
- 1 cup plain Greek yogurt (2% or full fat for best texture)
- 1/2 cup unsweetened almond milk (or milk of choice)
- 1 scoop vanilla protein powder (whey or casein blend works well)
- 2 tablespoons erythritol or preferred zero-calorie sweetener
- 1 teaspoon vanilla extract
- Pinch of salt
Instructions
- In a medium bowl, combine the Greek yogurt, almond milk, vanilla protein powder, sweetener, vanilla extract, and salt.
- Use a whisk or electric mixer to beat the mixture until it is completely smooth and well combined. You want to eliminate any lumps from the protein powder.
- Pour the mixture into a freezer-safe container, such as a loaf pan or a plastic container with a lid.
- Cover the container tightly with plastic wrap, pressing the wrap directly onto the surface of the mixture to prevent ice crystals from forming.
- Freeze for at least 6 hours, or until firm.
- Before serving, let the ice cream sit on the counter for 5 to 10 minutes to soften slightly for easier scooping. This step is key for a creamy texture.
- Scoop and enjoy your high-protein dessert.
Notes
- For an even creamier result, use a blend of 1/2 cup Greek yogurt and 1/2 cup cottage cheese (blend the cottage cheese first until completely smooth).
- If you prefer a thicker texture, reduce the almond milk by one tablespoon.
- This recipe is a great base for macro friendly desserts; add mix-ins like sugar-free chocolate chips during the last hour of freezing.
Nutrition
- Serving Size: 1/2 cup
- Calories: 140
- Sugar: 3
- Sodium: 150
- Fat: 2
- Saturated Fat: 1
- Unsaturated Fat: 1
- Trans Fat: 0
- Carbohydrates: 8
- Fiber: 1
- Protein: 22
- Cholesterol: 10