

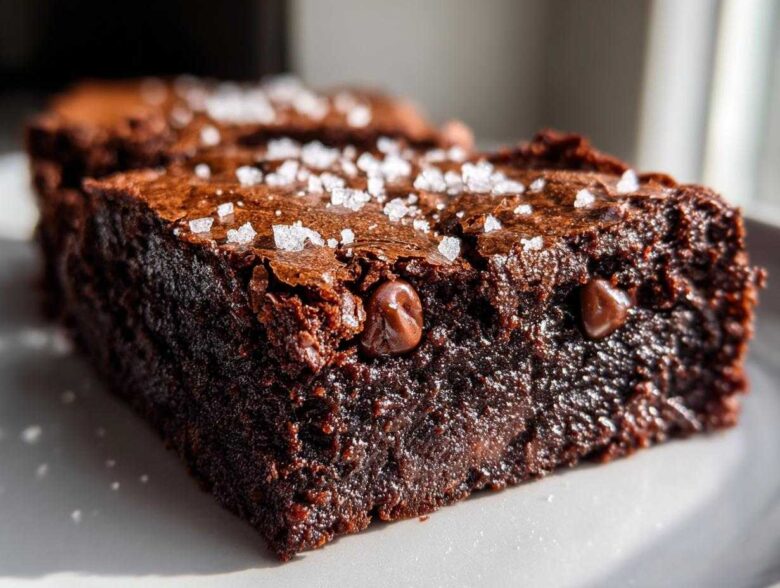
Forget everything you thought you knew about basic chocolate squares because we are about to change the game! If you want a chocolate dessert that screams luxury and delivers an incredible punch of caramelized flavor, you need these Ultimate Fudgy Brown Butter Brownies. Trust me, once you learn the simple trick of browning the butter, you’ll never look back. I spent ages perfecting the balance because I wanted them unbelievably fudgy—none of that cakey nonsense for us! The secret, that rich, nutty depth, comes entirely from properly browned butter. Baking with nutty brown butter isn’t just a step; it’s the whole experience, and I’m so excited to show you how to nail this technique for the best homemade brownie recipes every single time.
Why These Brown Butter Brownies Are the Best Homemade Brownie Recipes
Honestly, once you taste the difference nutty, caramelized butter makes, standard baking just feels a little boring. These brownies are in a league of their own. We’re hitting every single marker you want in a gourmet brownie recipe, and I promise you’ll feel like a professional baker when you pull them out of the oven!
- Intense Flavor: Browning the butter caramelizes the milk solids, giving us this deep, toffee-like background note that plays perfectly off the dark chocolate. It’s what makes these rich chocolate dessert squares so memorable.
- The Fudgy Factor: We use less flour than most recipes and lean heavily on that fat content. That’s the key to that incredible, dense center everyone craves in fudgy brownies from scratch.
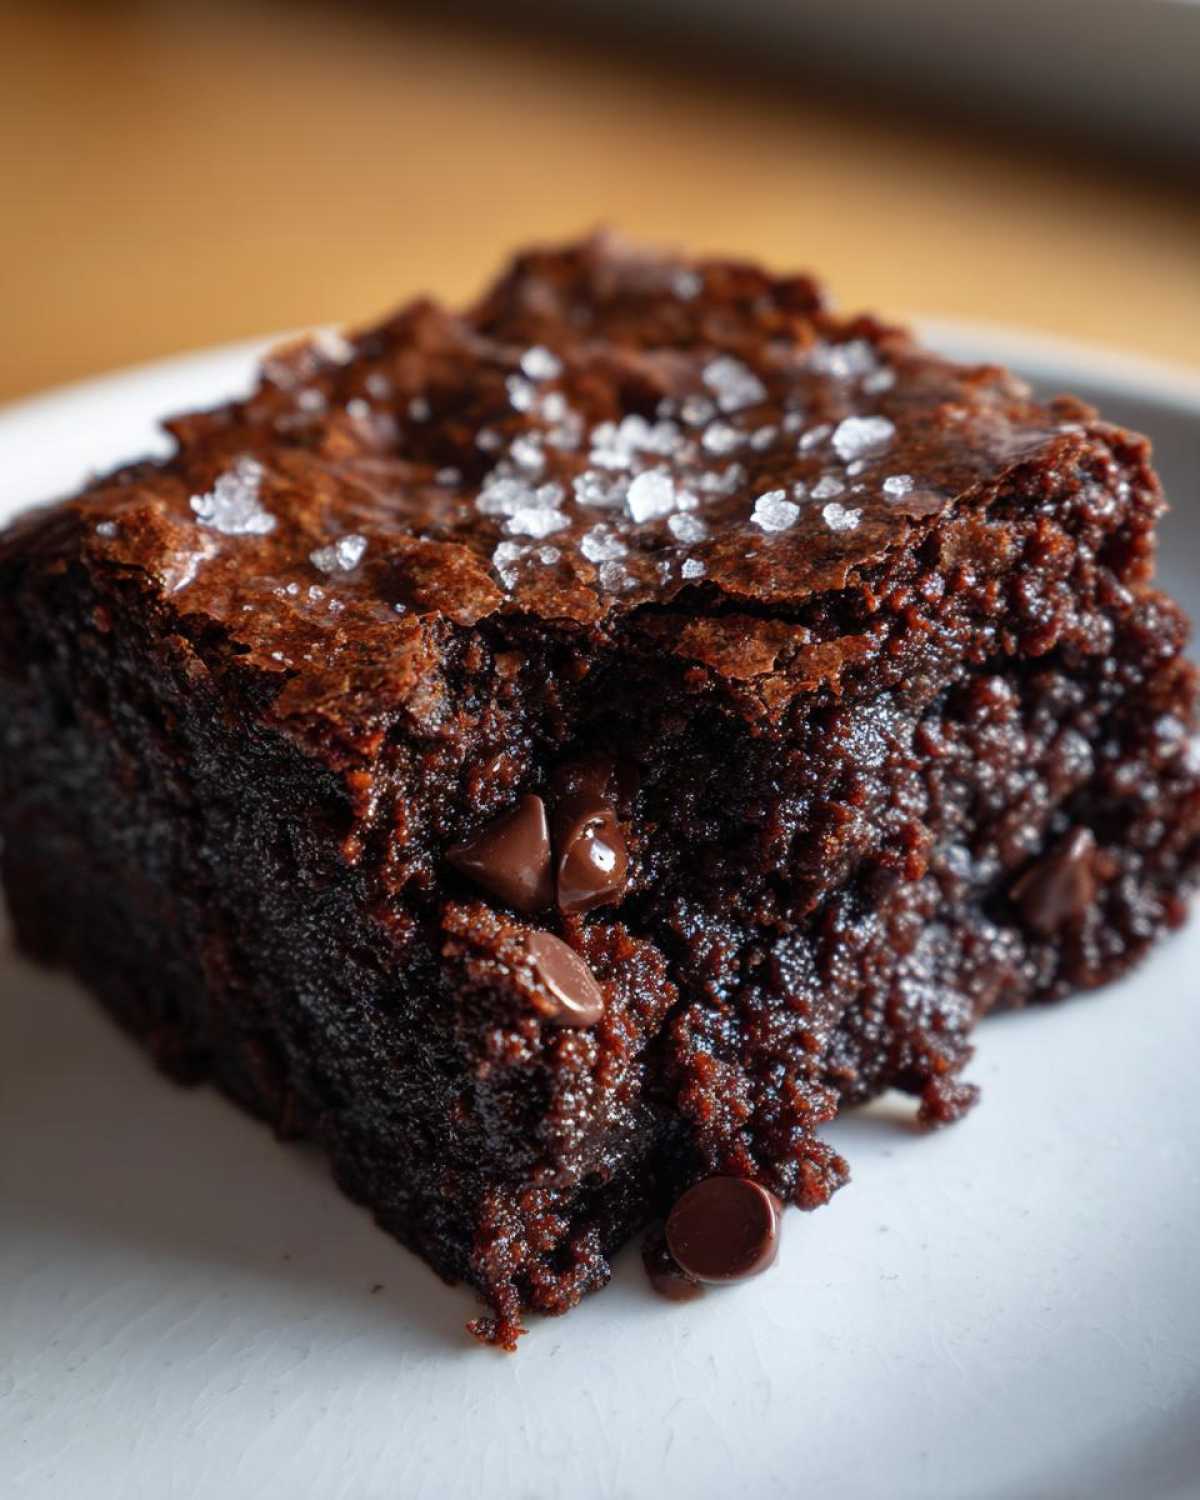
- That Shiny Top: Oh, that crackly top! It’s not luck; it’s technique, which I detail below. It gives that beautiful contrast to the gooey inside.
Achieving the Perfect Fudgy Texture in Your Brown Butter Brownies
The secret to that amazing fudgy texture is all about the ratios, especially how much sugar we introduce to that warm brown butter. It allows the batter to set just right while keeping everything beautifully moist. It’s science, but delicious science!
Gathering Ingredients for Rich Chocolate Dessert Squares
Okay, let’s get what we need together. The ingredients list for these isn’t complicated, but the quality truly matters because we are relying on the brown butter to carry so much flavor. For the real caramel notes, we need both white and brown sugar. Don’t skimp!
Make sure your three large eggs are at room temperature; it really helps them incorporate smoothly into that warm butter mixture. We need a strong dose of cocoa powder, but the chopped bittersweet chocolate adds the real depth for an intense chocolate flavor. If you want to make these the easiest, grab all your measuring cups and bowls first so you’re ready to go as soon as the butter’s done!
- 1 cup (2 sticks) unsalted butter
- 1 1/4 cups granulated sugar
- 3/4 cup packed light brown sugar
- 3 large eggs, room temperature
- 1 tablespoon vanilla extract
- 3/4 cup all-purpose flour
- 1/2 cup unsweetened cocoa powder
- 1/2 teaspoon salt
- 4 ounces bittersweet chocolate, chopped or chips
- 1/2 cup semi-sweet chocolate chips (optional)
- Flaky sea salt, for topping
If you are looking for fantastic, straightforward bakes, check out my guide on easy homemade brownie recipes while you’re measuring!
Mastering Brown Butter Baking Techniques: How to Brown Butter for Baking
Okay, this is the most important part of making these brown butter brownies. If you’ve never tried baking with nutty brown butter before, don’t panic! It’s unbelievably easy, but you have to pay attention to the signals the butter is sending you. You need a light-colored saucepan, and I mean light, so you can actually see the color change. Toss in your butter over medium heat. I sometimes use this exact technique in my brown butter pumpkin bread, too!
It will melt, then it starts to foam up furiously. Keep swirling it—this is key; you don’t want the milk solids burning in one spot! Soon, that foam will die down, and you’ll see tiny, dark brown specks forming on the bottom. That’s liquid gold right there! More importantly, the whole kitchen will suddenly smell like toasted hazelnuts or deep caramel—that’s your cue!
The second you smell that nutty aroma, yank that pan off the heat! Seriously, move it immediately, because those brown bits will go from perfect to burnt chocolate junk in about three seconds flat. Immediately pour all of it—the liquid gold *and* those precious brown bits—into a large, heatproof bowl. That’s the best demonstration of brown butter baking techniques I can give you!
Cooling the Butter Before Mixing Brown Butter Brownies
Now, here is where you need patience, my friend. We need those gorgeous, flavorful milk solids, but if they are scalding hot, they will scramble your eggs when you add them next. Let that bowl of wonderfully fragrant butter sit for about ten minutes. When you touch the side of the bowl, it should feel warm, not searing hot. This slight cooling is absolutely vital for creating that glossy mixture that eventually yields the crackly top brownies tutorial finish we want. If you rush this step, you compromise the texture of your whole batch.
Step-by-Step Instructions for Perfect Brown Butter Brownies
Once you have your glorious brown butter cooling, the rest of the assembly is lightning fast, which is why these are also amazing for a quick, decadent chocolate square craving you get right now. First things first: preheat your oven to 350°F (175°C). Get that 8×8 inch metal pan ready by lining it perfectly with parchment paper, making sure you leave an overhang on two sides. This overhang is your handle for lifting them out later—don’t skip it, or you’ll have a messy situation!
Now, whisk the granulated sugar and that packed light brown sugar right into the slightly cooled brown butter. You need to mix this until they are totally combined. Then, we add the flavor builders: whisk in the eggs one at a time, making sure each one is fully incorporated before adding the next. This is where the magic for the top happens!
Next, grab your dry stuff—flour, cocoa powder, and salt—and whisk those together quickly in a separate bowl. Gently fold the dry ingredients into your wet mixture using a spatula. Please, please, please do not overmix here! We only want to mix until you don’t see any white streaks left. Then, fold in your chopped bittersweet chocolate and those optional semi-sweet chips. Spread that thick batter into your prepared pan and top it with a light dusting of flaky sea salt.
Creating the Crackly Top Brownies Tutorial
If you want that signature shine, remember what I said earlier: you need to really work those eggs and sugars into the warm butter mixture. Whisk them until the bowl feels slightly lighter in color and the mix looks glossy and thick. That aeration is what creates the veil on top! Don’t just stir gently; you need to beat some air in there right before you fold in the flour. This one step turns a good brownie into a stunning, truly crackly top brownie.
Baking Time and Doneness Test for Fudgy Brownies from Scratch
Bake these beauties for about 30 to 35 minutes at 350°F. You are looking for the edges to seem set and slightly firm, but the center should still wiggle just a bit when you gently jiggle the pan. The best test for achieving that perfect fudgy brownie from scratch outcome? Insert a toothpick right near the center. If it comes out coated with moist, fudgy crumbs—perfect! If it drips wet batter, give it five more minutes. If it’s bone dry, you’ve overbaked and made cake, oops!
Tips for Success When Making Brown Butter Brownies
Listen, making these brown butter brownies is mostly about the browned butter step, but a few little things can push them from great to absolutely phenomenal. First off, give your eggs a solid ten minutes on the counter before you start. Room temperature eggs blend so much smoother into that warm butter base, which helps immensely with that shiny top we’re aiming for.
Also, try to use good quality chocolate—I mean, we’re already going to the effort of baking with nutty brown butter, so let’s make the chocolate count! Using bittersweet chips or chopped bars really ups the ante for those intense chocolate flavor desserts. If you want to guarantee success with your butter, remember to watch the color, not the clock. If you need more brown butter inspiration, check out my tips for brown butter oatmeal raisin cookies!
Variations: Elevating Your Brown Butter Brownies
While these brownies are practically perfect right out of the oven—salty, fudgy, and nutty—I always encourage a little kitchen experimentation, especially when you’re already making gourmet brownie recipes. Once you’ve mastered the base, adding in an extra texture or flavor dimension is super simple and makes for an incredible gift!
My favorite thing to fold in alongside the chocolate chips is about a half-cup of toasted pecans or walnuts. Toasting them first really wakes up that nutty flavor and complements the brown butter beautifully. If you want to lean into that deep coffee note that always enhances chocolate, try dissolving just one teaspoon of instant espresso powder right into your dry ingredients along with the cocoa powder. It won’t taste like coffee, I promise; it just deepens the chocolate overall.
For those who love the sea salt topping, try swapping out some of those semi-sweet chips for white chocolate chips, and then sprinkle the top with smoked sea salt instead of regular flaky salt. Wow! Talk about an exciting twist on your standard chocolate bake. If you want to see how I incorporated these caramel-nutty flavors into another classic, you have to check out my recipe for pecan pie brownies!
Storage and Reheating Instructions for Decadent Chocolate Squares
We put so much work into those perfect brown butter brownies, and we certainly don’t want them going stale before we can finish the pan. Luckily, because of all that luxurious fat we used, these stay unbelievably fresh!
The best way to keep them is simple: let them cool completely—and I mean *totally* cool—in the pan first. Then, use that parchment overhang to lift them out. Cut them into your decadent chocolate squares and stack them in an airtight container. If you put wax paper or parchment sheets between the layers, that helps keep them from sticking together, which is nice if you stack more than two high.
I’ve found they taste best on Day Two, honestly. They stay fresh like this at room temperature for about four days. The flavor actually deepens a little bit! If you want to freeze them, you can wrap individual squares tightly in plastic wrap and then put them in a freezer bag. They’ll be great for up to three months. When you want one, just let it thaw on the counter for about an hour before enjoying. If you’re in a rush and need that fudgy texture back, a quick 15 seconds in the microwave does wonders, especially if you’re following my easiest 3-ingredient chocolate fudge recipe!
Frequently Asked Questions About Brown Butter Brownies
I know baking with brown butter can make folks nervous, but that’s why I wrote this whole guide! We want you to succeed with these amazing fudgy brownies from scratch. Here are a few things people always ask me after they try making these rich chocolate squares.
Can I substitute the butter type in this Brown Butter Brownies recipe?
You absolutely can use salted butter, but I really urge you not to. When we are doing brown butter baking techniques, we need control over the salt, especially since we are adding flaky salt on top at the end. If you use salted butter, cut out the 1/2 teaspoon of salt from the dry ingredients entirely. Also, make sure you chill your brown butter longer if you do try using a substitute butter spread—it just doesn’t quite brown the same way!
How do I know if my butter is perfectly browned?
This is all about your senses! Don’t just watch the color; rely on your nose. When you first pour your butter into the light-colored pan, it will foam up. Once that foam subsides and you see little dark specks forming at the bottom, take a big sniff. If it smells deeply nutty, like rich caramel or hazelnuts, it’s done. If it smells smoky or acrid, you’ve gone too far, whoops! Remember, that smell is the whole point of these from scratch brownie guide recipes!
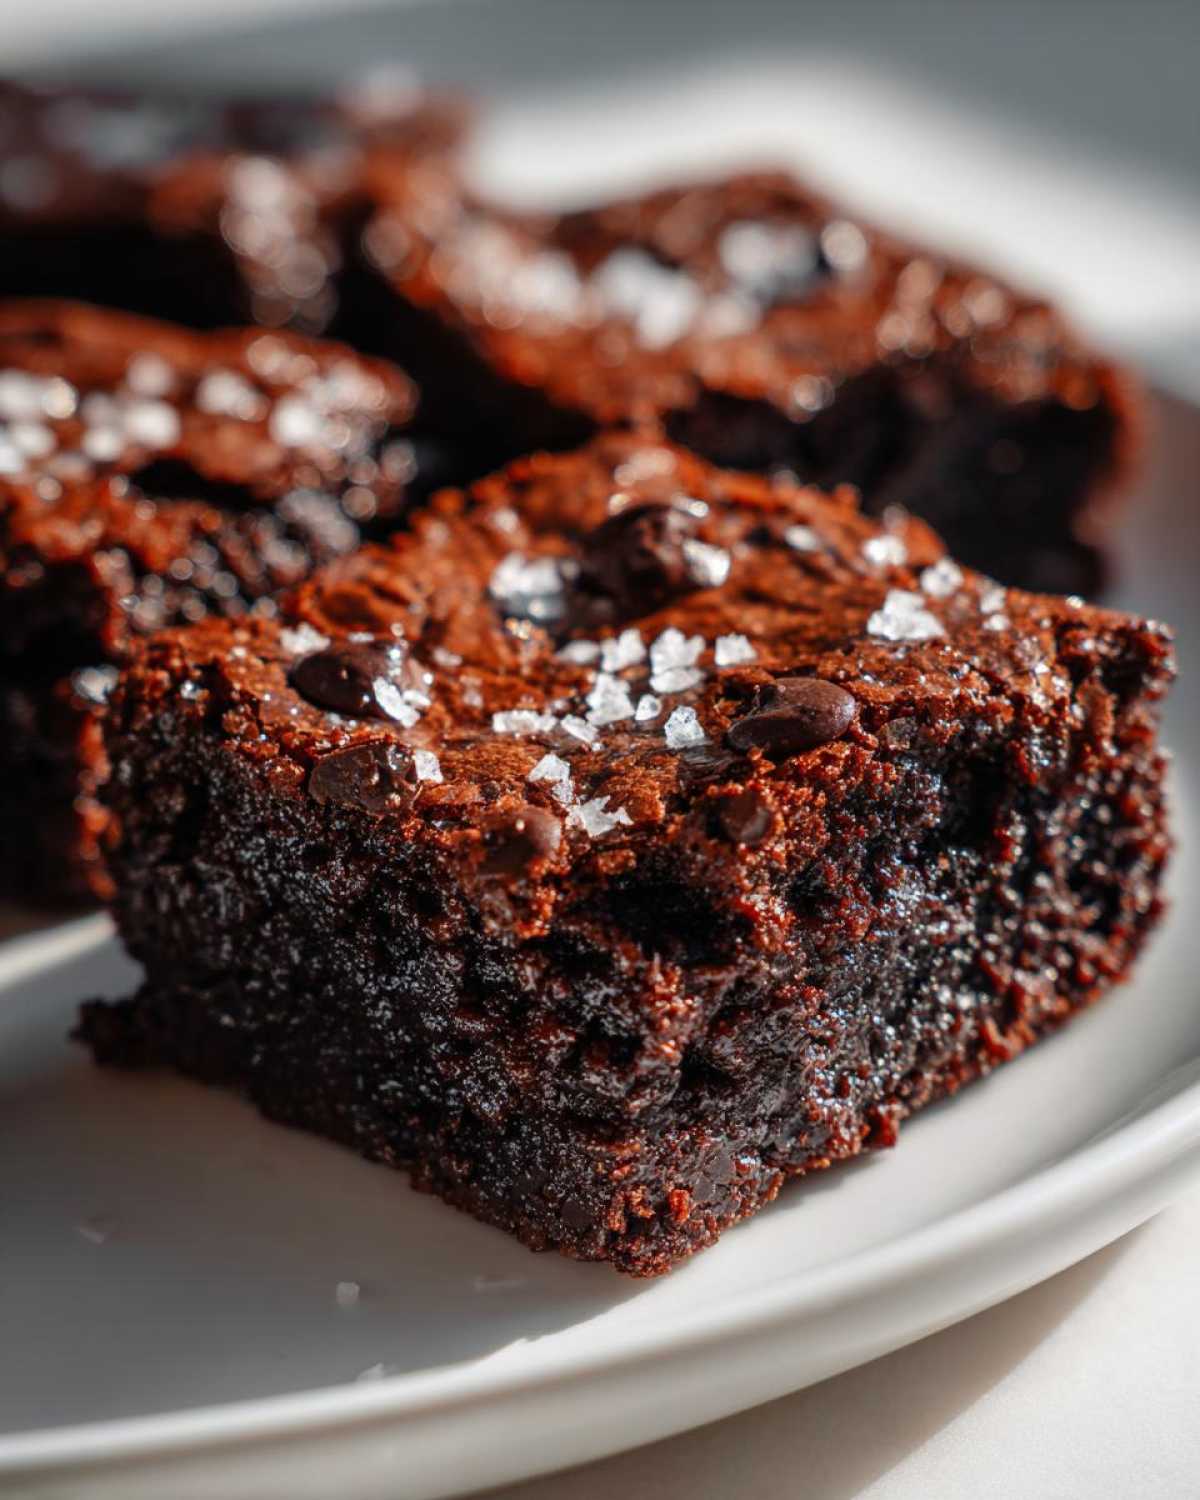
I also get asked a lot about achieving that non-cakey texture. That comes from not overmixing the flour once you add it. Keep folding gently until it just disappears. That technique, combined with the fudgy center test, is how you ensure you’re making the best brownies!
Nutritional Estimates for Your Rich Chocolate Dessert
Now, I typically don’t worry too much about counting calories when I’m making something this gloriously rich, but my sister always asks for the numbers, so here they are! These figures are for one square, based on my specific ingredient choices for these brown butter brownies. If you use extra chocolate chips or a richer cocoa powder, they might shift a little bit.
Remember, this recipe is meant to be an indulgence—a truly rich chocolate dessert experience—so don’t stress over the fat content. The walnuts and butter add great flavor and necessary richness! For a full breakdown, I use this nutrition calculator, which is helpful when I’m tweaking recipes, like my easy chocolate mousse recipe.
- Serving Size: 1 square
- Calories: 250
- Sugar: 25g
- Sodium: 100mg
- Fat: 15g
- Protein: 3g
Disclaimer time! Since we are using real butter and rich chocolate chunks, these numbers are estimates. If you use a darker brand of chocolate or slightly more sugar than I listed, those actual counts might creep up a tad. Just view this as a guide for enjoying your wonderfully baked caramelized butter dessert squares!
PrintThe Ultimate Fudgy Brown Butter Brownies with Sea Salt Topping
Make rich, fudgy brownies with an intense, nutty flavor by incorporating browned butter into the batter, topped with flaky sea salt.
- Prep Time: 15 min
- Cook Time: 35 min
- Total Time: 50 min
- Yield: 16 squares
- Category: Dessert
- Method: Baking
- Cuisine: American
- Diet: Vegetarian
Ingredients
- 1 cup (2 sticks) unsalted butter
- 1 1/4 cups granulated sugar
- 3/4 cup packed light brown sugar
- 3 large eggs, room temperature
- 1 tablespoon vanilla extract
- 3/4 cup all-purpose flour
- 1/2 cup unsweetened cocoa powder
- 1/2 teaspoon salt
- 4 ounces bittersweet chocolate, chopped or chips
- 1/2 cup semi-sweet chocolate chips (optional)
- Flaky sea salt, for topping
Instructions
- Preheat your oven to 350°F (175°C). Line an 8×8 inch metal baking pan with parchment paper, leaving an overhang on two sides for easy removal.
- Place the butter in a light-colored saucepan over medium heat. Cook, swirling often, until the butter melts, foams, and then brown bits form at the bottom and the butter smells nutty. This takes about 5 to 8 minutes. Immediately pour the brown butter into a large heatproof bowl, scraping in the brown bits. Let it cool for 10 minutes.
- Whisk the granulated sugar and brown sugar into the slightly cooled brown butter until well combined.
- Whisk in the eggs one at a time, mixing well after each addition until the mixture is smooth and glossy. Stir in the vanilla extract.
- In a separate bowl, whisk together the flour, cocoa powder, and salt.
- Gently fold the dry ingredients into the wet ingredients using a spatula until just combined. Do not overmix.
- Fold in the chopped bittersweet chocolate and the optional semi-sweet chocolate chips.
- Spread the batter evenly into the prepared pan. Sprinkle the top lightly with flaky sea salt.
- Bake for 30 to 35 minutes. The edges should look set, and a toothpick inserted near the center should come out with moist, fudgy crumbs attached, not wet batter.
- Let the brownies cool completely in the pan on a wire rack before lifting out using the parchment overhang and cutting into squares.
Notes
- To achieve the crackly top, make sure you whisk the eggs and sugars vigorously after adding them to the warm brown butter until the mixture lightens slightly in color.
- For extra richness, use a mix of dark and milk chocolate in the batter.
- Store cooled brownies tightly covered at room temperature for up to 4 days.
Nutrition
- Serving Size: 1 square
- Calories: 250
- Sugar: 25
- Sodium: 100
- Fat: 15
- Saturated Fat: 9
- Unsaturated Fat: 6
- Trans Fat: 0
- Carbohydrates: 28
- Fiber: 2
- Protein: 3
- Cholesterol: 55