

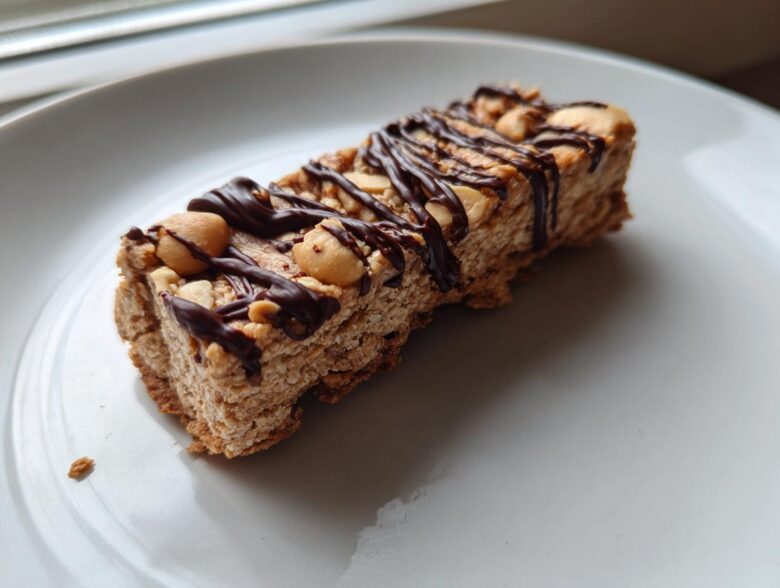
Oh, the eternal snack struggle! You open the pantry looking for something that’s quick, healthy, but actually tastes like a treat, and all you find are chalky disappointments or sugar bombs pretending to be fitness fuel. Trust me, Ethan and I went through years of that nonsense. I was meticulously measuring ingredients for my *protein bars*, while Ethan insisted on just throwing things together because the recipe seemed too restrictive.
That is, until we finally merged our styles for the ultimate solution: these Easy No-Bake 5-Ingredient Peanut Butter Protein Bars. Seriously, this recipe is our masterpiece of collaboration! It has my structure—exactly five core ingredients, total no-bake simplicity—and Ethan’s flavor intuition—that rich peanut butter base combined just right with the sweetness. You can find the full, detailed breakdown of this specific recipe right here. They are unbelievably satisfying, ready fast, and they taste like something you’d actually pay too much for at a fancy coffee shop. You absolutely need these on your meal prep rotation!
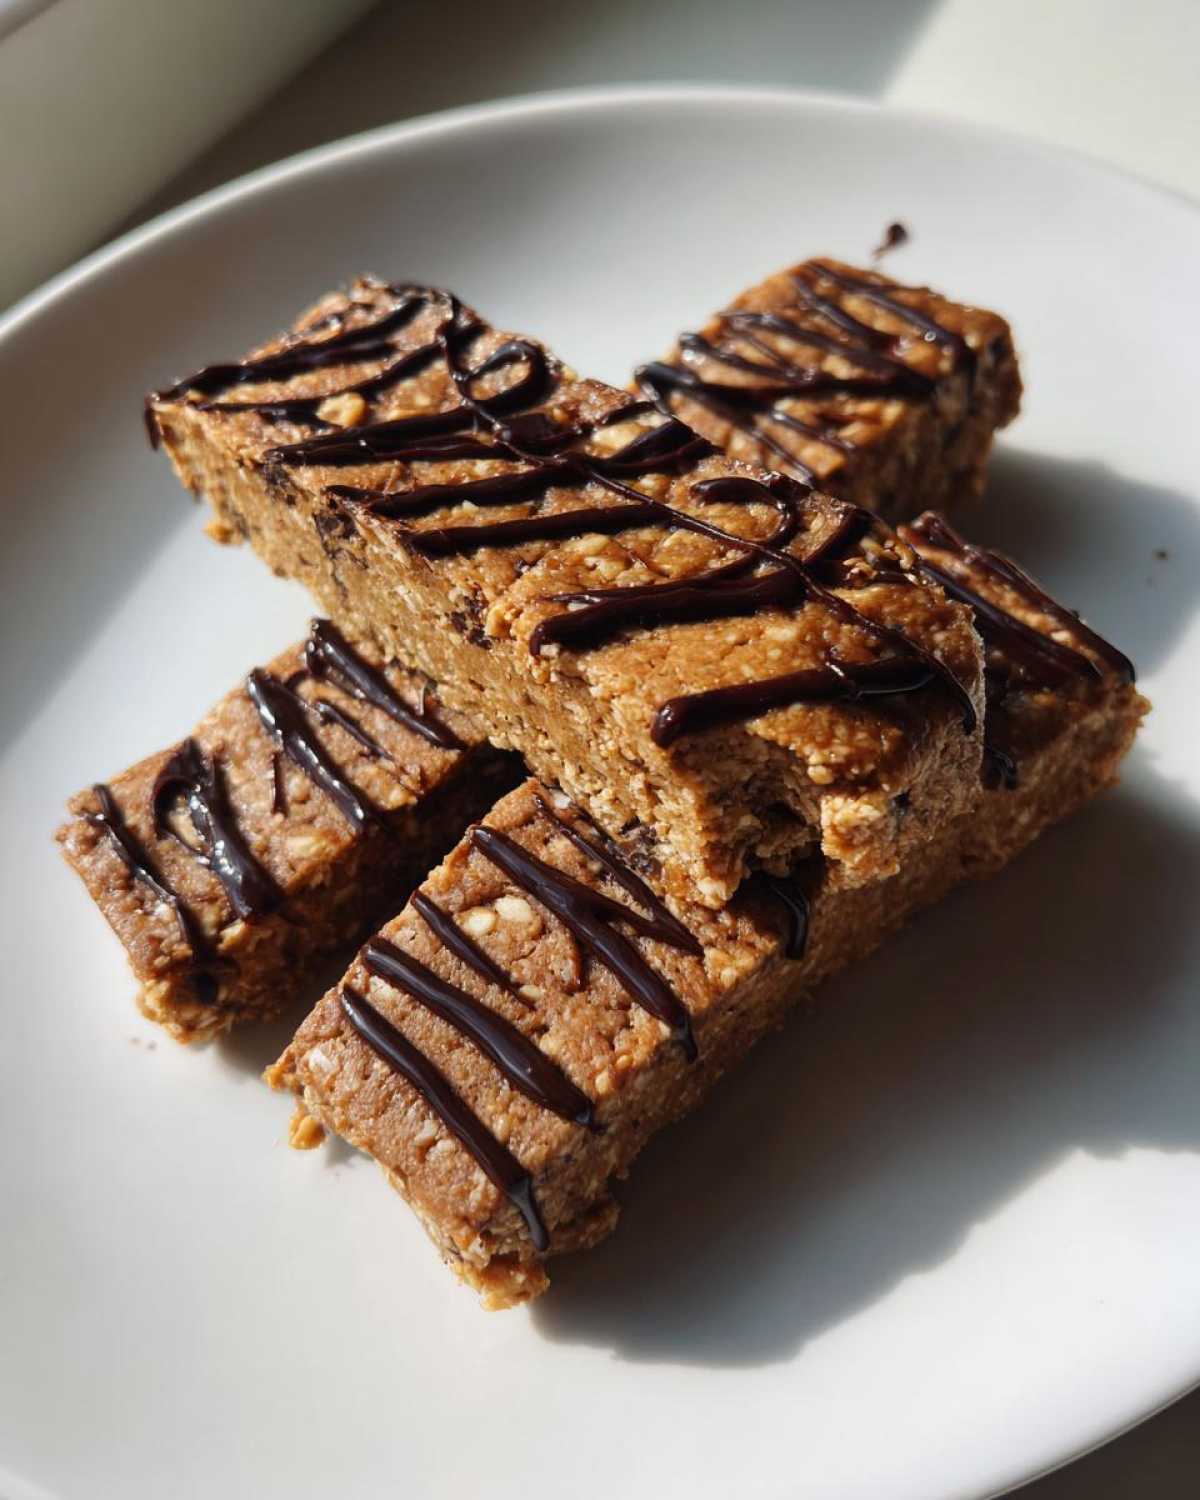
Why These Easy No-Bake 5-Ingredient Protein Bars Are a Game Changer
I get it. When you look for *easy protein bar recipe* online, you often end up with something that requires baking, uses ten different powders, or tastes suspiciously like cardboard. Not here! My research ensures this formula works perfectly every single time. These are the true champions of the *no bake protein bars* category because they deliver on satisfaction without the fuss.
Ethan keeps a stack of these in the freezer for when he needs a genuine boost, and honestly, they’ve become my go-to grab-and-go snack for long days researching in the kitchen. We tested batches until we nailed the balance required for a truly delicious bar.
Quick Prep Time for Your Homemade Protein Bars
The best part about this specific batch is just how fast active time is. We are talking about ten minutes of actual work, maybe less! You just mix things in one bowl, press it into the pan, and done! That’s why they fall perfectly into the *quick protein treats* bucket. No oven preheating, no messy cooling racks—just quick mixing and chilling.
Achieving the Best Tasting Protein Bars with Few Ingredients
We all know the main complaint about *homemade protein bars*: they can be dry or chalky. That doesn’t happen here, and it’s all thanks to the creamy peanut butter acting as our core binder and flavor driver. Those five ingredients harmonize so well; the natural fats and the protein powder mesh beautifully. These truly are some of the *best tasting protein bars* you can make without turning on your stove. You can browse all my tested recipes over on the main blog page for more inspiration!
Gathering Ingredients for Your Peanut Butter Protein Bars
Okay, let’s talk fuel! Because we are keeping this recipe to just five core components—plus a tiny bit of chocolate for flair—we need to be precise about what we grab. You’ll need creamy peanut butter, vanilla protein powder (whey or plant works!), plain rolled oats, and your choice of sweetener, like honey or maple syrup. Don’t forget the chocolate chips for that perfect drizzle finish!
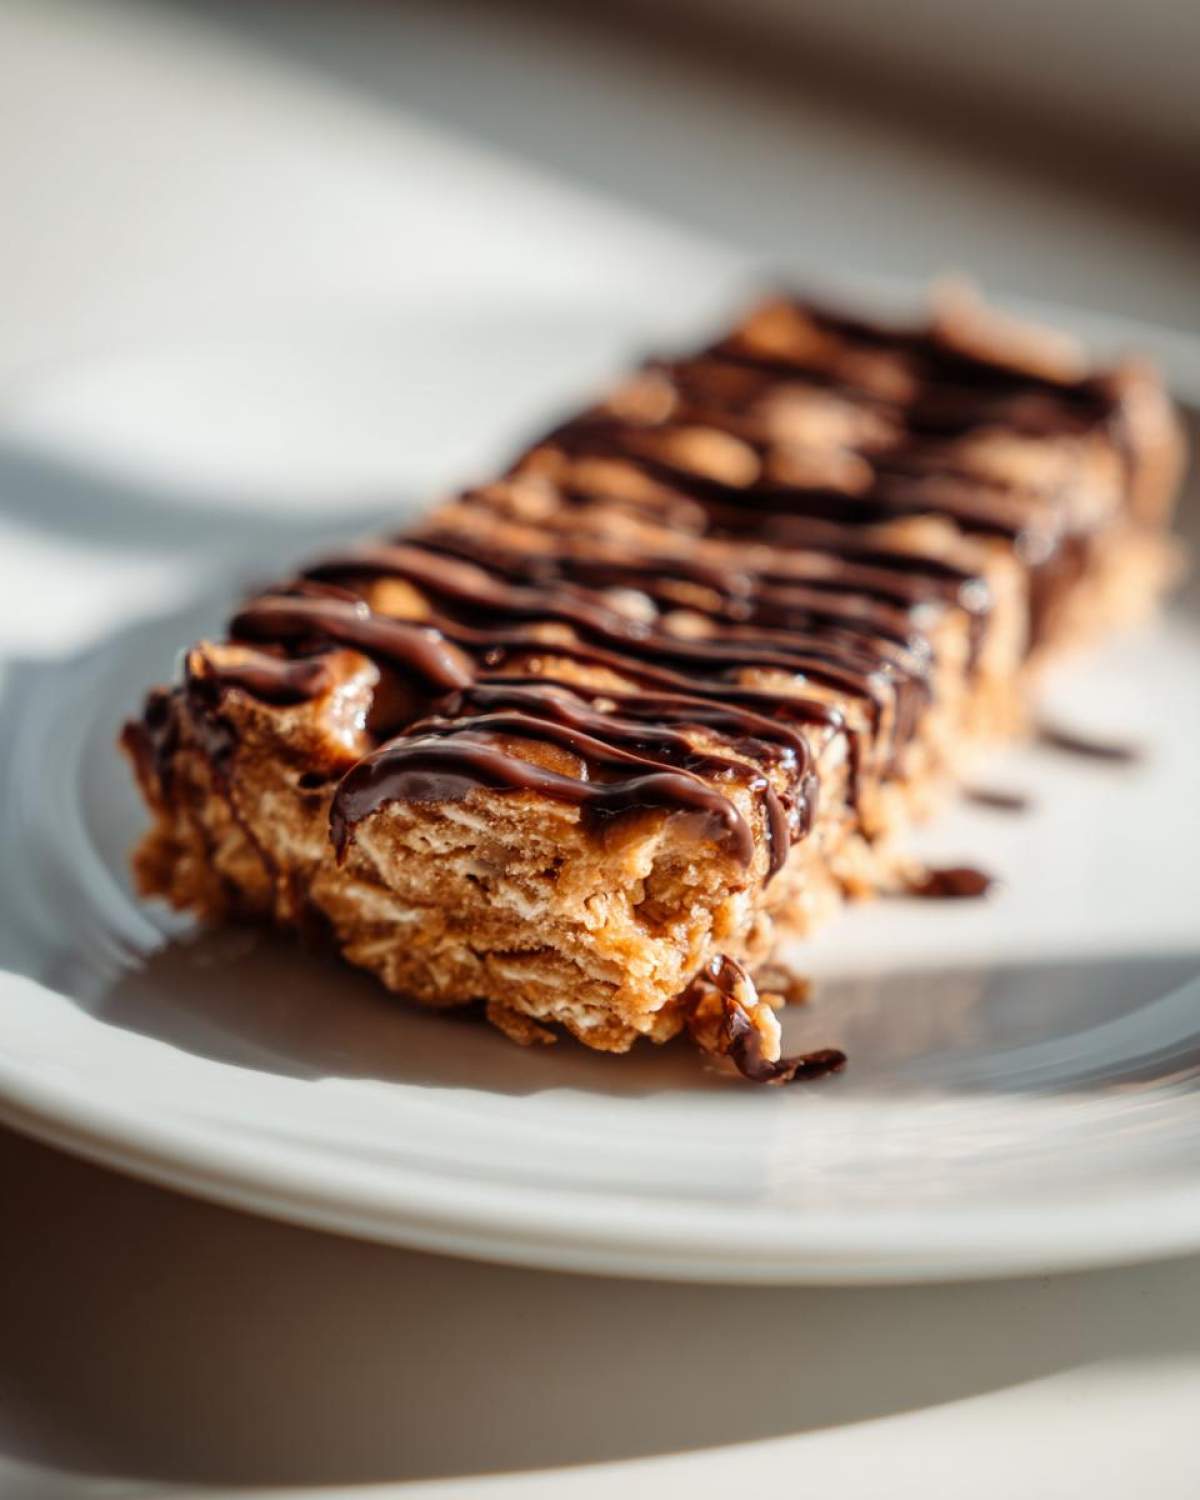
When you grab your peanut butter, make sure it’s the smooth, creamy kind—no crunchy bits for this recipe, those will interfere when we start mixing. This recipe is a great starting point for those looking for basic *protein bars* that are still satisfying.
Ingredient Notes and Simple Substitutions for Protein Bars
Because we aren’t baking, the ingredient state matters a lot for the final texture of these *protein bars*. If your bars end up a little too soft for your taste preference later, you can try reducing the liquid sweetener just a touch next time, or even swapping your regular peanut butter for peanut butter powder mixed with a little water. That powder trick really firms things up!
If you are making these for vegan friends or just prefer plant-based, that’s super easy. Just swap the honey for maple syrup and make sure your protein powder is plant-based. We love that flexibility! You can check out my favorite resources for baking staples, including my thoughts on the best peanut butter cookies, over here.
Step-by-Step Instructions for No Bake Protein Bars
Alright, this is where the magic happens, and honestly, it’s so straightforward you’ll wonder why you ever bought those expensive packaged bars in the first place. We are diving right into the instructions for these fantastic *no bake protein bars*. First thing: you need to prep your pan. Line an 8×8 inch square pan with parchment paper, but make sure you leave a good overhang on the sides. This sling is the secret weapon for getting the bars out in one perfect piece later—you’ll thank me! You can check out my favorite method for making simple no-bake peanut butter bars right here on the site for extra reference.
Mixing and Pressing the Protein Bar Dough
Grab a medium bowl and toss in your peanut butter, protein powder, oats, and sweetener. Now, this is going to look like a disaster at first; it’ll seem too dry or crumbly, but stick with it! You need to mix this thoroughly until you get a thick, uniform dough. Honestly, sometimes I have to ditch the spoon and just use my hands to really squish everything together until it holds its shape. While you’re mixing, Ethan always suggests adding just one extra drop of vanilla extract—it’s not one of the five main ingredients, but wow, does it amp up the flavor of the peanut butter!
Once it’s combined, scrape that good stuff into your prepared pan. Now, this is crucial: you have to press it down firmly. Use the back of a spatula or even just the bottom of a clean glass to pack it down tight and make the top as level as possible. We want this structure to hold up when we cut it!
Chilling and Finishing Your Chocolate Drizzle Protein Bars
Once it’s pressed, slide that pan right into the refrigerator. You need at least one full hour for it to set up properly. Don’t rush this chilling time—it’s what keeps your final *protein bars* from crumbling when you cut them. While they chill, melt your chocolate chips gently. If you want that perfect, thin drizzle look like the fancy ones, melt them slowly in the microwave, but try pouring the melted chocolate over the top using a fork held high above the surface. That creates those gorgeous, thin crackles.
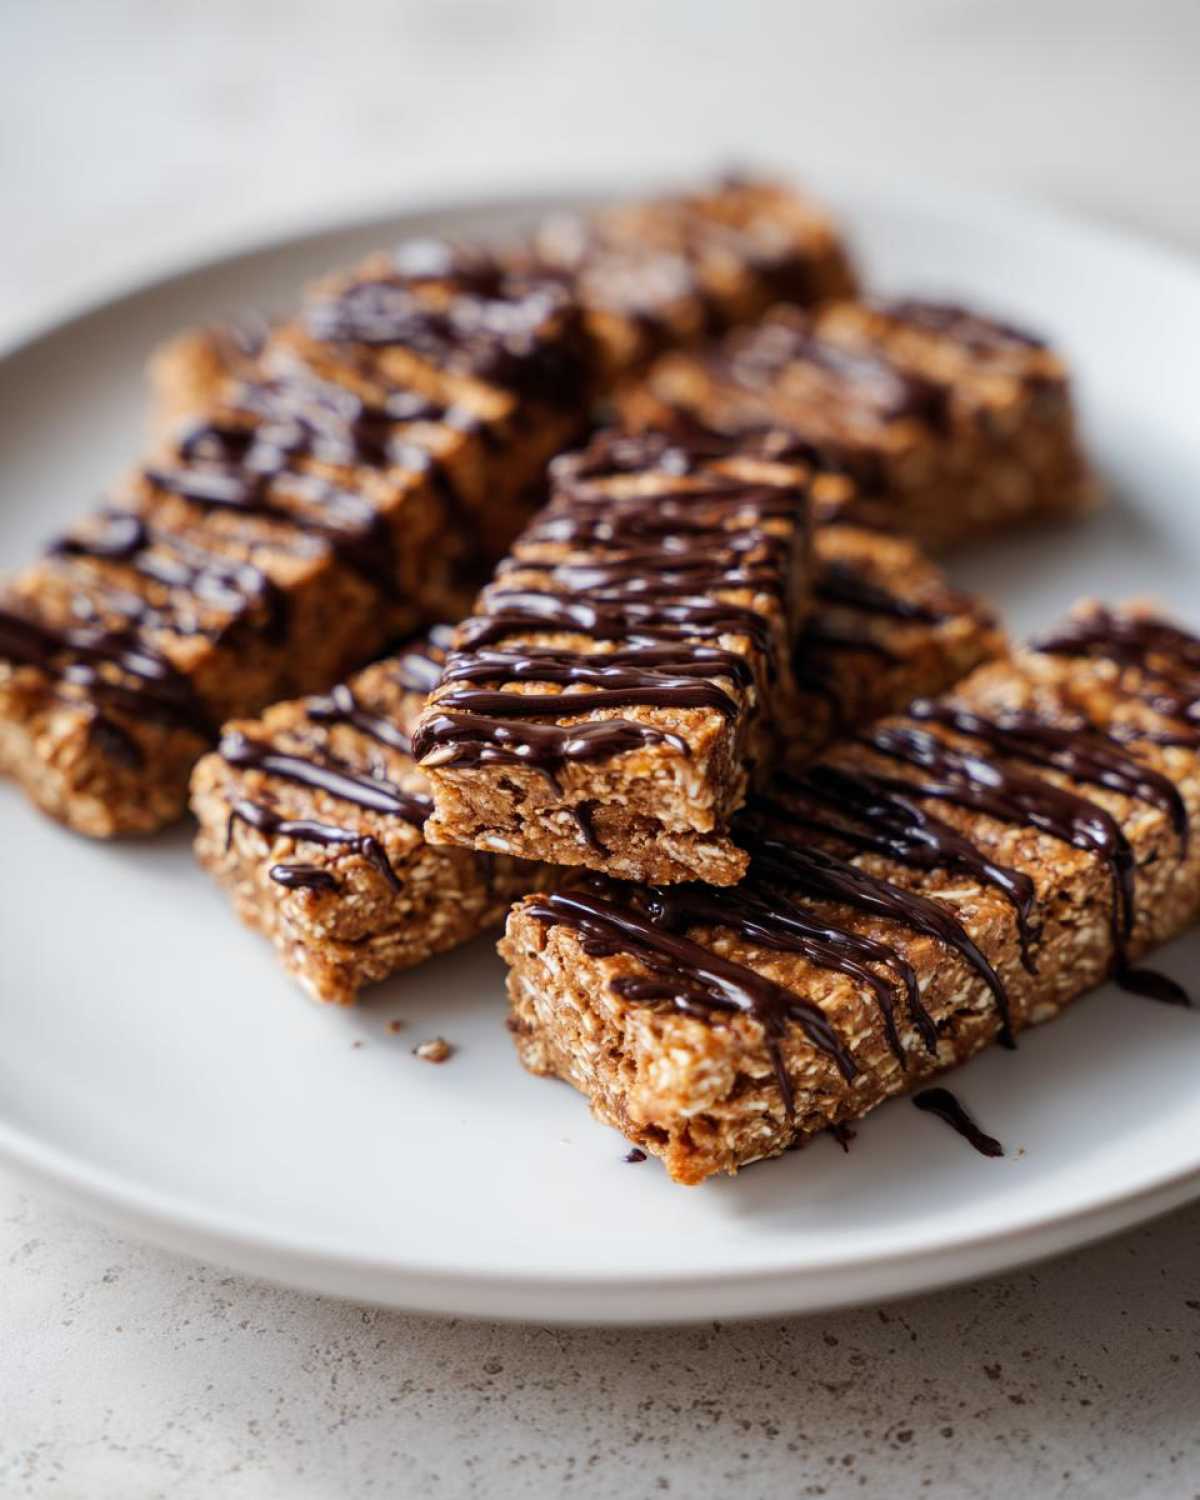
Pop it back in the fridge for about 15 more minutes for the drizzle to set up hard, then lift the whole slab out using those parchment paper handles and cut them into ten perfect squares. Easy peasy!
Making These Protein Bars Perfect for Meal Prep Bars
The real beauty of these simple homemade wonders, besides the taste, is how fantastic they are for batch cooking. If you’re like me and need good fuel ready to grab when the workday hits, these are your answer. Since they are no-bake and rely on the firmness from the cold, they absolutely shine as meal prep bars. We are talking about having ten perfectly portioned, high-protein snacks ready with almost no effort.
The most important thing to remember for longevity is storage. The recipe notes mention keeping them in an airtight container in the refrigerator, and yes, that’s exactly what you need to do. They stay fresh and perfectly chewy for up to a week tucked away. I always make a batch on Sunday evening so I have my lunches or afternoon snacks set. Ethan sometimes tries to sneak them before lunchtime, but I hide the main container! For more on how we organize our weekly food strategy, you can check out my tips for teriyaki chicken meal prep bowls.
Tips for Beginners Making Homemade Protein Bars
If this is your first time venturing into the world of protein bars for beginners, please don’t stress! Ethan always says that baking is about intuition, but making no-bake bars is mostly about temperature and pressing power. The number one mistake I see new bakers make is not pressing the mixture down hard enough in the pan. If you don’t pack it in tight, yes, they will crumble when you try to cut them!
Remember that parchment paper overhang we made? That’s your insurance policy! When your bars are perfectly chilled, use those paper handles to slowly lift the whole slab straight out of the pan before you even touch your knife. This prevents sticking on the sides and makes cutting way cleaner. If they are slightly sticky after chilling, wait another 15 minutes or run a warm knife under water once before slicing. You’ve got this! For more of our foundational kitchen advice, check out my post on easy creamy chicken enchiladas—the steps might look different, but the principle of good prep is the same!
Variations on Your Favorite Peanut Butter Protein Bars
Now that you’ve mastered the five-ingredient base, it’s time to get creative! This structure is so versatile, and it’s perfect for creating all sorts of different *protein bars*. For example, if you’re looking for something decidedly chocolatey—a pure *chocolate protein bars no bake* experience—just swap out the vanilla protein powder for chocolate powder and skip the peanut butter for the same amount of almond butter. It tastes decadent!
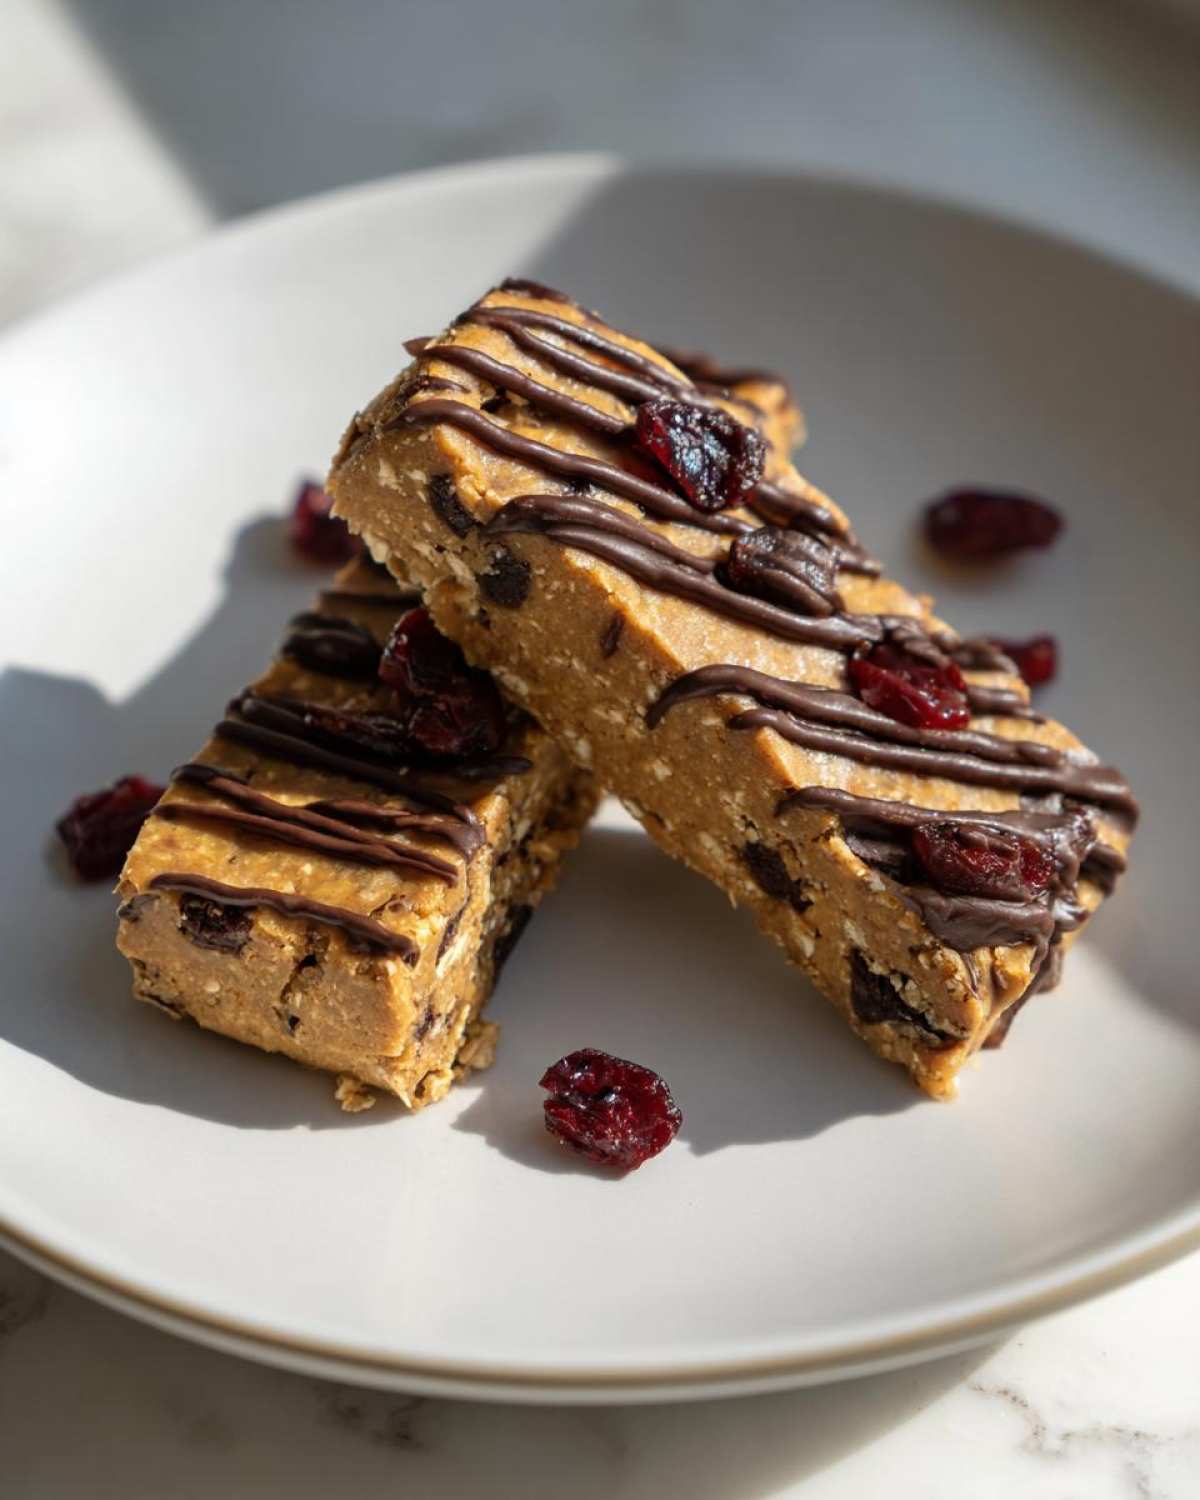
If you’re trying to keep things super low sugar for diabetic needs, you can definitely play with the sweetener. Ethan loves using monk fruit sweetener mixed with just a tiny bit of water to create that syrupy texture instead of using honey. You can also swap the peanut butter for sunflower seed butter if you have nut allergies. For more inspiration on ingredient flexibility, check out this great guide on homemade protein bars. Also, if you need something totally different but just as easy, try swapping the base for my chicken salad chick grape salad dressing style—it’s completely different, but that adaptable base concept is the same!
Understanding the Nutrition in These High Protein Recipes
When we talk about making our own *protein bars*, I always want to be smart about what we’re actually eating, right? Since we started talking about combining Maya’s research with Ethan’s intuition, understanding the nutritional side has been huge. That’s why I always share a disclaimer about the numbers listed on the recipe card.
You must remember that these nutritional estimates are based on specific brands of protein powder and the sweetener I happened to use on the day I tested the final batch. Every single time you swap for a different brand of whey or switch to a plant-based powder, those values shift!
What stays consistent, though, is the goal: these *protein bars* are naturally packed with protein, and because we control the sweetener, they usually end up being much lower in refined or processed sugar than those expensive ones you buy off the shelf. It’s all about knowing what you’re putting into your body, sugar level included!
Disclaimer on Estimated Nutritional Values
The nutrition panel is a helpful guide, not a guarantee, folks! If you are tracking macros seriously, you’ll want to plug in the exact brand and type of protein powder you use into your favorite tracking app. This is especially true for the carbohydrate and sugar counts, which fluctuate wildly based on whether you use honey or maple syrup, for example. We keep the preparation simple, but your ingredient choices directly impact the final nutritional picture when you make these high protein recipes at home.
Frequently Asked Questions About Homemade Protein Bars
I always get so many great questions after I share one of my super simple recipes, and these peanut butter bars are no exception! People want to know how to tweak them for their own needs, and that’s what I love about sharing our foundational base recipes. Here are some of the things I hear most often when folks are planning their first batch of *homemade protein bars*.
Can I make these low sugar protein bars diabetic-friendly?
Absolutely, yes! This is one of the great advantages of making your own *protein bars for beginners*. As I mentioned before, you have total control over the sweetener. Instead of honey or maple syrup, you can use a zero-calorie liquid sweetener, like monk fruit drops or stevia, mixed with just a tiny splash of water to create that syrupy consistency needed for binding. Just make sure your protein powder doesn’t have added sugars!
How long do these protein bars last if I store them correctly?
The recipe notes suggest storing them in an airtight container in the fridge, and that’s important because they don’t have the preservatives of store-bought versions. In the refrigerator, they should stay absolutely perfect and chewy for about one full week. If you make a massive batch for serious meal prepping, you can totally freeze them! Just separate them with wax paper squares, and they last great for up to two months. They thaw overnight in the fridge or on the counter. Check out this recipe for another great storage tip!
Do I absolutely have to include the rolled oats?
That’s a fantastic question! The oats really help provide structure and fiber, making them feel more substantial like a classic *energy bar homemade* style. If you skip them, the bars will be much softer and stickier, sometimes requiring more chilling time or slightly firmer peanut butter to hold together. For a gluten-free option, make sure you’re using certified gluten-free oats! If you have to substitute, ground flaxseed or even almond flour can sometimes work, but the texture of the *chewy protein bars* will definitely change.
Can I make these vegan protein bars recipe variations?
We included notes on this because it’s so easy! Yes, you can make excellent *vegan protein bars recipe* versions. Just ensure you are using maple syrup, not honey, and always opt for a plant-based protein powder. If you’re looking for even more plant-forward ideas, check out this creamy chicken taco soup recipe—even though it’s soup, the ingredient philosophy applies to smart substitutes!
Share Your Experience Making These Simple Homemade Snacks
Now that you have the blueprints for these ridiculously simple peanut butter *protein bars*, I just can’t wait to hear how they turned out for you! Ethan and I put so much love—and careful testing—into making sure this five-ingredient base is foolproof, but the fun really starts when you make it your own.
Did you use vanilla whey powder, or did you try a specific brand of plant-based powder that you absolutely loved? Let me know in the comments below! Knowing what sweeteners or protein brands work best for you helps everyone else trying to make their own batch of these perfect, satisfying snacks.
If you took a picture of your final, perfectly chilled, chocolate-drizzled bars, please tag us on social media! Seeing your creations reminds me why we started Tasty Tipster in the first place—to help home cooks ditch the pricey, questionable store-bought stuff and make delicious food they feel great about eating. It’s all about making those *simple homemade snacks* that fit seamlessly into a busy life.
If you have any lingering questions or just want to send Ethan a compliment on his flavor instincts, don’t hesitate to reach out through the contact page. Happy snacking!
PrintEasy No-Bake 5-Ingredient Peanut Butter Protein Bars
Make these simple, no-bake peanut butter protein bars with only five ingredients. They are perfect for quick meal prep and taste better than store-bought options.
- Prep Time: 10 min
- Cook Time: 0 min
- Total Time: 70 min
- Yield: 10 servings
- Category: Snack
- Method: No-Bake
- Cuisine: American
- Diet: Vegetarian
Ingredients
- 1 cup creamy peanut butter
- 1/2 cup vanilla protein powder (whey or plant-based)
- 1/2 cup rolled oats
- 1/4 cup honey or maple syrup
- 1/4 cup dark chocolate chips (for drizzling)
Instructions
- Line an 8×8 inch baking pan with parchment paper, leaving an overhang on the sides for easy removal.
- In a medium bowl, combine the peanut butter, protein powder, rolled oats, and honey or maple syrup.
- Mix all ingredients thoroughly until a thick, uniform dough forms. You may need to use your hands to fully incorporate everything.
- Press the mixture evenly into the prepared pan. Use the back of a spatula or your fingers to pack it down firmly.
- Place the pan in the refrigerator to chill for at least 1 hour, or until the bars are set.
- Melt the chocolate chips in a microwave-safe bowl in 30-second intervals, stirring until smooth.
- Drizzle the melted chocolate over the chilled bars.
- Return the pan to the refrigerator for 15 minutes to allow the chocolate to set.
- Lift the bars out of the pan using the parchment paper overhang and cut them into 10 even bars.
Notes
- For a firmer bar, slightly reduce the amount of honey or use peanut butter powder mixed with water instead of creamy peanut butter.
- Store these homemade protein bars in an airtight container in the refrigerator for up to one week.
- If you need a vegan option, ensure you use maple syrup instead of honey and a plant-based protein powder.
Nutrition
- Serving Size: 1 bar
- Calories: 220
- Sugar: 8
- Sodium: 110
- Fat: 14
- Saturated Fat: 4
- Unsaturated Fat: 10
- Trans Fat: 0
- Carbohydrates: 18
- Fiber: 2
- Protein: 12
- Cholesterol: 5